Disclosure: I sometimes earn products or commissions from affiliate links or partnerships on my blog. I only recommend products and services I trust to serve you. Learn more.
Bottle walls are beautiful, fascinating, and endlessly adaptable. No two walls are ever alike! We used over 200 free bottles to create color accents in our cordwood walls, but you can easily use them in cob, strawbale, and earthship designs too. Learn everything you need to know to take ordinary bottles and turn them into beautiful walls.
If you need a primer on cordwood building in general, READ MORE ABOUT HOW WE BUILD THE WALLS HERE
Bottle Brick FAQ Quick Navigation
How many bottles have we used so far?
Can you use things besides bottles?
How did you get so many bottles and jars?
How we got over 250 wine bottles for free
What happens to the insulation when you use bottles?
How to make a bottle brick (supply list included!)
Here are some examples of finished walls with bottles in them:
How many bottles are in your house?
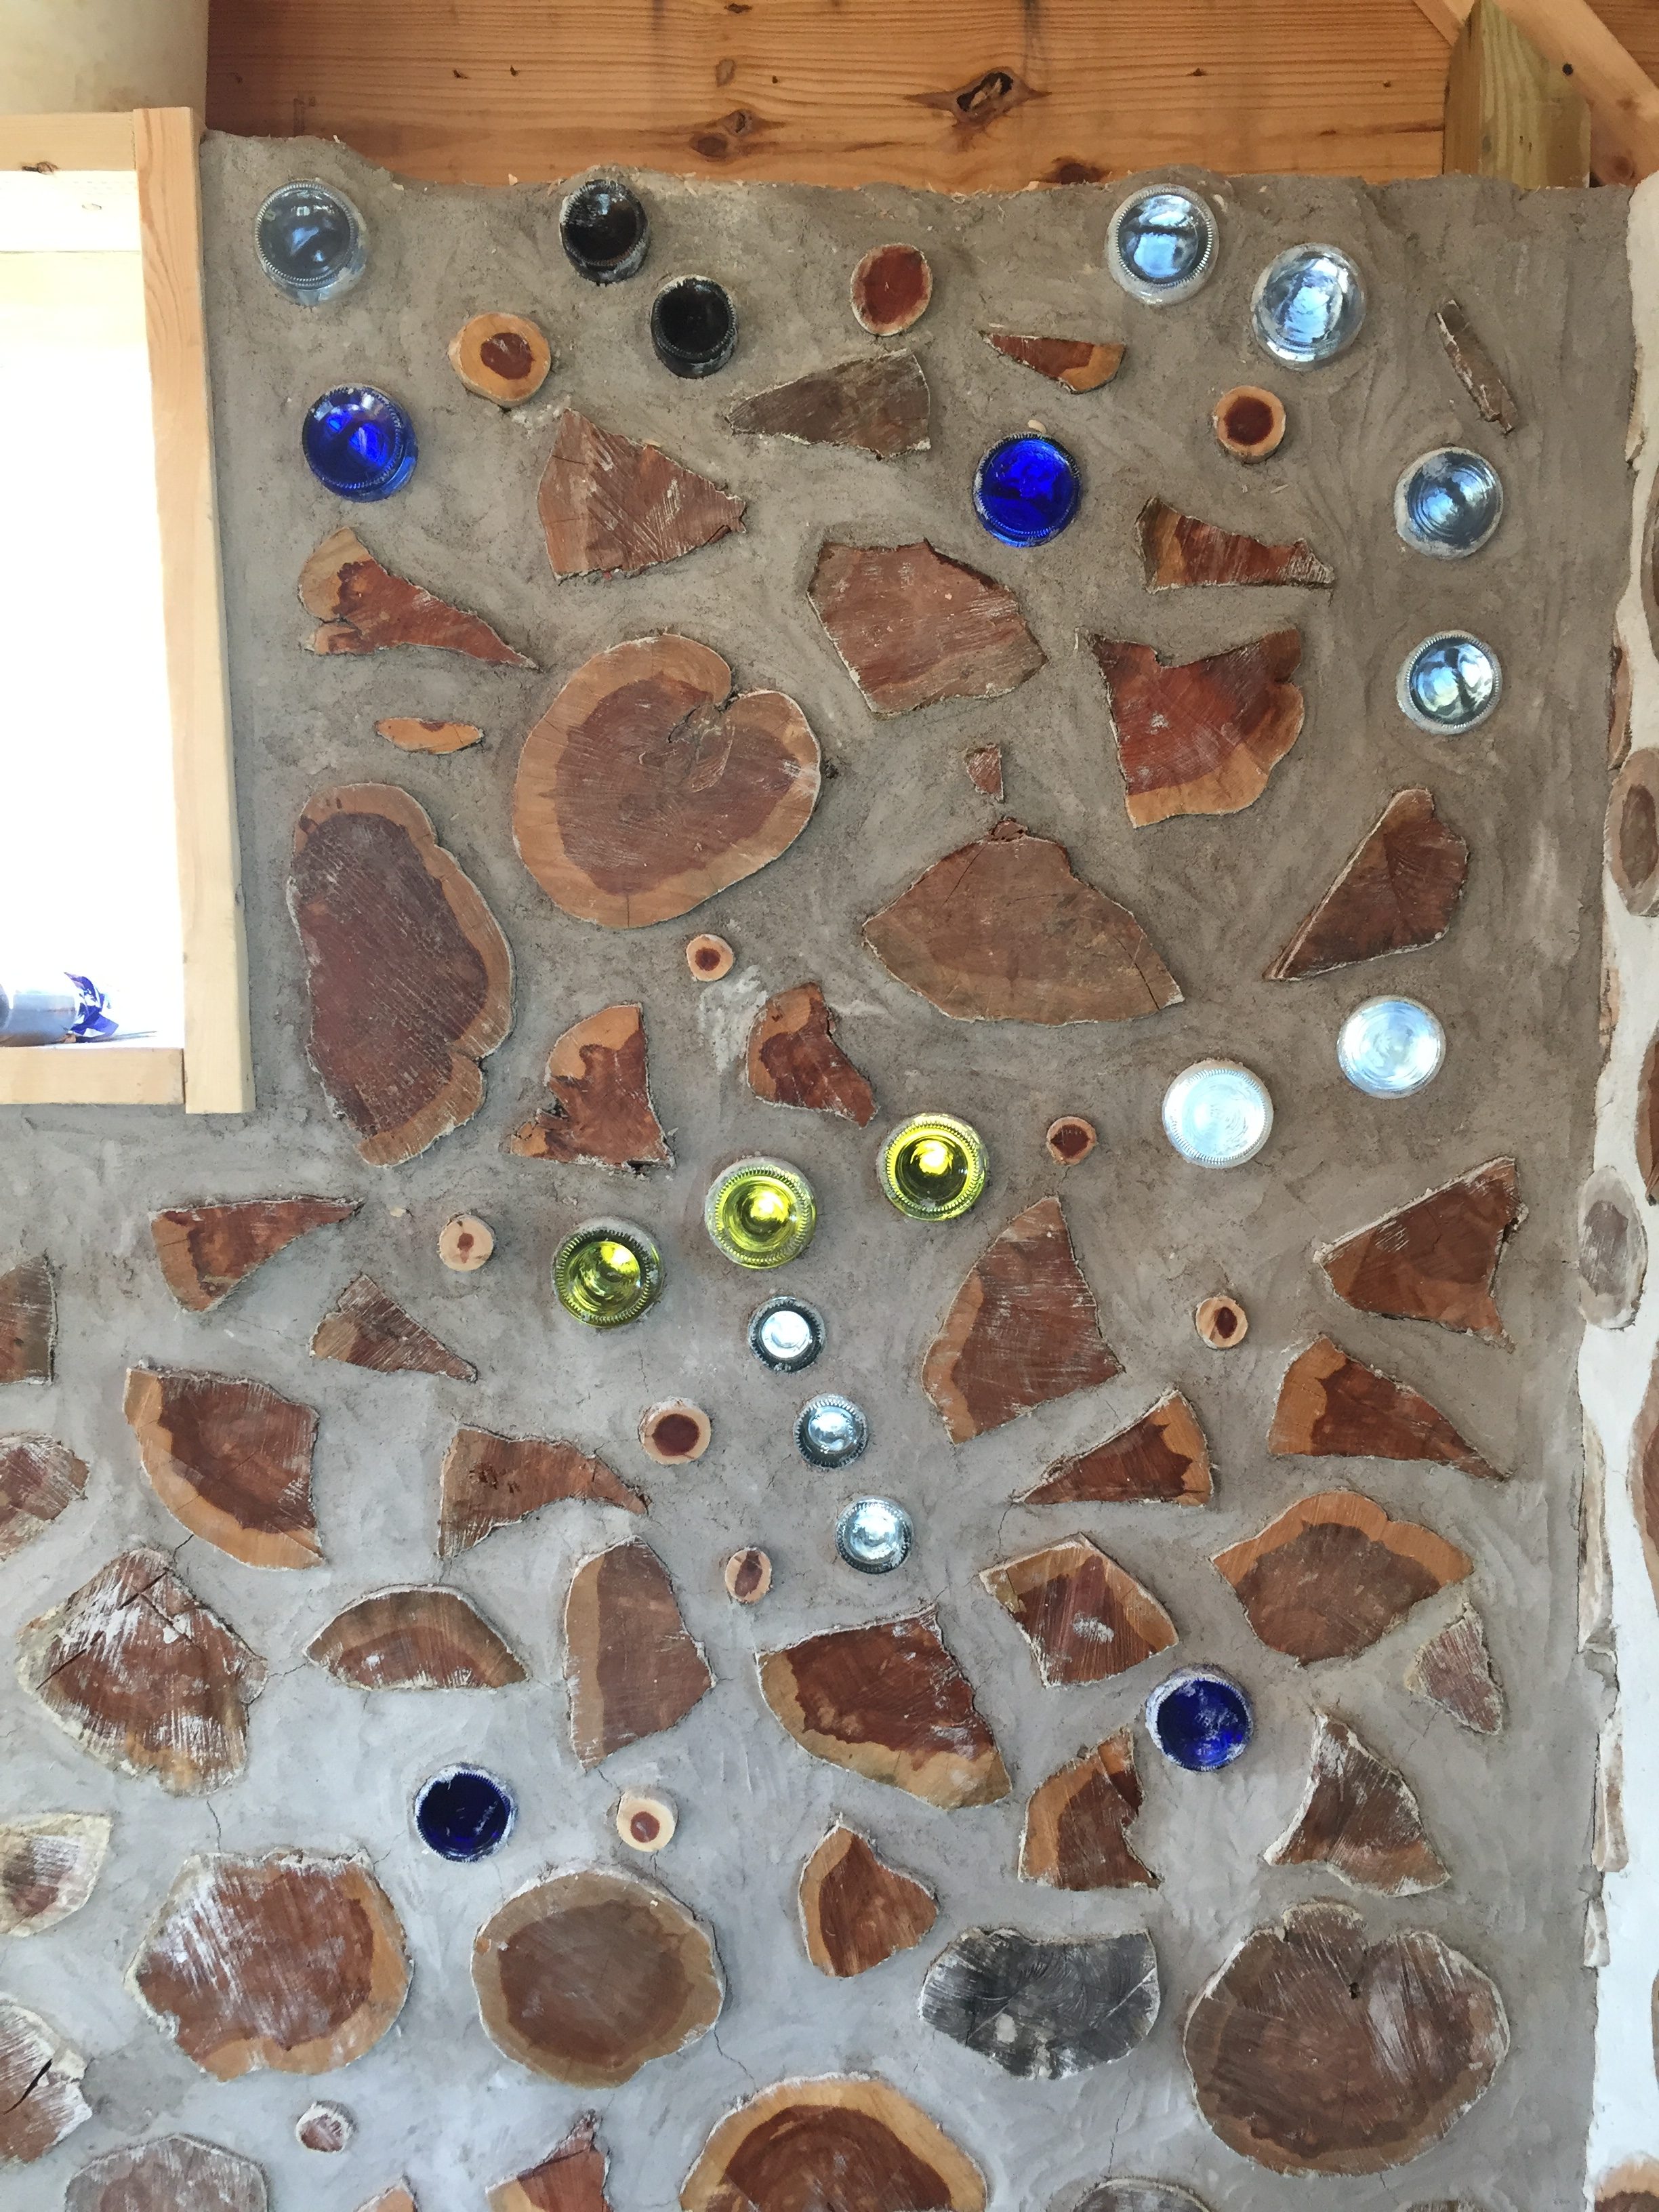
There are over 280 bottles throughout our house in a variety of random and planned designs.
How many bottles do you need?
However many we want really. Designs can be random, but may also be planned out to make particular patterns or pictures. There are beautiful cordwood walls around the world that feature constellations, nature scenes, and more. The only real limit to what you can create is your imagination!
Can you use things besides bottles?
Yes! We have a wide variety of drinking glasses, jars, and flower vases in our walls too. Everything is glass though. There are no plastic or metal containers being used anywhere in the wall.
How did you get so many bottles and jars to use?
-
Saving glass from home
-
Donations from friends
-
Shopping at antique stores
-
For free from a local winery
We started out by saving everything from what we used at home. Jars from pasta sauce, pickles, jelly; bottles from beer, soda, bourbon (it is Kentucky after all), salad dressing, olive oil, and even maple syrup!
If it was a glass jar or bottle, we washed it and saved it in a big box for later. Being in Kentucky, of course, we had to represent some fine Kentucky beverages!
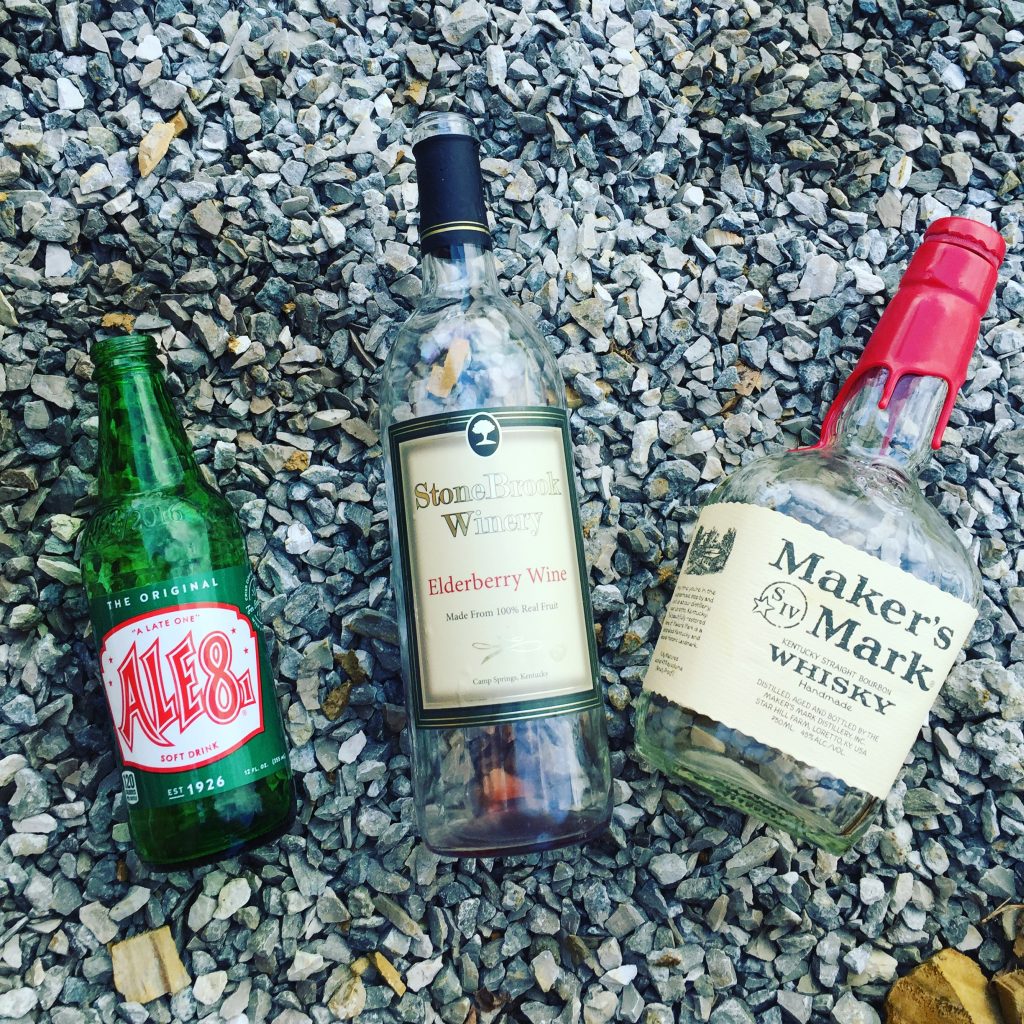
Once word got out about how we would be using bottles, we started getting messages from friends and family saying they had bottles to give. We’ve probably received around 50 bottles just from friends who wanted to donate to the cause!
We also had a fun “date” shopping at a local antique mall looking exclusively for fun colors of glass bottles. We found that large red vase in the first picture, plus we found a purple perfume bottle, an orange vase, and some ruby red drinking glasses.
Most glass from home is either clear, brown, green, or blue, so we really wanted to find fun colors to mix in to our designs.
By far though, our biggest haul was from contacting a local winery.
How we got over 250 bottles for FREE:
Kentucky has some utterly fantastic wineries. There are several in this area, but I decided to contact the good folks at Stonebrook Winery to see if they had anything available. They told me that they would save the bottles from their dinners and tastings and that I could come pick them up FOR FREE.
I wasn’t really sure what I was going to end up with, but I was super excited to head over there to check it out. I was not disappointed! I loaded the back of my car with six boxes of bottles.
When I got them home, I washed them and laid them all out to dry. They took over the entire dining and living room!
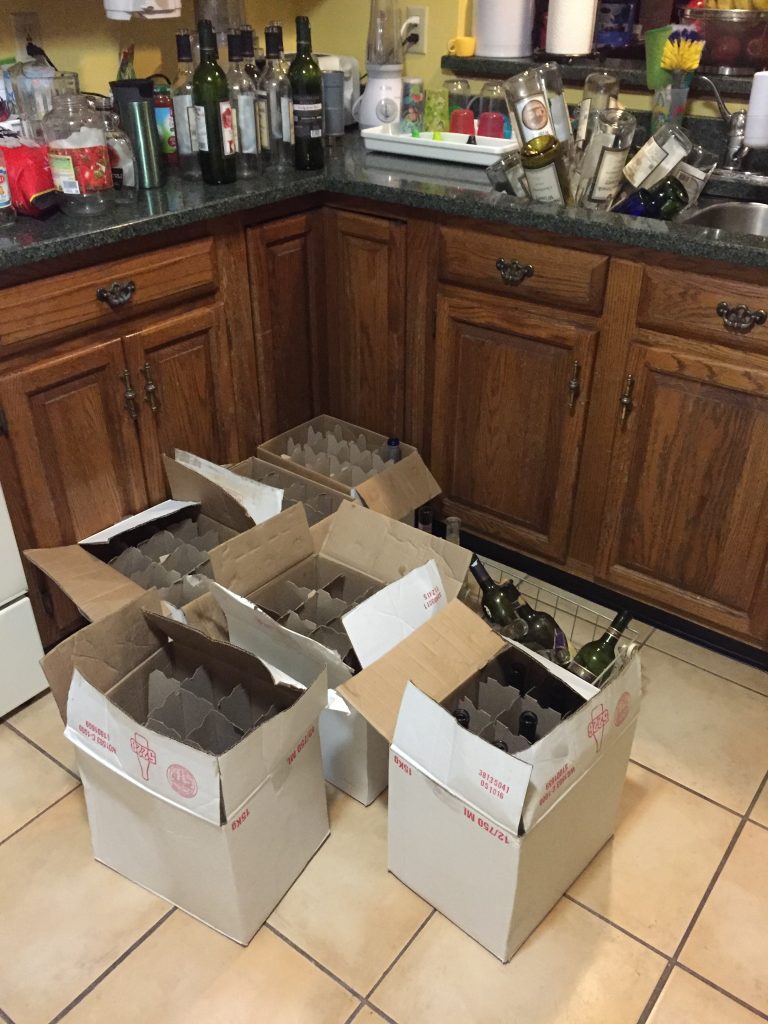
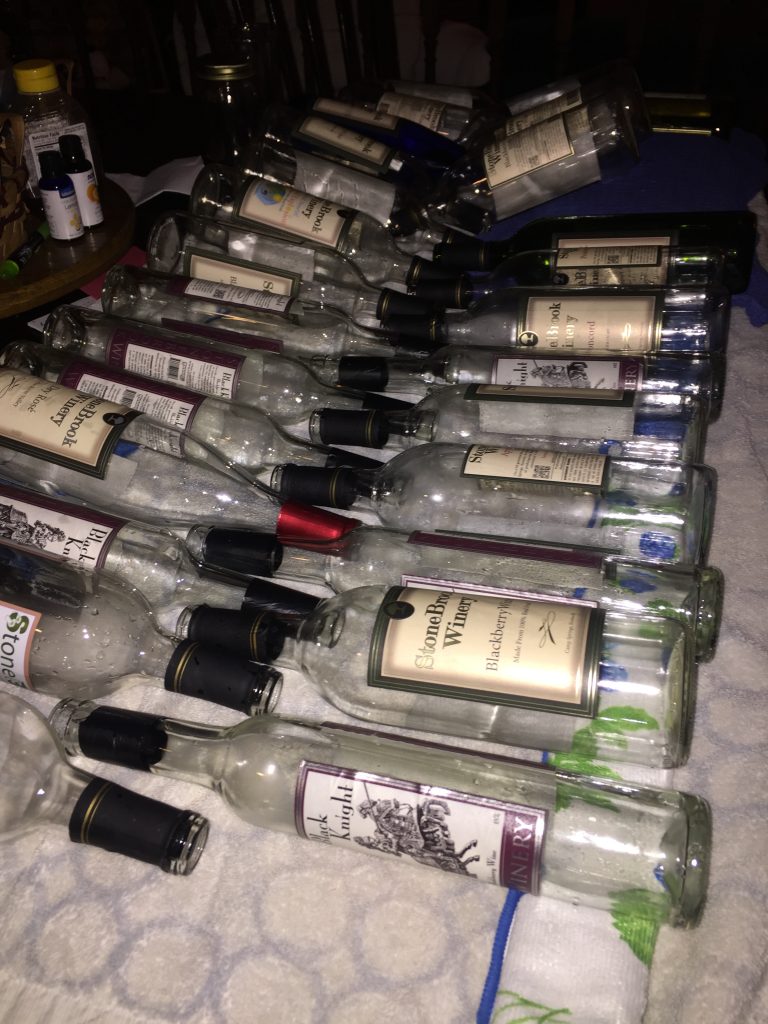
I made two trips to Stonebrook Winery and received around 250 bottles from them in total. I loaded as many as I could into the dishwasher and hand-washed more while the load was running, and repeated this process until they were all clean. You want your bottles to be as clean and dry as possible.
What happens to the insulation of the wall where you have bottles? Is it different from the logs?
Not really. The difference is nominal since the air is basically trapped in there. Air is a pretty good insulator compared to liquids and solids when it is trapped and can’t convect to the surroundings.
We still have 8 inches of insulation in the middle of the wall cavity even when bottle bricks are used. The bottle bricks act the same way logs do within the wall, so construction is essentially the same.
What happens if a bottle breaks?
I actually had to repair a broken bottle and the surrounding mortar! We accidentally dropped a heavy 2×12 board on the top of the cordwood wall in the front of the kitchen area and totally shattered a bottle.
To fix it, I removed the broken bits and assessed whether or not the entire bottle brick could be removed. I determined that it couldn’t, so I found a bottle to fit inside the remaining half of the brick still inside the wall.
I secured the replacement bottle to the other one with Liquid Nails, then I mixed up a small batch of our lime putty mortar and added a bit of Liquid Nails to my mortar mix. Then I pressed the mortar around the replacement bottle and did my best to blend it in to the rest of the wall.
Lastly, I smeared some more Liquid Nails in to the mortar throughout the area around the broken bottle to prevent the spread of cracks and to hold everything together. I found that the Liquid Nails blended better and was stronger than trying to use the lime putty mortar or even just straight lime.
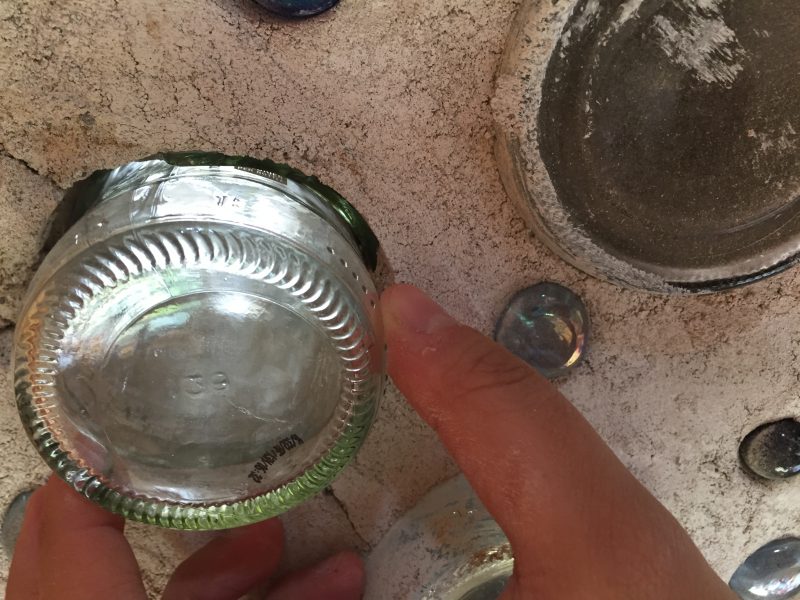
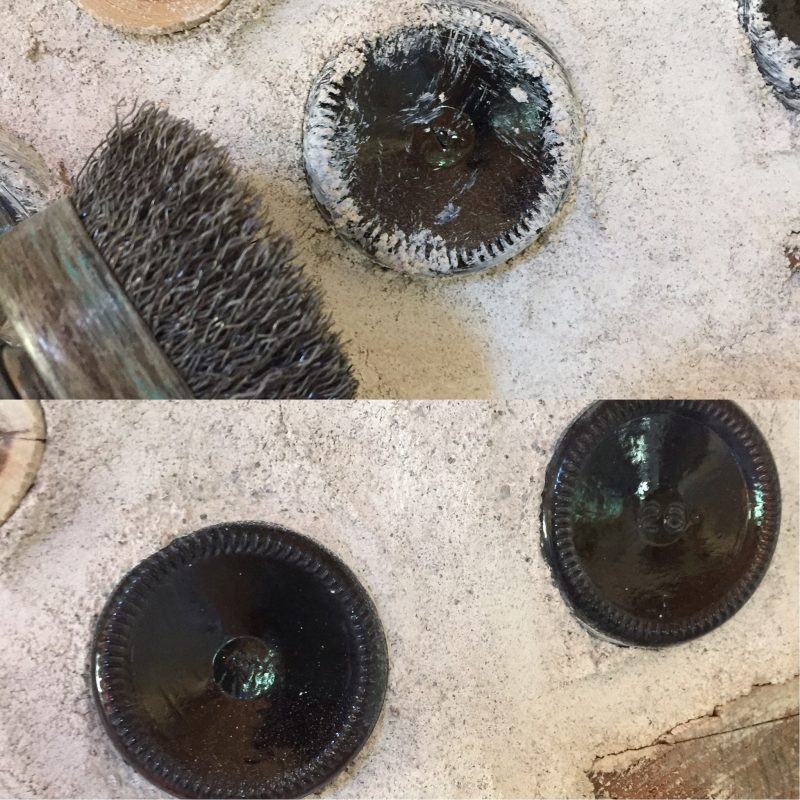
After it all dried I scrubbed the bottles clean using a wire brush attachment on my drill. The picture below is of different bottles, but you get the idea. The wire brush doesn’t scratch the glass at all, so I used it to scrub all of the bottles I neglected to clean immediately after building.
How do you make a bottle brick?
PREPARATION
- Gather your materials: clean bottles/jars, metal flashing, duct tape, shears (to cut the flashing), tile saw or bottle cutter. We went ahead and bought the tile saw because we know we’ll be using it for other projects later.
- Determine the length you need to match your walls. Our walls are 16″ thick, so we made 16″ bottle bricks. If a brick isn’t dead on the length you need, aim to be a little bit longer rather than shorter so that the outside end can get the most light possible.
- If the bottles are very long (like wine bottles), use your wet tile saw or bottle cutter to cut them to a desired length. For example, we cut ours to be about 8″ as measured up from the bottom so that, when paired, they would be roughly 16″.
PAIR YOUR GLASS TO MAKE BRICKS
- Each bottle brick has two ends: one for the inside of the wall and one for the outside. They will be joined in the middle.
- Colored ends go to the interior wall and work best if paired with clear glass on the exterior wall. You can pair like colors, but you may experience darker or less brilliant colors as a result. It depends on what you’re going for and what colors you’re dealing with.
- Pair glass of like size and shape. For example, we paired the large red vase with a big pickle jar and a small perfume bottle with a skinny garlic jar. This makes it easier to join them later.
CONSTRUCT YOUR BRICKS
Use a tape measure to space the glass out to the right length. If not the exact length, longer is better to get more light.
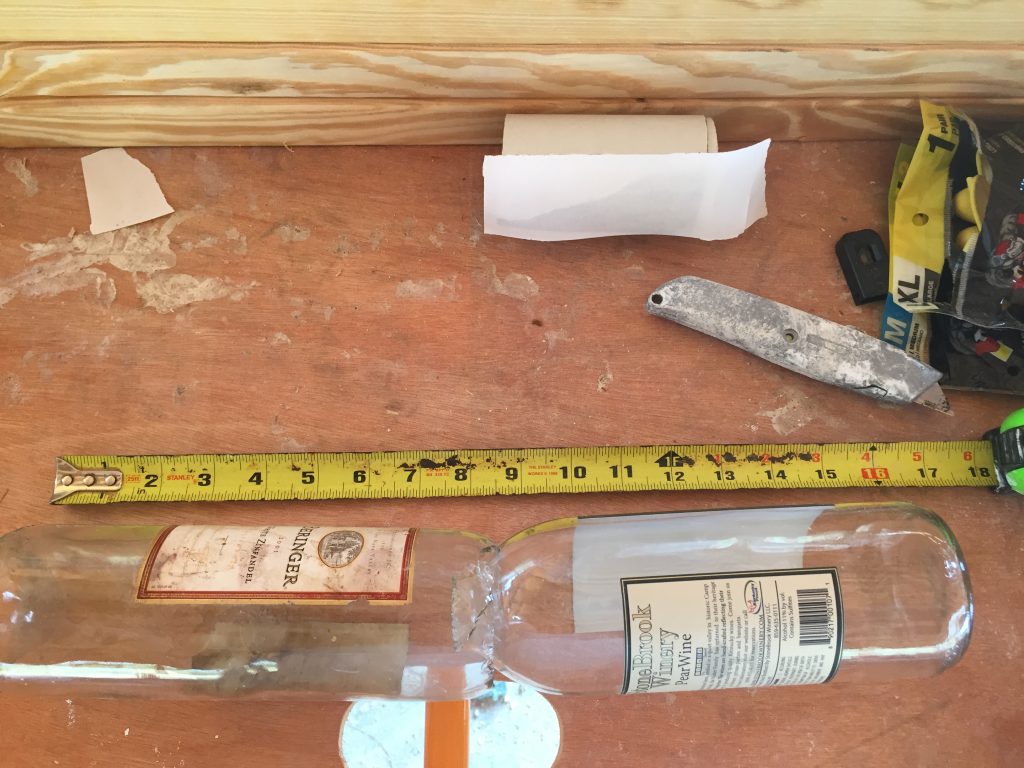
Join your bottle ends together. If you are using short bottles, you can use a piece of metal flashing to connect them like this:
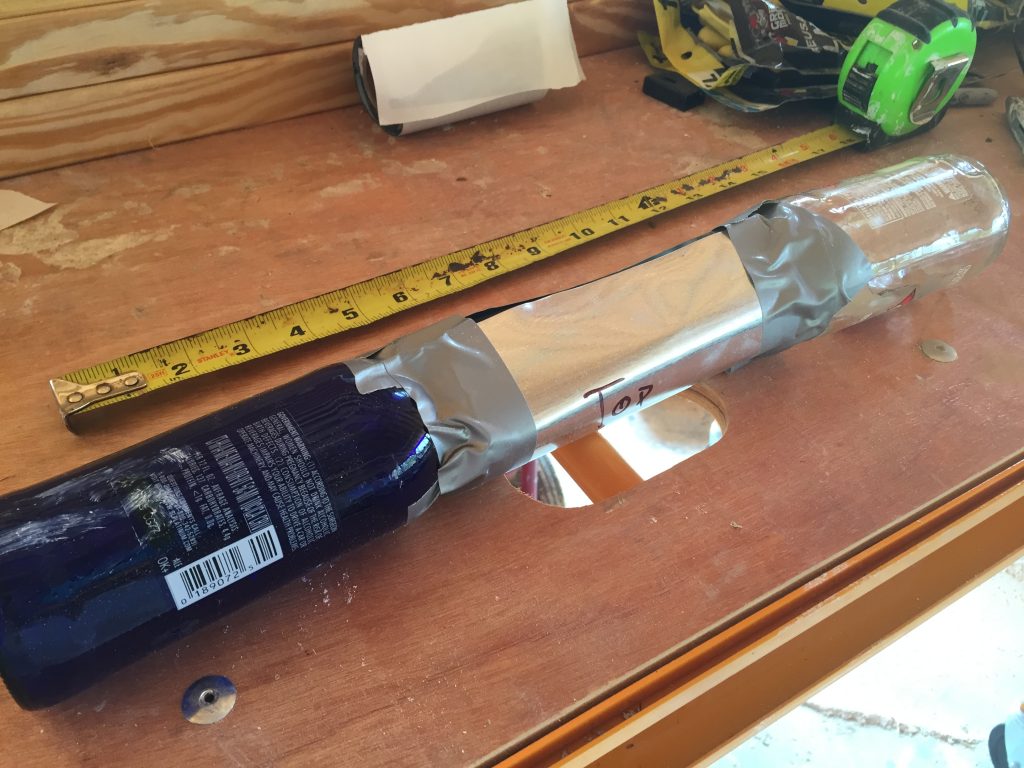
Or you can simply tape them together if they are close enough. For either application, you can use duct tape or window flashing/sealing tape. We used both kinds of tape depending on what we happened to have around.
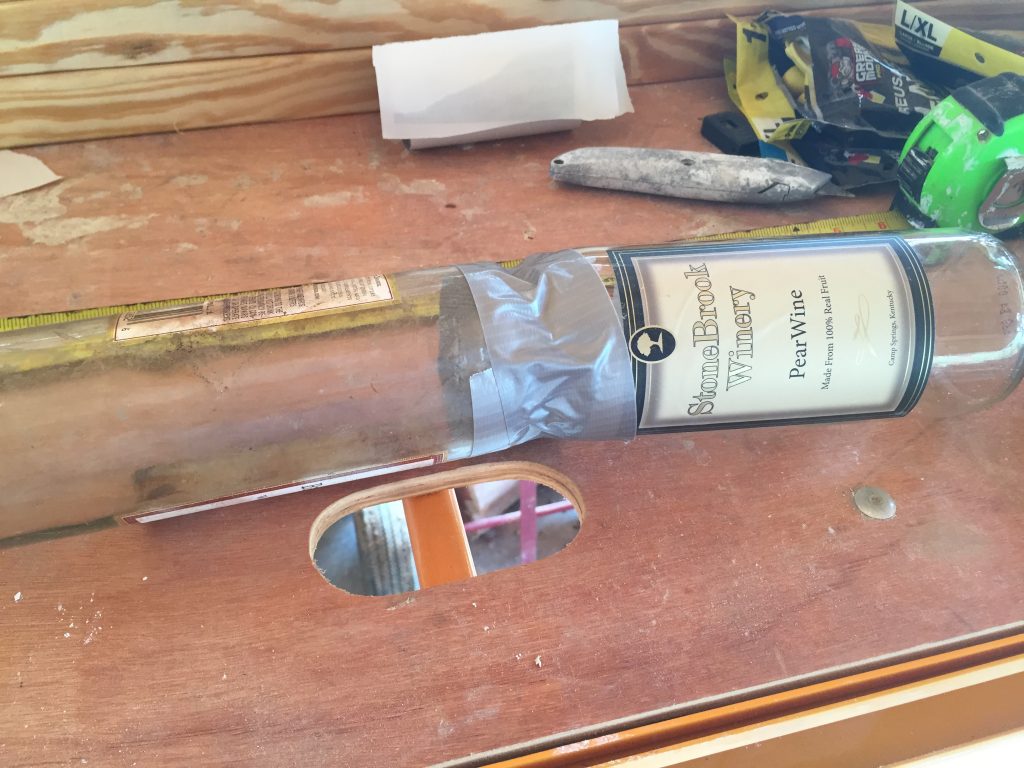
I ended up adding a little bit more tape for structure, but you get the idea.
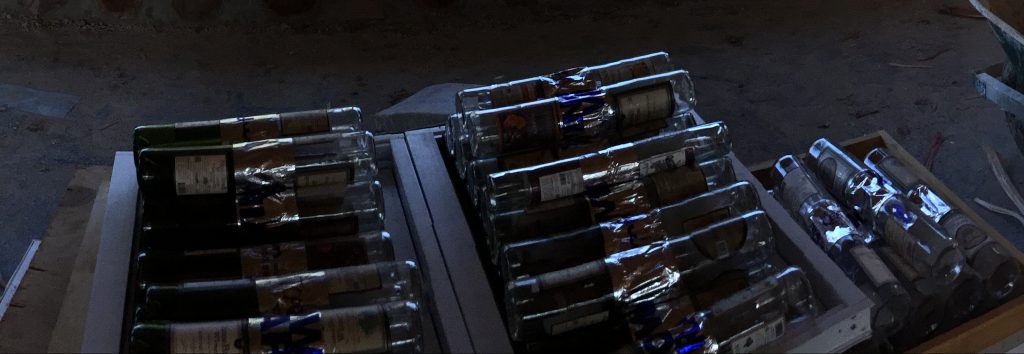
Here are a bunch Mark made with flashing tape, ready to go!
PLACE BRICKS IN THE WALL
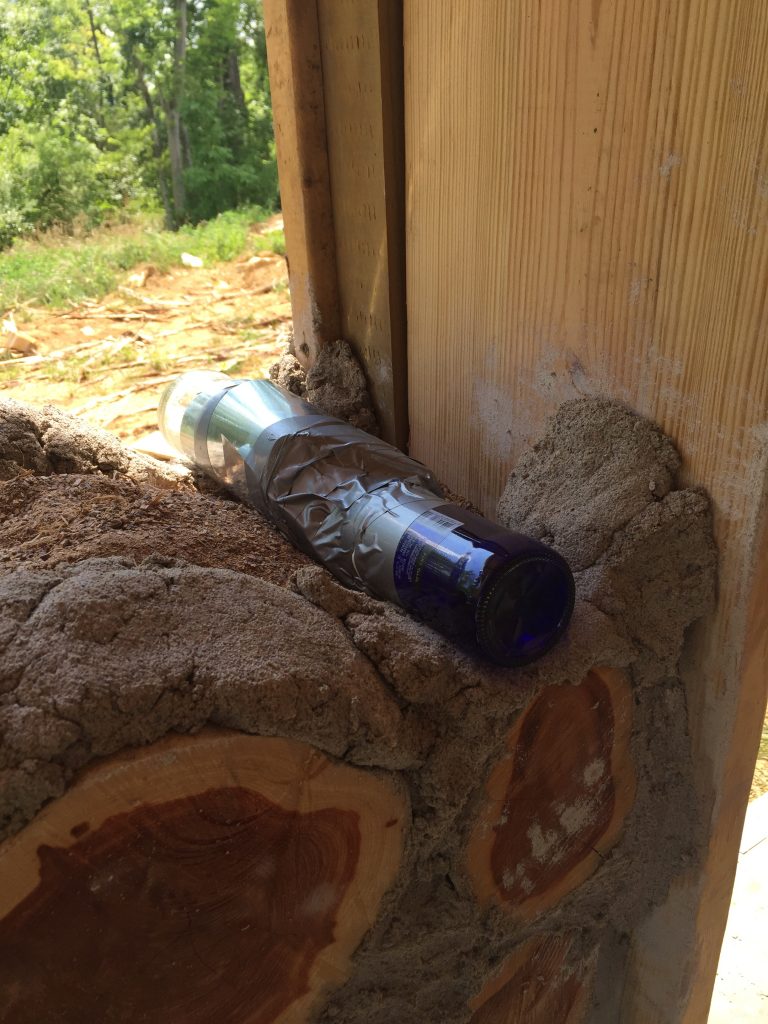
They lay in the wall just like the logs do!
A note about construction and wall placement:
Some people advocate using flashing around the entire brick to enhance the light bouncing around inside the brick and to make the colors more brilliant in the house. Our results have been mixed with this. We’ve found that vertical placement in the wall has mattered more regarding how much brilliance you get out of it.
In general, bottles that are too low to the ground or too high (close to the roof overhang) get too much shade and don’t get enough light. Bottles in the middle of the wall to around 5 or 6 feet high get the most brilliance regardless of how we assembled them because the sunlight hits them more directly. This may influence your design choices.
Making Designs
You may have certain designs in mind when planning out your wall. Other times, you may opt to make a more random design. Random designs are a bit easier because you can let the natural development of the wall you’re building guide your bottle placement.
Creating designs takes a little more forethought about how to build up your mortar so that your bottles are placed correctly.
Here are some EARLY examples of our bottles in progress, pre-cleaning and pre-completion of the house:
Random Designs
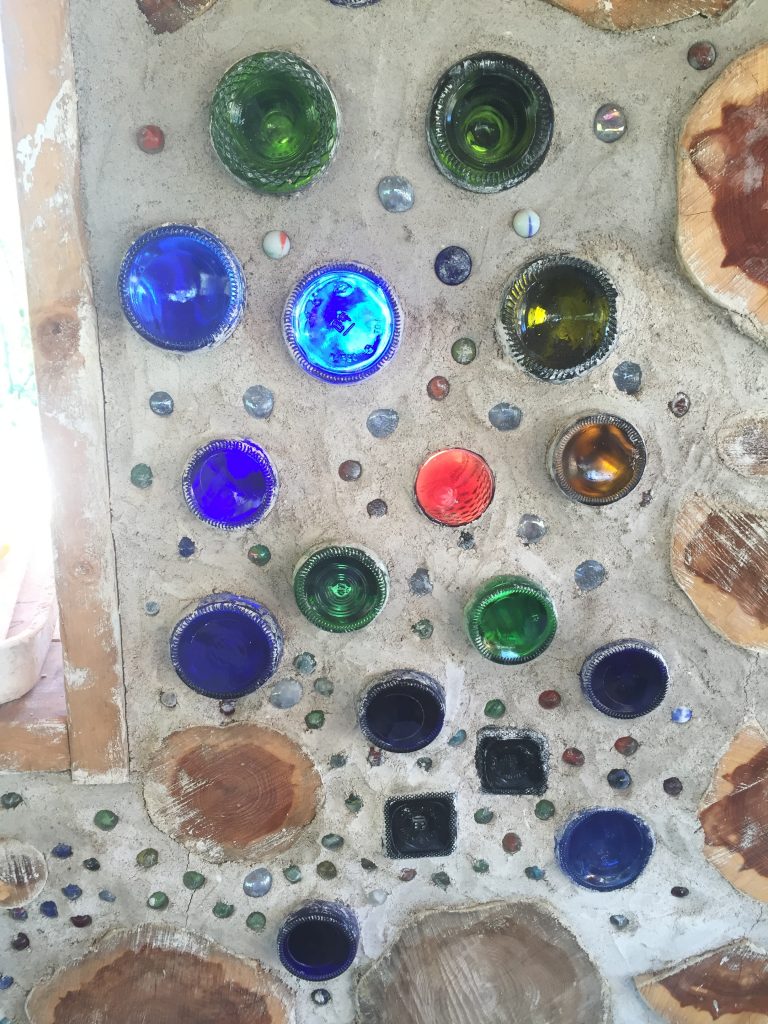
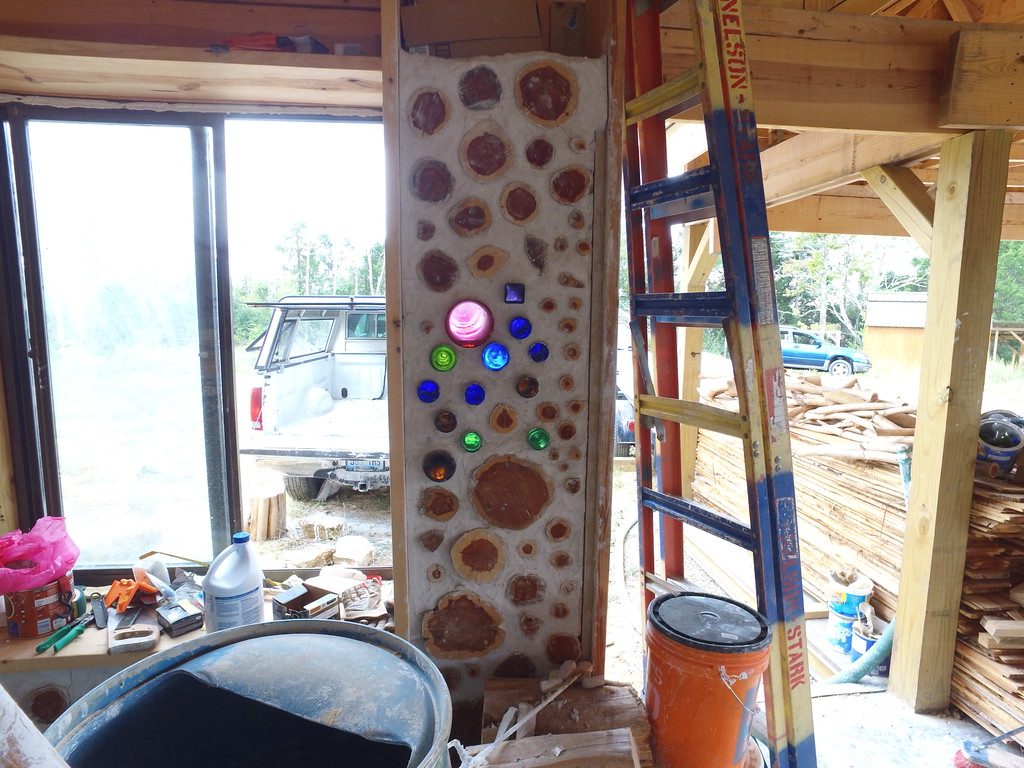
Planned Designs
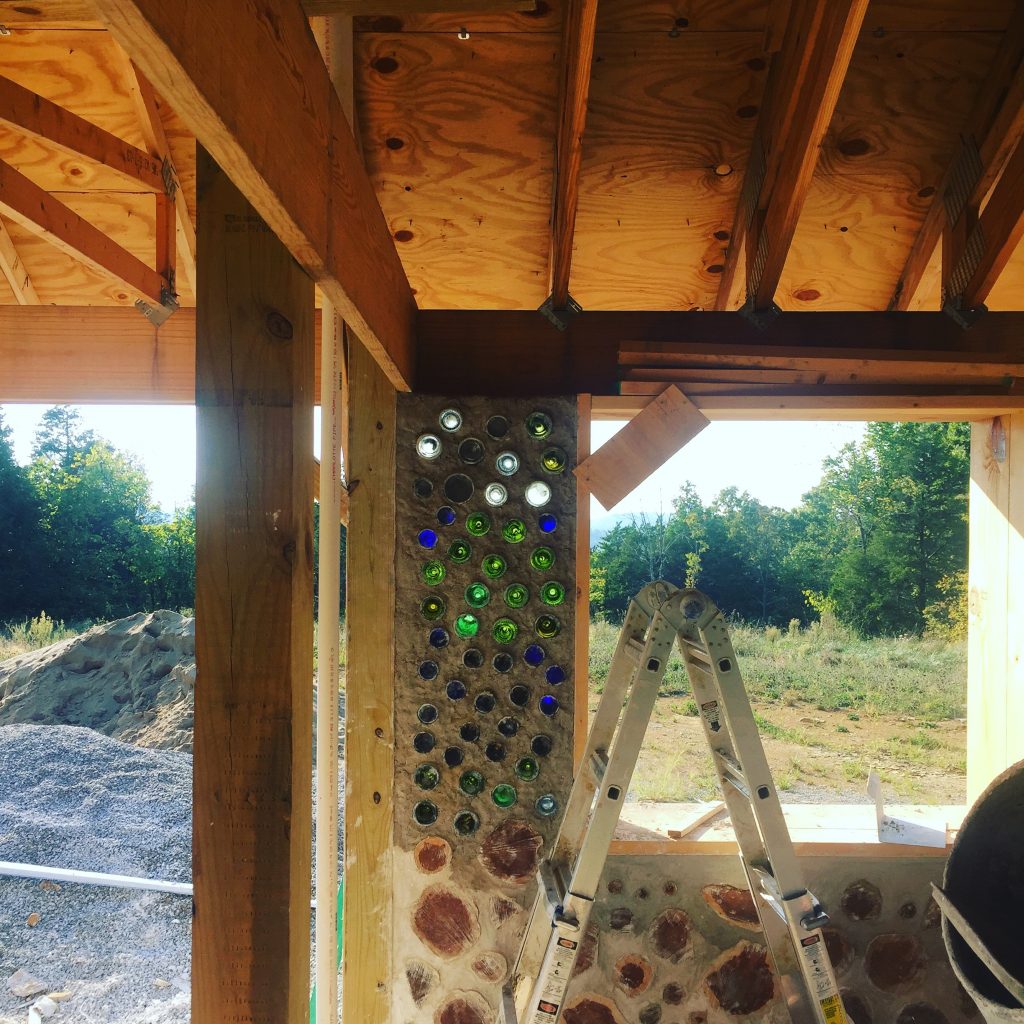
A tree with clouds above. In hindsight, I wish I had placed this more in the center of the room instead of the corner because the design gets less light in the corner and is harder to see. I also wish I had flanked the trunk of the tree (brown bottles) with clear bottles because the blue of the “sky” makes it hard to discern what you’re looking at. Oh well…picture or not, we have pretty colors in our dining area!
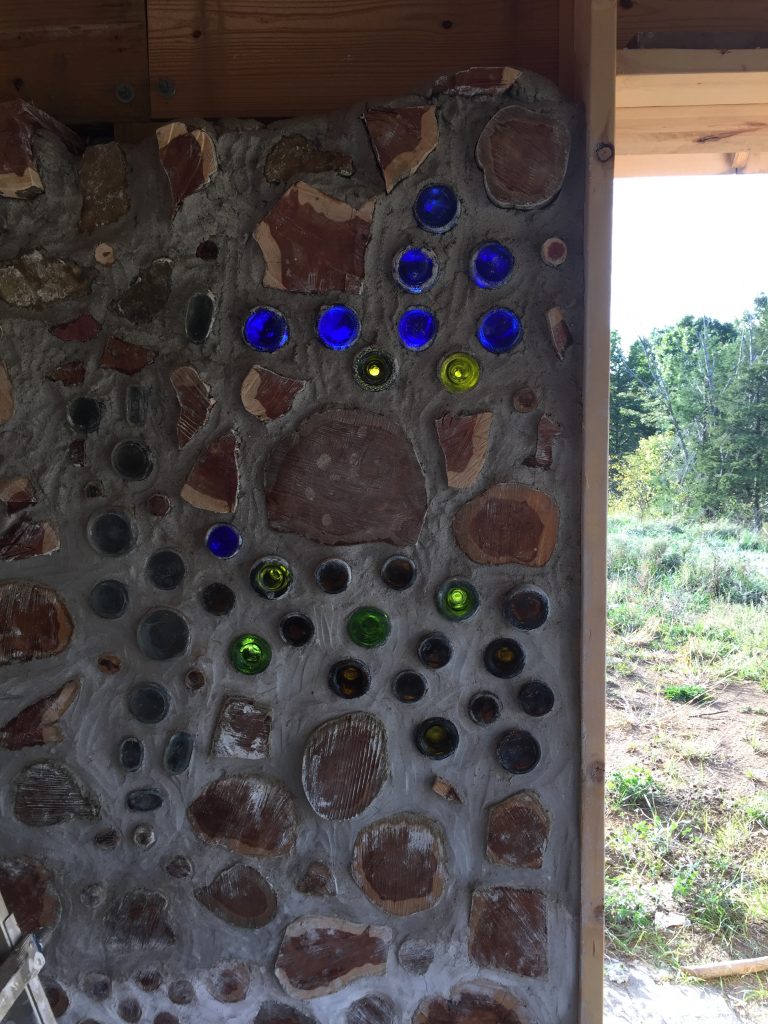
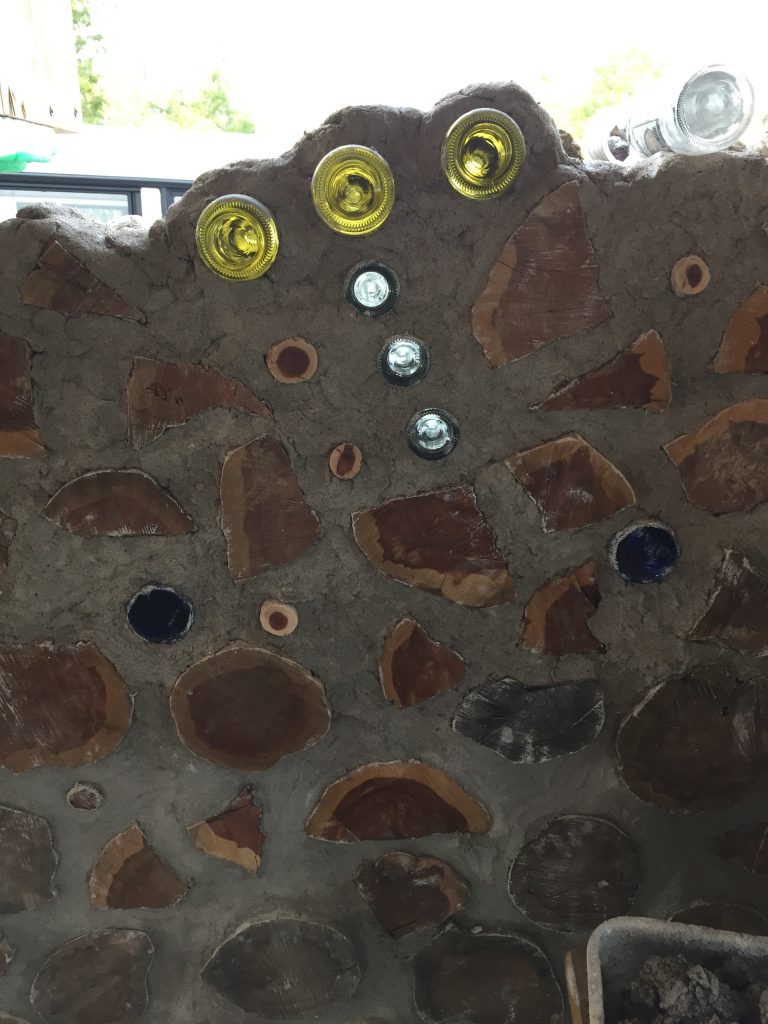
The top of the wall features a little blue truck for our 3 year-old son. The bottle is a random mix of greens and browns (and one random blue one, for no apparent reason).
There are also an odd assortment of sealed jars stuck in the wall against the post. These don’t see the outside and therefore don’t let in light, but they made good fillers for the wall as we ran out of short logs for the parts of the walls that go around the posts.
You can also see that we used some stones from the yard for the same reason. Using stones and jars on these interior parts of the wall made for an interesting way to vary the texture too!
Here you see the bottom half of the constellation Orion in progress in the north wall. This is one particular design that is very special to me and that I’ve been planning to build for a long time.
Why Orion?
Mark and I represented the Astronomy Club in our school’s homecoming court…because we are huge nerds.
The constellation Orion is one that I could always pick out easily. After my Dad passed away my senior year, I’d always look up at Orion and imagine Dad there. Over time, Orion became a special constellation for Mark too. Here is the finished product:
Items of Note:
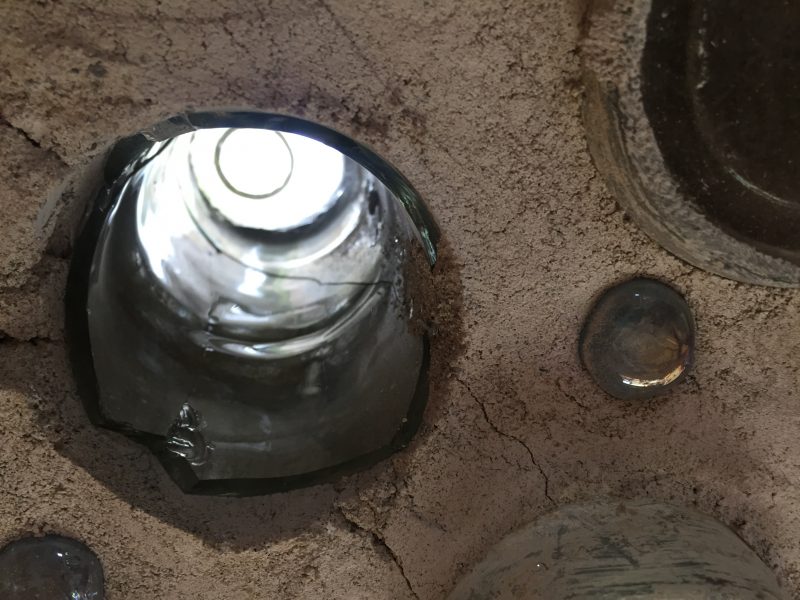
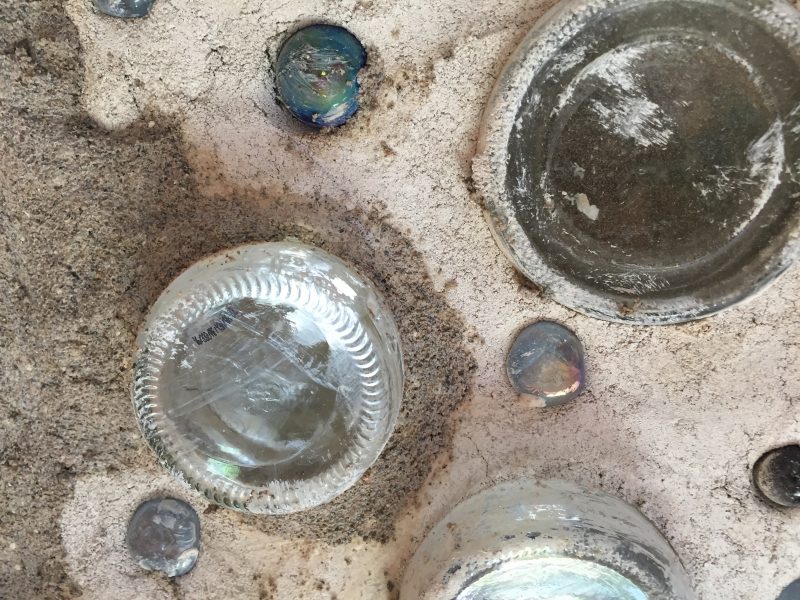
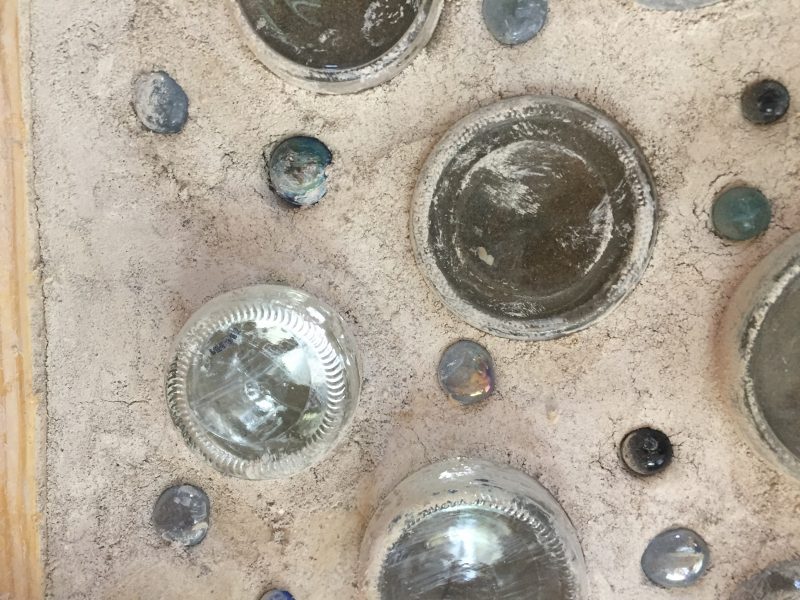
You see there is still mortar on most of our bottles that needs to be cleaned off. I managed to wipe off most of the excess but still need to go back and clean off quite a lot from the little grooves in the bottle ends. The mortar does bind tightly to the glass, but even after a few months it’s been pretty easy to scrape it off.
I also need to sand quite a bit off from the log ends and posts. I haven’t been too worried because the lime putty mortar stays pretty easy to clean off. If you choose to build with a Portland mix, it may be more important to clean the bottles and logs as soon as possible.
Learn more about our off-grid cordwood homestead project here. Be sure to join us on Pinterest,Facebook, and Instagram for more building and homesteading goodies that don’t necessarily make it to the blog. Thanks!

Hi there! In a couple years the wife and I will be building a cordwood home, and of course we want some bottle art, but I’m worried about what a building inspector might think of them. Are you in an area that required an inspection, and if so, did the bottles cause any issues?
Yes, our area requires some pretty heavy inspections, actually. The bottles didn’t cause any issue at all! Our inspector understood that the bottles were ultimately a pretty small percentage of the entire wall, plus the air inside actually makes a pretty decent insulator with a similar R-value to the logs.
Hello we are going to build a glass wall between two post and about 6ft high do we need to put reinforcing in the middle. Cheers
Hello! I wouldn’t imagine you’d need a reinforcing material to build this way. One of our sections in the kitchen is entirely made of bottles and there is no additional reinforcement. You WOULD need to make sure you insulate the middle if this is going to be part of a building, especially if it is meant for living or working in. If it’s just a freestanding outdoor thing you wouldn’t necessarily need to insulate the middle unless you wanted to.
Hiya! I’m designing a circular cordwood tiny house. For the bathroom I am going to be using the central open fire to heat the water, which will get poured down an open pipe running along the two inner and one outer wall of the bathroom before emptying into the open system tub. The tub is completely made of brick and mortar. So, my question is, would it be possible to build the enter bathroom wall of this section with glass bottles? It would not be load bearing because I intend to use post-and-beam framing to meet the code. I don’t care terribly about the aesthetics of if the bottles on the edges will receive enough light to shine. I just want to know if this is possible, as I seek to prevent the cordwood from maintaining contact with so much water and steam.
Ooh that’s a fun question! It would absolutely be possible to do that, especially if you’re using a post and beam framework. Just be advised that you are going to need a LOT of bottles to fill that much space (logs take up much more surface area in the mortar matrix than bottles do).
I am just interested in making bottle walls to go on sides of our porch for decor. You use three bottles, can I go with two?
I’m unsure of what you mean. I only use 2 bottles to make each bottle brick: a clear one for the outside and a colored or clear for the inside. I would think bottle walls for either side of the porch would be a great idea! There are lots of examples out there of similar things. Here’s a google image search to show what I mean.
I am building myself a growlery this summer. Just a round building with roof & seating. I received a old book on cordwood building when we started our sauna last year. We ended up with enuf long logs to build it like a cabin to match the house. But I love the look of cordwood & did some more research. What I’m thinking of doing now is a mix of cord wood, tires & bottles, all things I have ready access to. I also have returnables. Pop and beer cans & bottles plastic, glass and metal that we pay a 10¢ deposit on when purchased. Returnables are not being accepted at stores for obvious reasons right now. My question is: how can I best use metal & plastic returnables in my construction?
Hi Marissa, Your project sounds very interesting. My input on your question: Due to the extreme weight of cordwood walls, it might make sense to keep cordwood separate from the upcycled materials, because there could be a risk of these materials having some “give” to them, if cordwood were to be placed on top. Masonry is brittle and doesn’t handle tension very well. The tires and bottles would need to be packed super-full with dirt or some other filler if they were under cordwood. I’ve seen people pack plastic bottles with dirt, then lay them as bricks (in cordwood fashion) in some kind of mortar or cob, then finish the walls with plaster because the plastic bottles aren’t too pretty. I believe this has been done with aluminum cans as well — personally, I would avoid using steel cans because it seems they rust like crazy with even mild exposure to wetness. If you haven’t already gone down this path, you should look into DIY earthship building, which is where I’ve seen a lot of discussions about used tires, bottles, etc.
Alternatively, you could build cordwood near the bottom (as long as it’s a foot above grade) and use the plastic bottles/plaster on top. Kind of like a cordwood wainscoting, might look really neat and give you nice bright walls. Conventional cordwood wisdom would say to have the cordwood portion higher up on the wall to prevent splashback and driving rain, but I’d be more worried about cordwood on top of plastic bottles and tires than the cordwood being lower and getting wet.
Another possible idea… it might make sense to use the plastic bottles and plaster in areas that wouldn’t be enjoyed, such as behind kitchen cabinets or in awkward closet space. If you use lime putty mortar for cordwood, and a lime plaster for the plastic areas, you theoretically should be able to blend the colors pretty closely.
Hope this project turns out well — document it and share!