Disclosure: I sometimes earn products or commissions from affiliate links or partnerships on my blog. I only recommend products and services I trust to serve you. Learn more.
For anyone who has been following along on Facebook and Instagram, you’ve seen some pretty cool changes happening to our house since the last update.
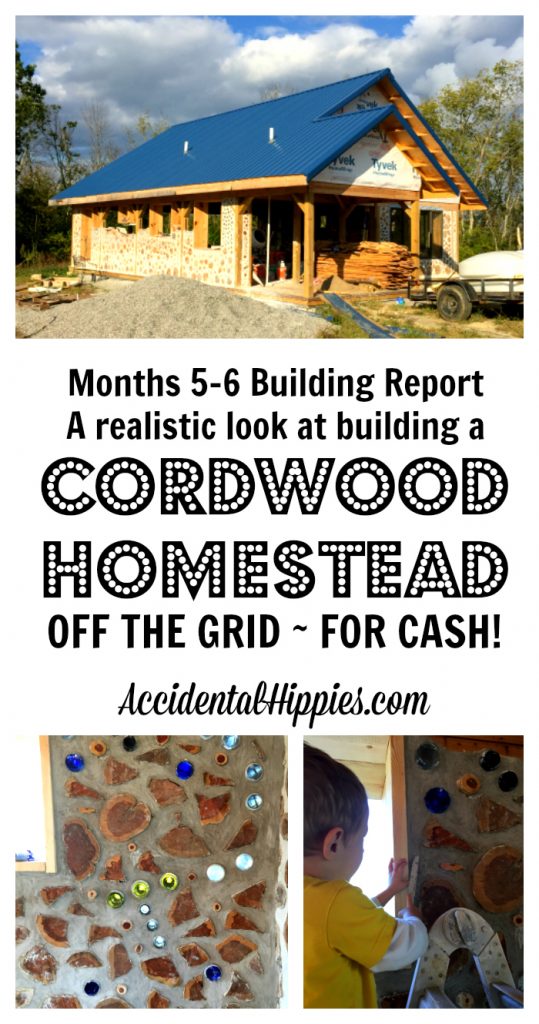
If you missed it, read the August – September Update HERE.
Also, here’s the June and July updates if you want to see how this house rose from the ground.
At the end of the last update, we had just finished the east wall:
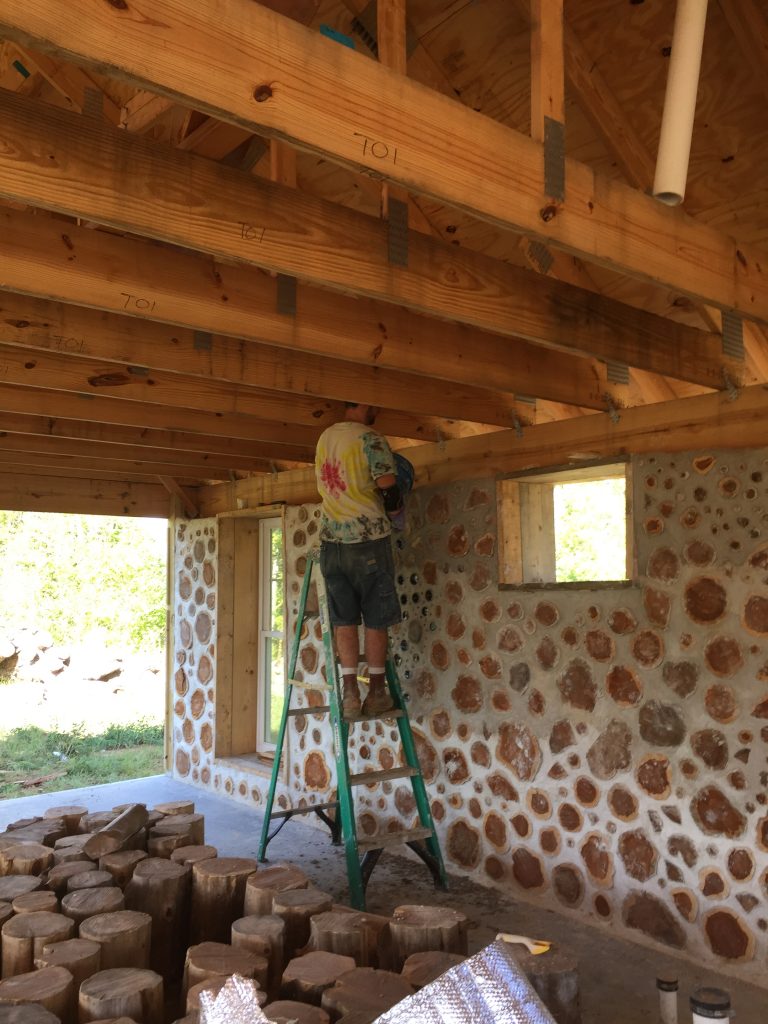
And on October 30 we completed the last wall!
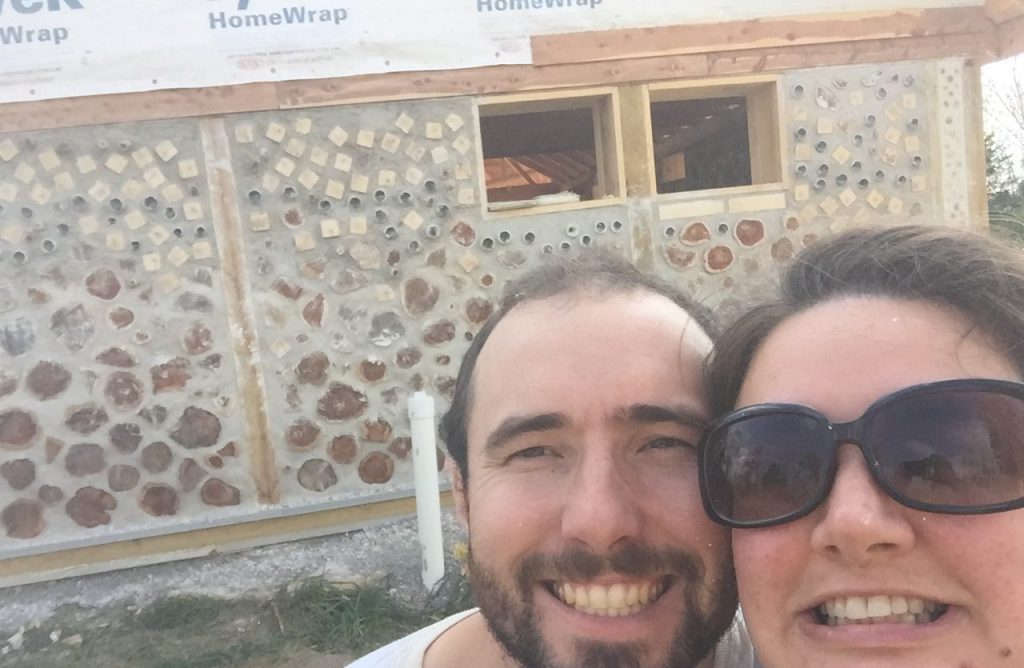
Here is the complete breakdown of everything we did in the last six weeks, plus preliminary final stats on what we ended up using to build!
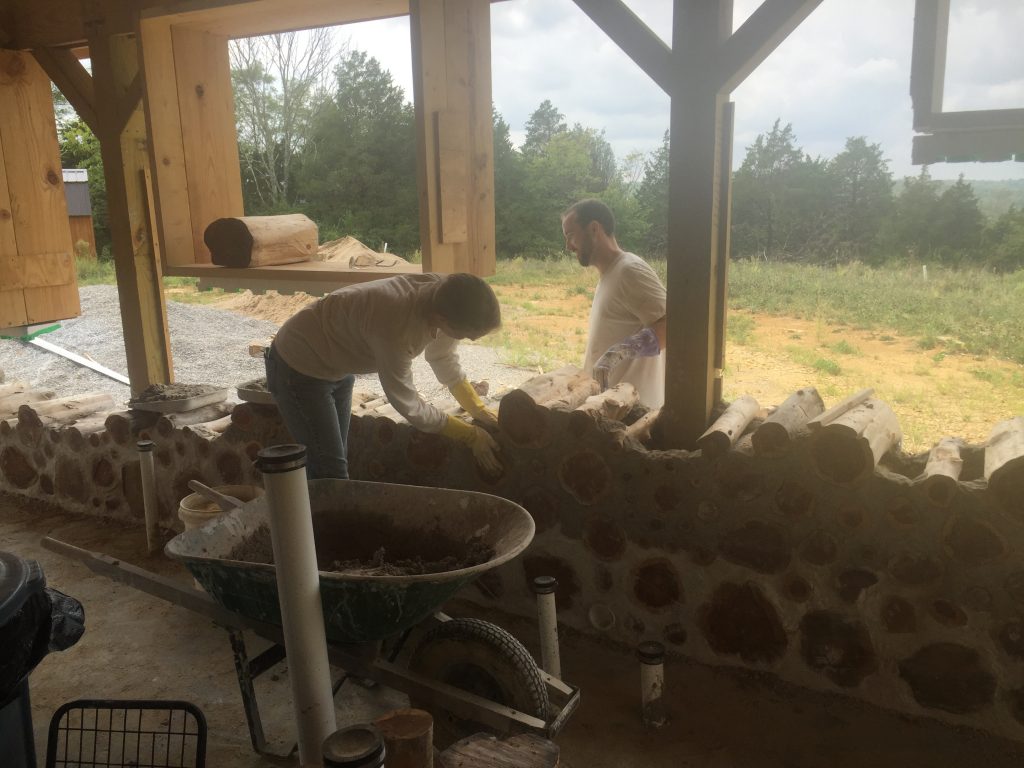
1. Resumed work on the west wall with occasional help from Mark’s cousin and her husband (thanks, you guys!):
2. Completed my first solo build in the northwest corner of the house:
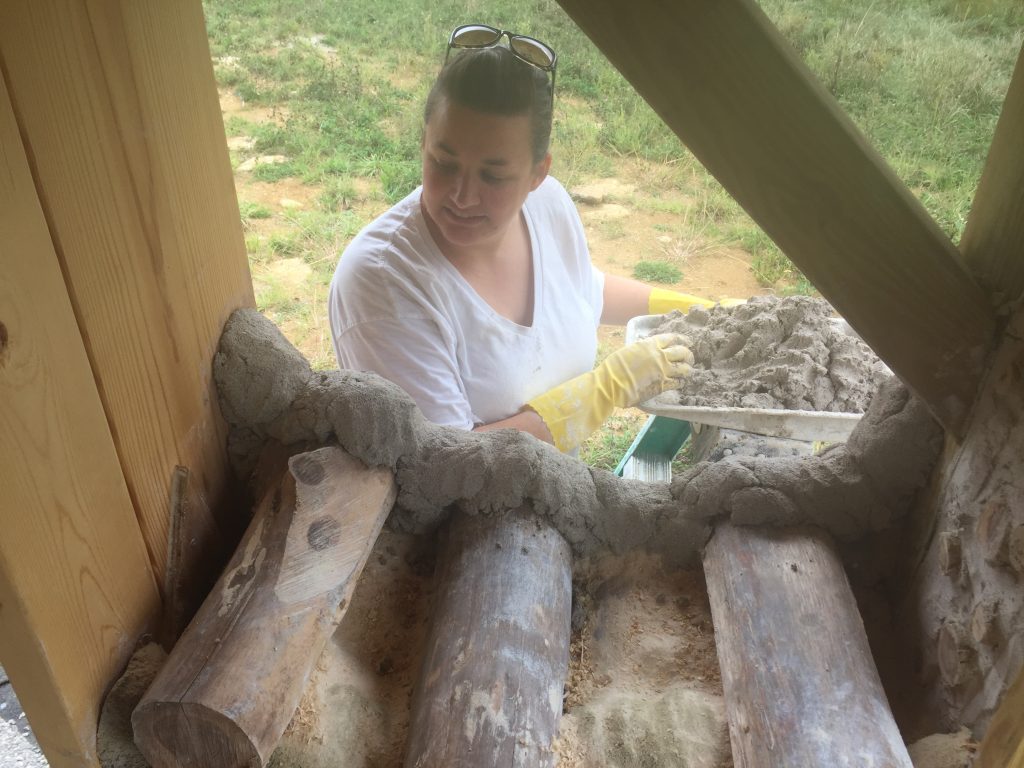
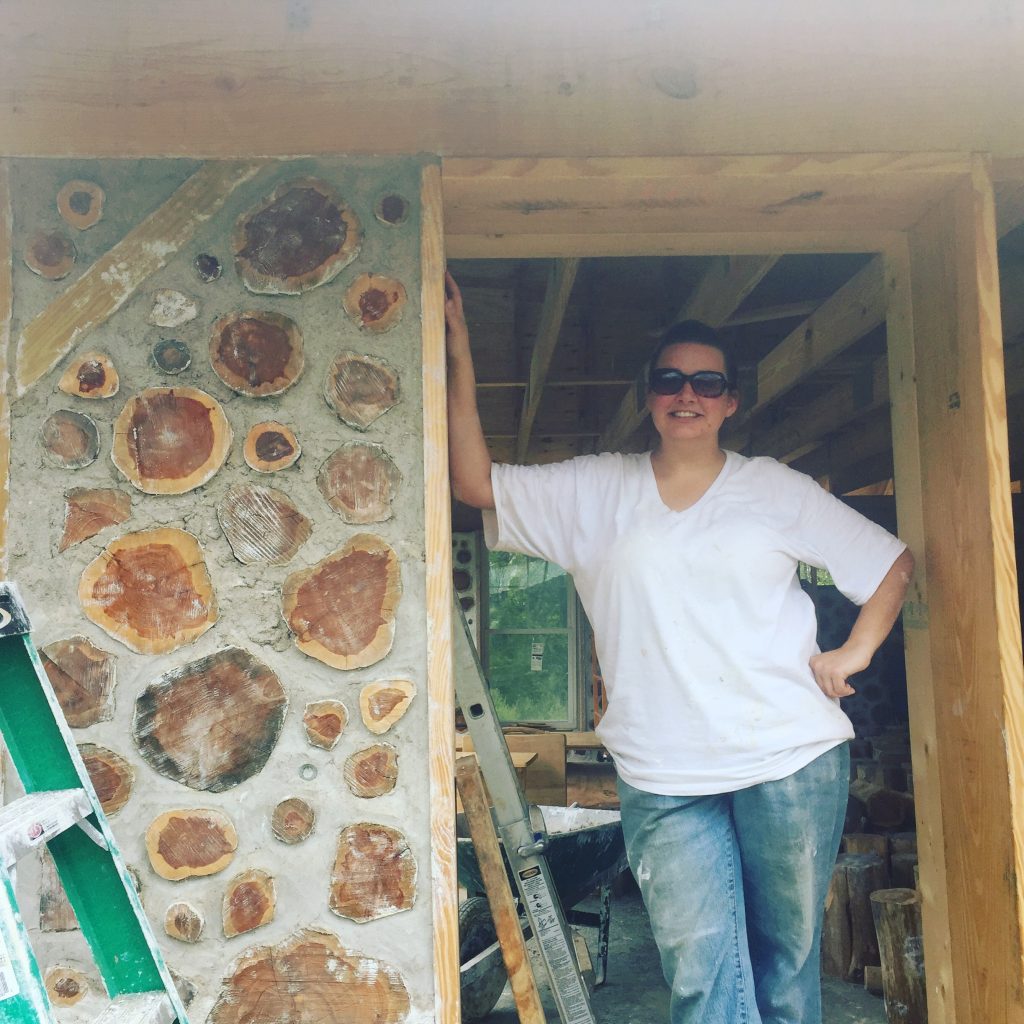
This was the shot before pointing the mortar and cleaning off the log faces. Just finished and feeling good!
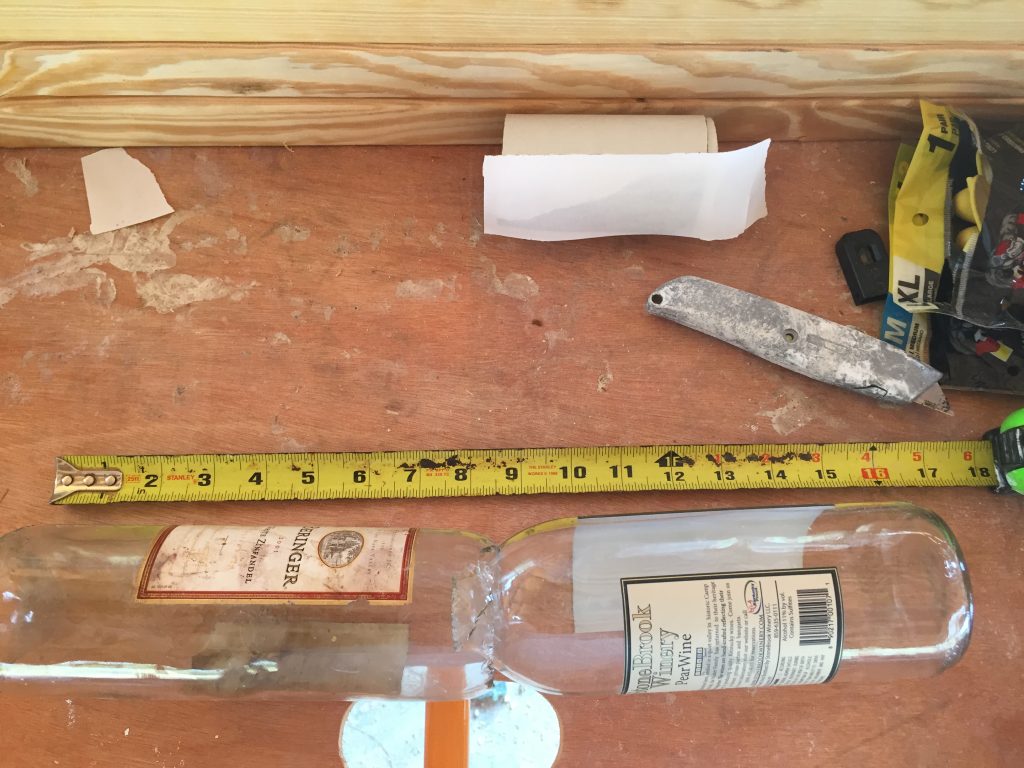
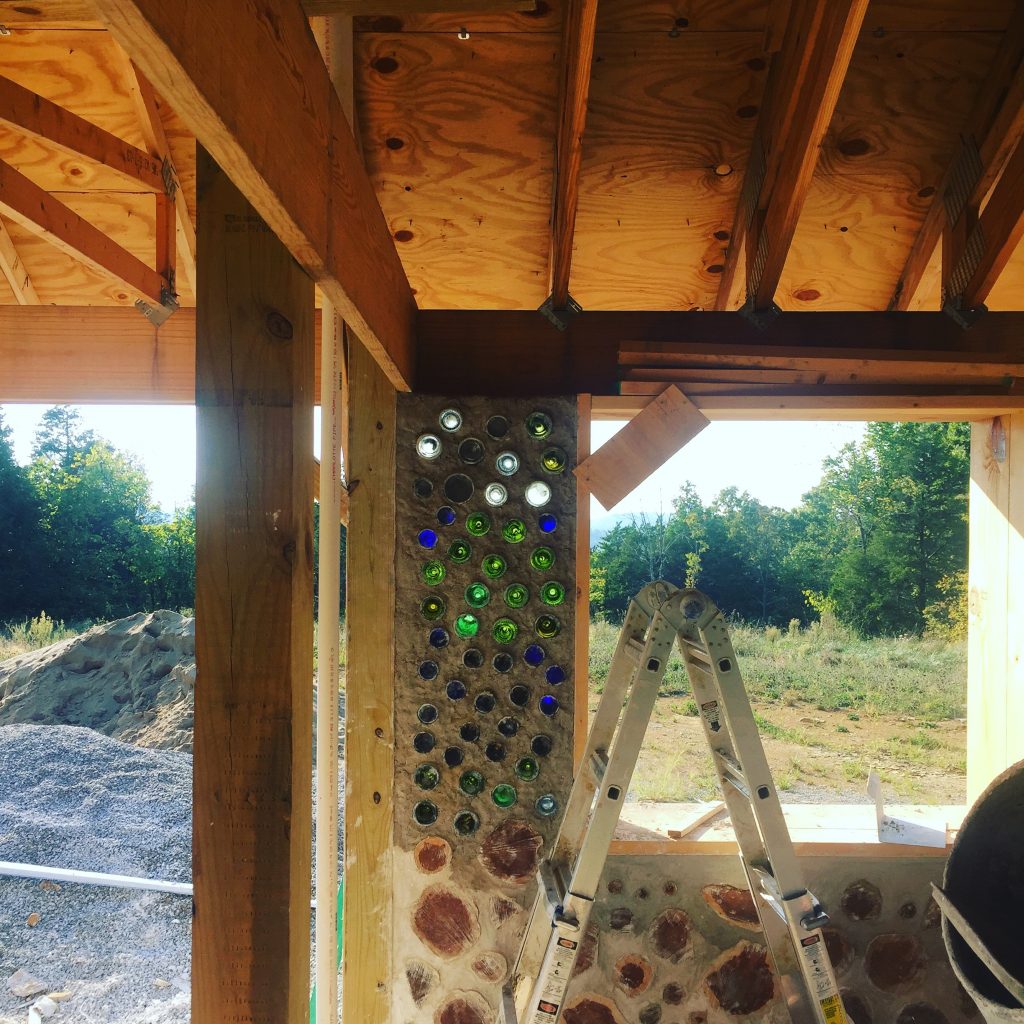
3. Picked up over 200 wine bottles to place in our walls. Check out the ultimate bottle tutorial and FAQ HERE (cordwood expert Rob Roy complimented it and I’m still geeking out about it just a little bit!)
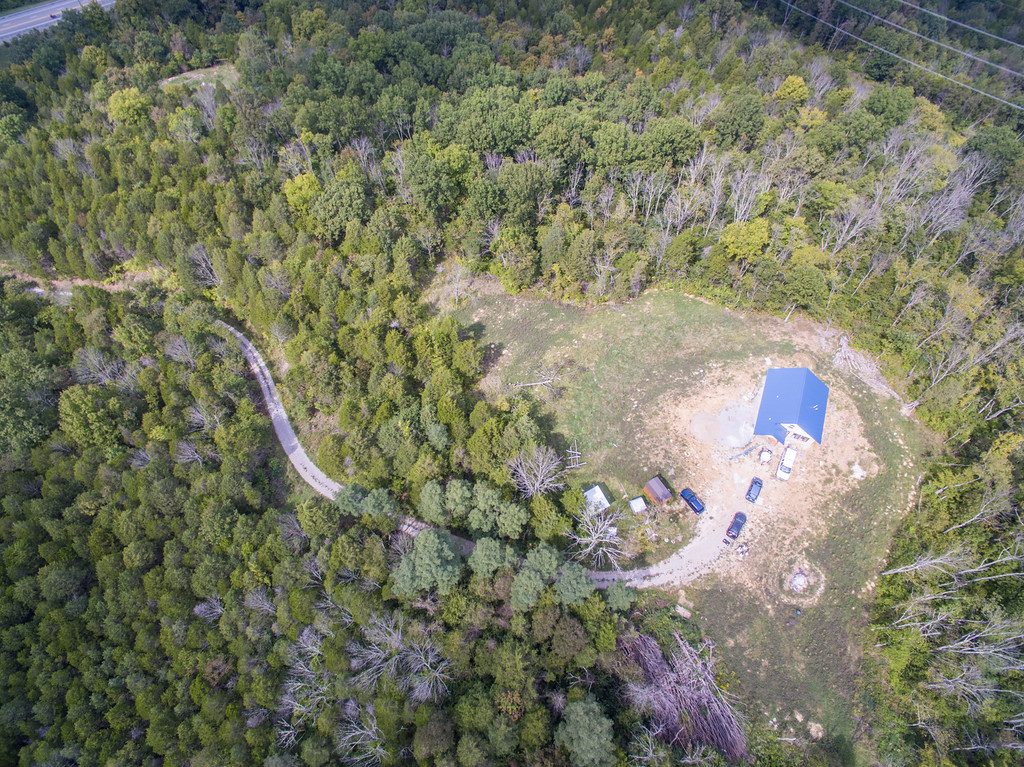
4. Had a friend show up to take some awesome DRONE PHOTOS (seriously!)
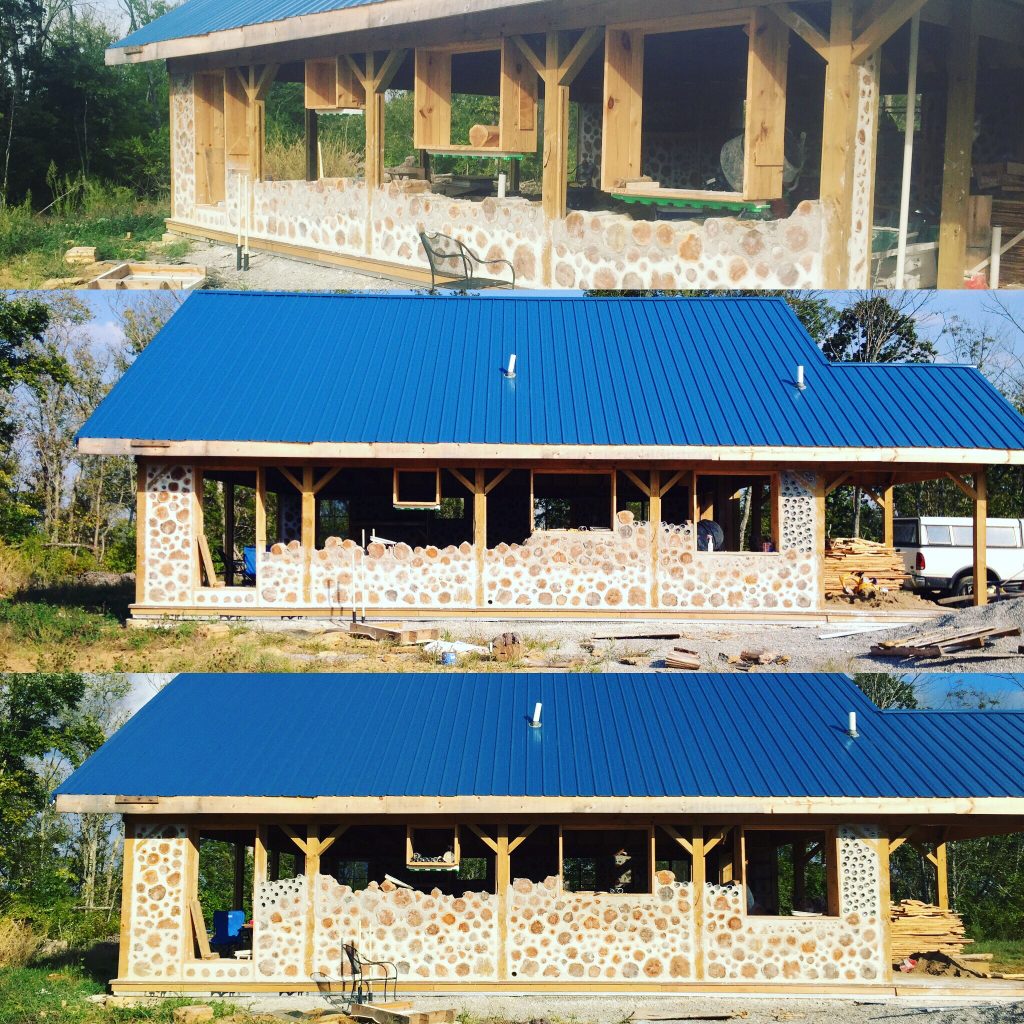
5. Made slow but steady progress on the west wall. Each progress shot below represents one day of work with 2-4 people.
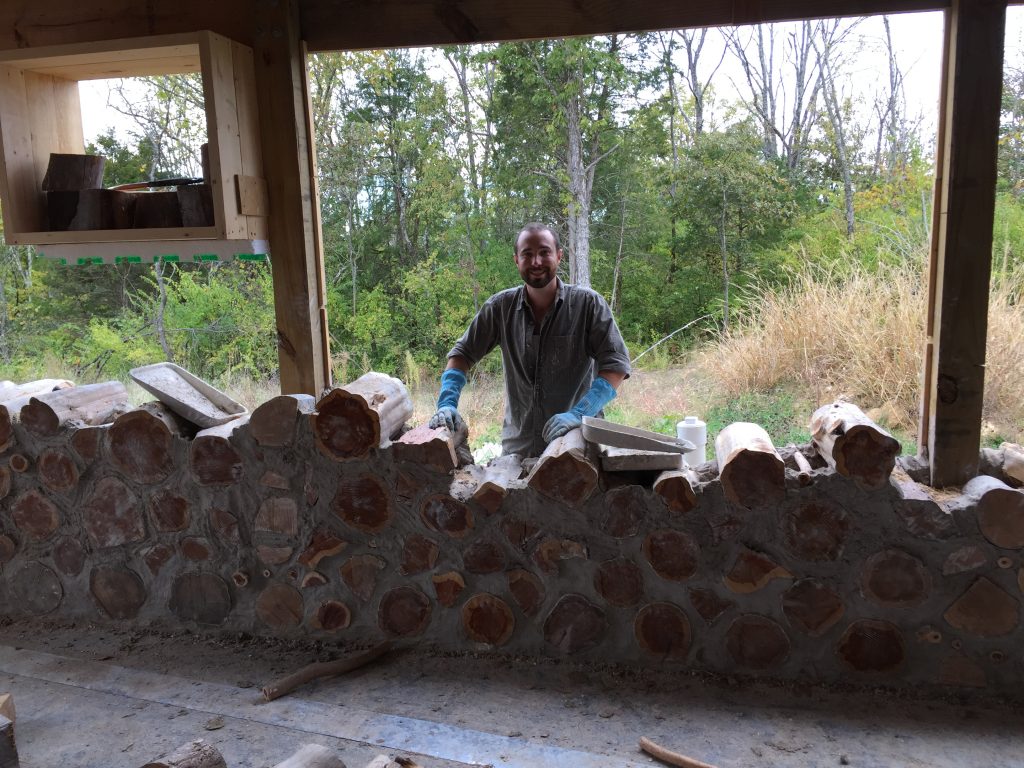
6. Completed the west wall and started the north wall (the last one to complete). The entire lower third was a solo build by me Monday-Thursday of my Fall Break from school working only about 5 hours a day (factoring in travel and daycare pickup):
Mark got to join me that Friday though!
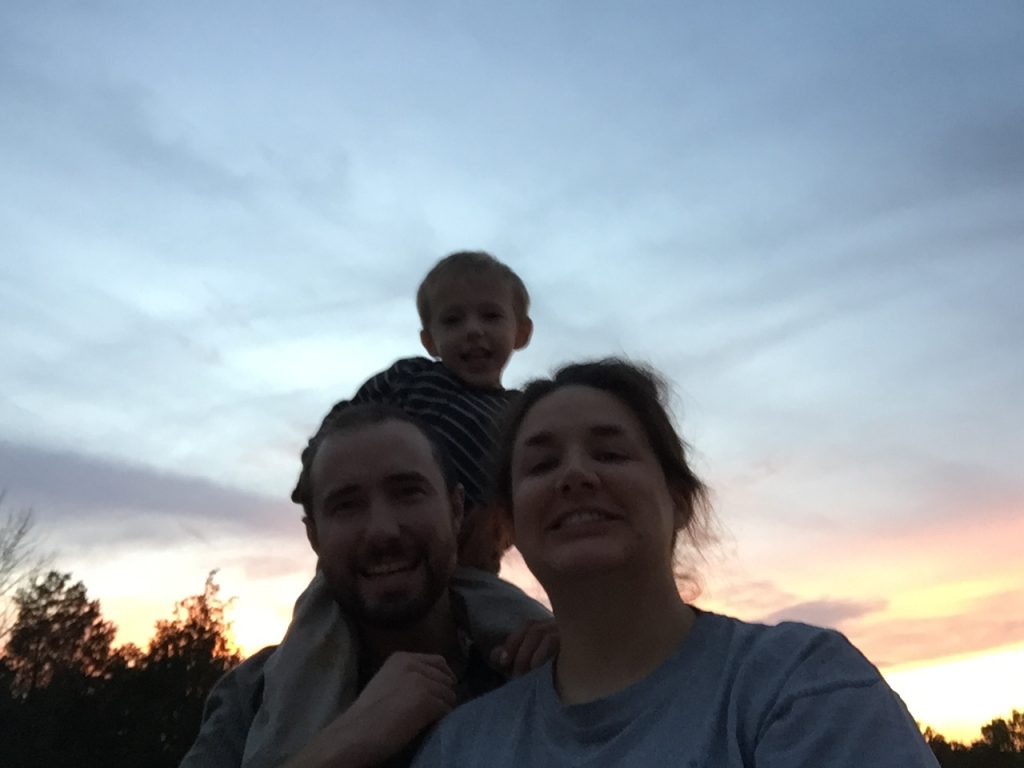
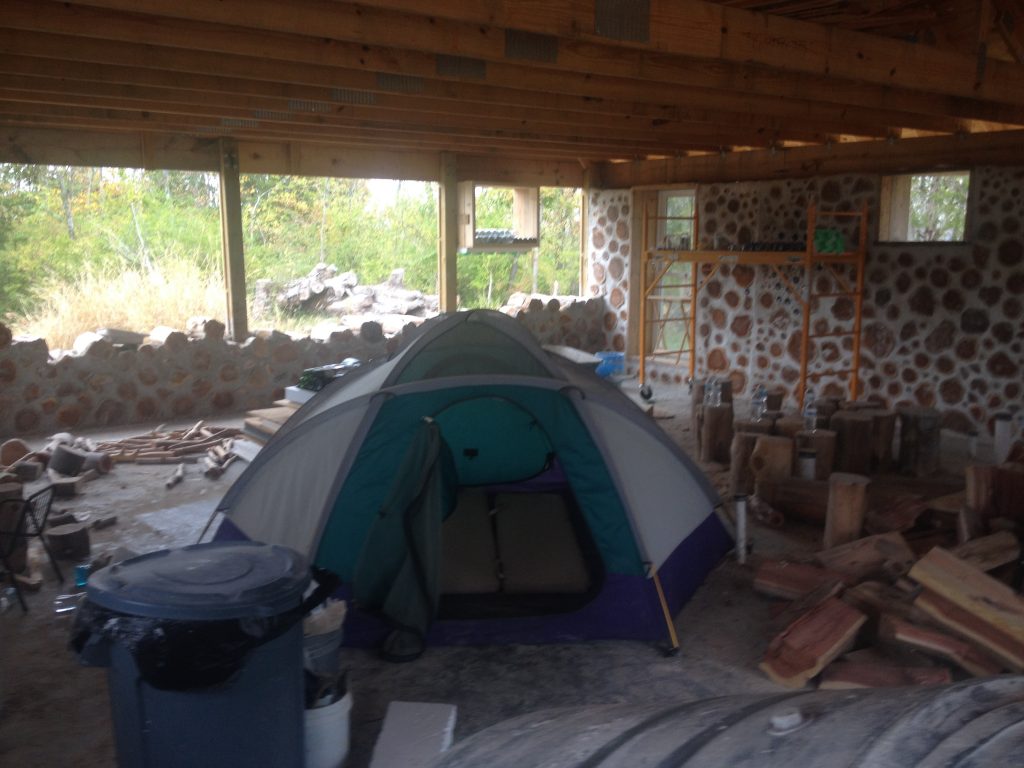
We even got to have a little family “camping” trip out on the property that same night. We set up a tent in the house, had a little fire and roasted some marshmallows together.
After so many weekends away from our boy to build these walls, it was good to have some downtime with him.
READ HERE for more on how we’ve tried to maintain a family balance and keep our sanity during this building process.
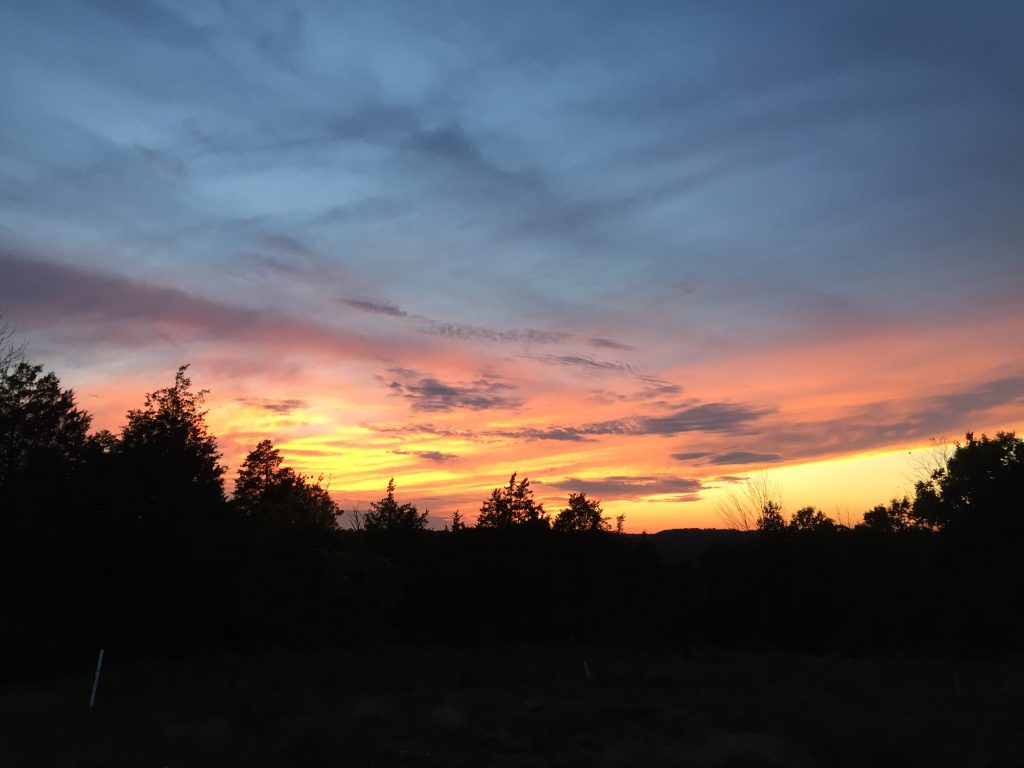
I can’t wait for this to be my sunset view EVERY night!
7. Completed the constellations of Orion and the Big Dipper in the master and kid bedrooms respectively.
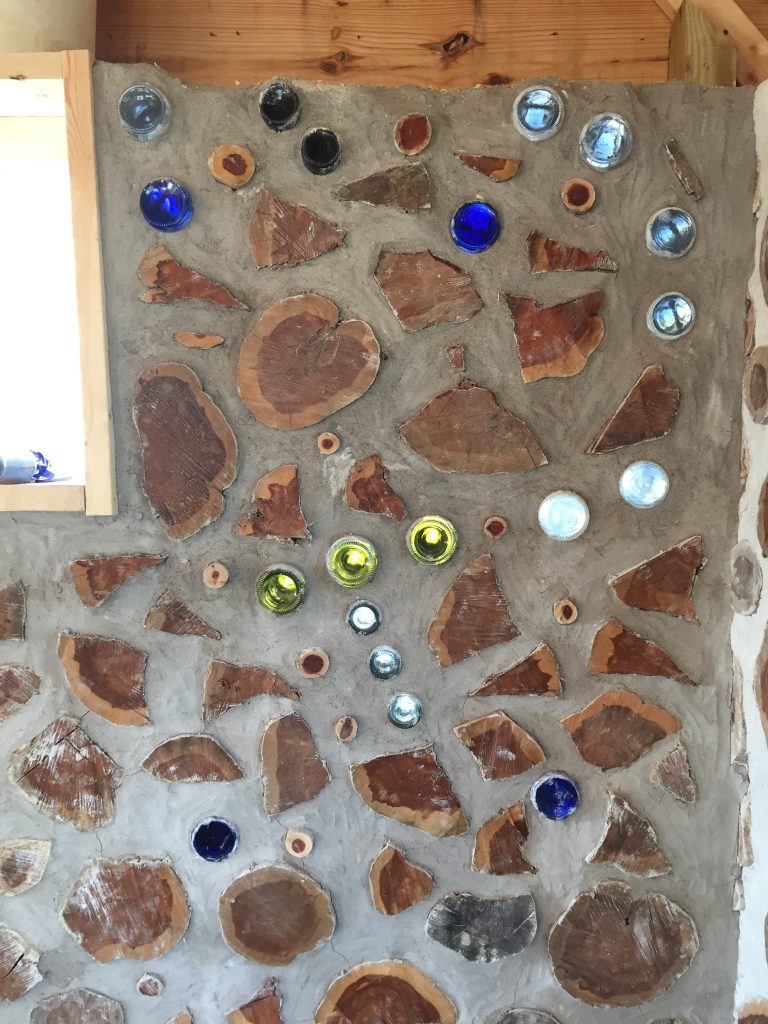
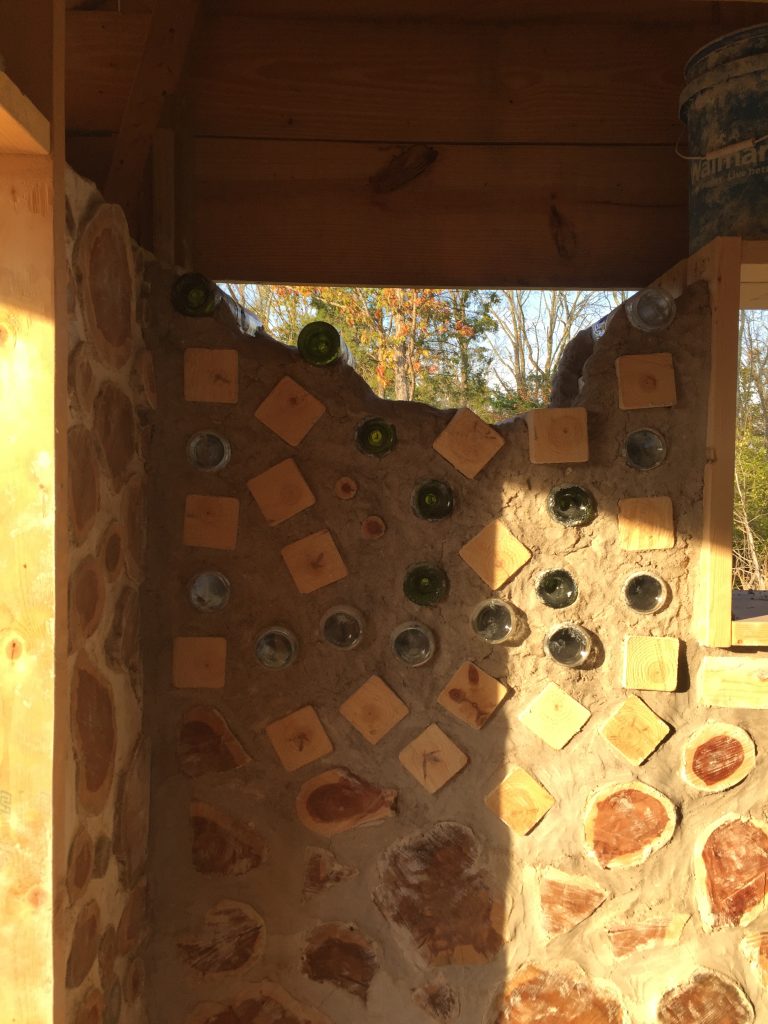
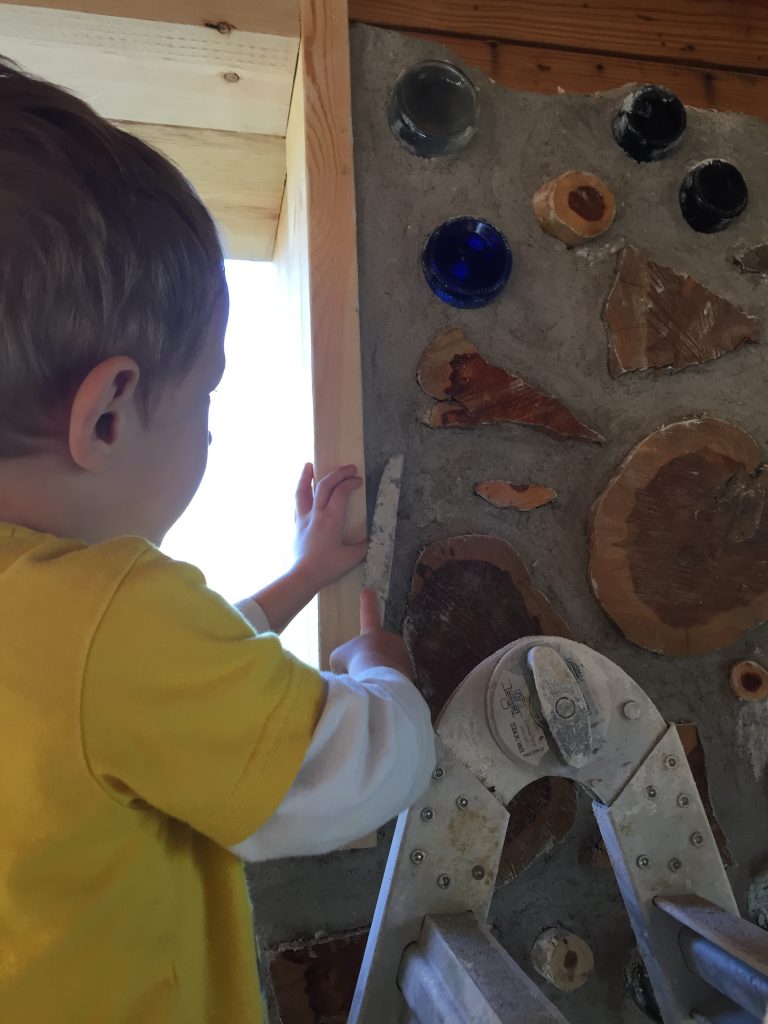
Our 3-year-old even got to help point (smooth) the Orion wall the next day. What a helper! Don’t worry, I’ve got a hand on his back 😉
Related: How to Safely Build a House With Your Kids
7. Ran out of cedar logs! Yikes!
This was something we were really hoping to avoid, but it became inevitable. We tried cutting down a cedar but the bark has stuck tight for the winter (not exactly news to us, but we gave it a try anyway). All of the dead ash trees we had left either had too much rot or tough bark, so Mark ended up going to Menards for some 4×4 untreated white pine (a good-ish wood for cordwood masonry).
These are dried to a moisture content of approximately 19% or less, which is close enough to the 12-15% of our cedar logs that I’m not too worried about them. For reference, all of our trees were at around 30-40% when freshly cut and have hung out between 10-15% in the year or so that they’ve been drying. Even the ones we cut this summer to try to make up the difference got to about 15% in the heat of the summer.
Related: How to Prepare Logs for Cordwood Masonry
Mark cut the posts into 16″ lengths to finish out the remainder of the wall. We couldn’t get any posts besides squares, unfortunately, so the visual make-up of this wall segment is pretty different. We won’t end up seeing much of it from the interior though since our bedroom closets will go there. It’s not exactly the visual I wanted, but it does make for an interesting story that adds character to the house.
8. FINISHED THE LAST WALL!
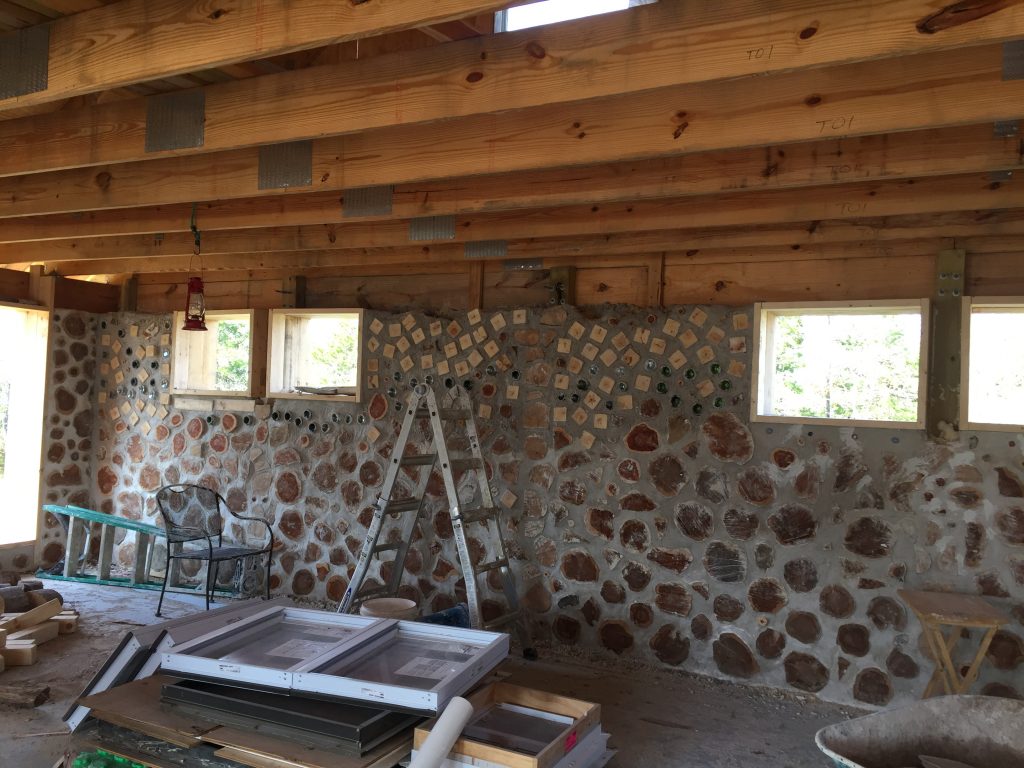
Three weeks after starting this wall, we finally finished it! It’s such a relief to have beaten the frost! It was 80 degrees on October 30th when we laid the last log in place. 80 DEGREES! Our average first frost date in this area is October 25th and we still haven’t had one as of yet. I’m not sure what we did to deserve such fantastic weather, but we sure are grateful for it!
For reference, this was the very first update post from all of our big work in June. My, how far we’ve come in just 5 months!
Preliminary Final Wall Stats
I haven’t done an exact count on any of this, though I really want to at some point! My rough estimates are that for:
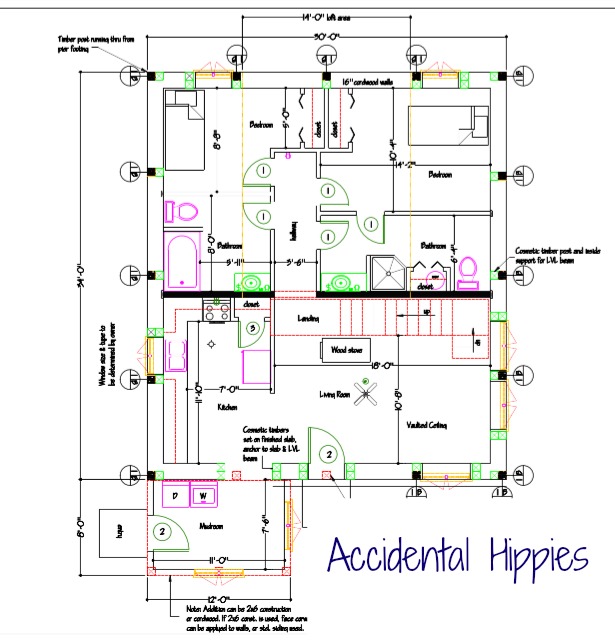
1 – 30×7 wall (north)
2 – 34×7 walls (east and west)
1 – 14×7 wall (south)
-Window surface area = +/- 588 square feet of wall space
We used roughly:
- 40-50 cedar trees, debarked and cut to length all by us on our property
- 8-9 pine posts for additional log ends
- 50+ 50-lb bags of Type-S masonry lime
- 3100 gallons of sawdust/lime insulation mix
- 12+ tons of sand
- 250+ bottles, jars, and glasses
We took roughly 3 1/2 months to complete the cordwood walls using only weekends and holidays with only 3 work days of additional help from family and friends.
Number of days just laying cordwood = 40
Total time spent = 246-280 man-hours
I’ll attempt a cost breakdown at some point, but that requires me digging into Mark’s Big Binder of Receipts which I’m sure is riding around in the back of his truck at this very moment.
Now what?
Now, we can relax a little bit. It was imperative to get these walls up before the temperatures dip. Even though they’ll still be curing as the temps fall over the coming weeks, the outsides will have hardened nicely. We set a temperature record for November 1st with a high of 82, so they ought to be pretty hard to the touch by now.
The next items to take care of include:
- Installing the windows
- Framing up the doorways and installing doors
- Framing and siding the mudroom
- Closing in the soffits
- Putting up the cedar siding to FINALLY cover the Tyvek (ugh)
Long Range projects include:
- Interior wall framing (the basis for the next inspection)
- Subfloor and stairs for the loft
- Cistern and pump
- Solar/wind system
- Plumbing and electrical
- Actual house fixtures (cabinetry, plumbing fixtures, etc.)
There are so many little parts of a house to put together that it blows my mind when I start thinking about it. Hopefully, I can break it all down for those of you who have expressed interest in doing this kind of project.
Update 2019: I DID break it down for you! You can get the free comprehensive PDF guide by subscribing below to get it straight to your inbox.
If you want to know more about our off-grid cordwood homestead project, click here. Be sure to join us on Pinterest, Facebook, and Instagram for more building and homesteading goodies that don’t necessarily make it to the blog. Thanks!
