Disclosure: I sometimes earn products or commissions from affiliate links or partnerships on my blog. I only recommend products and services I trust to serve you. Learn more.
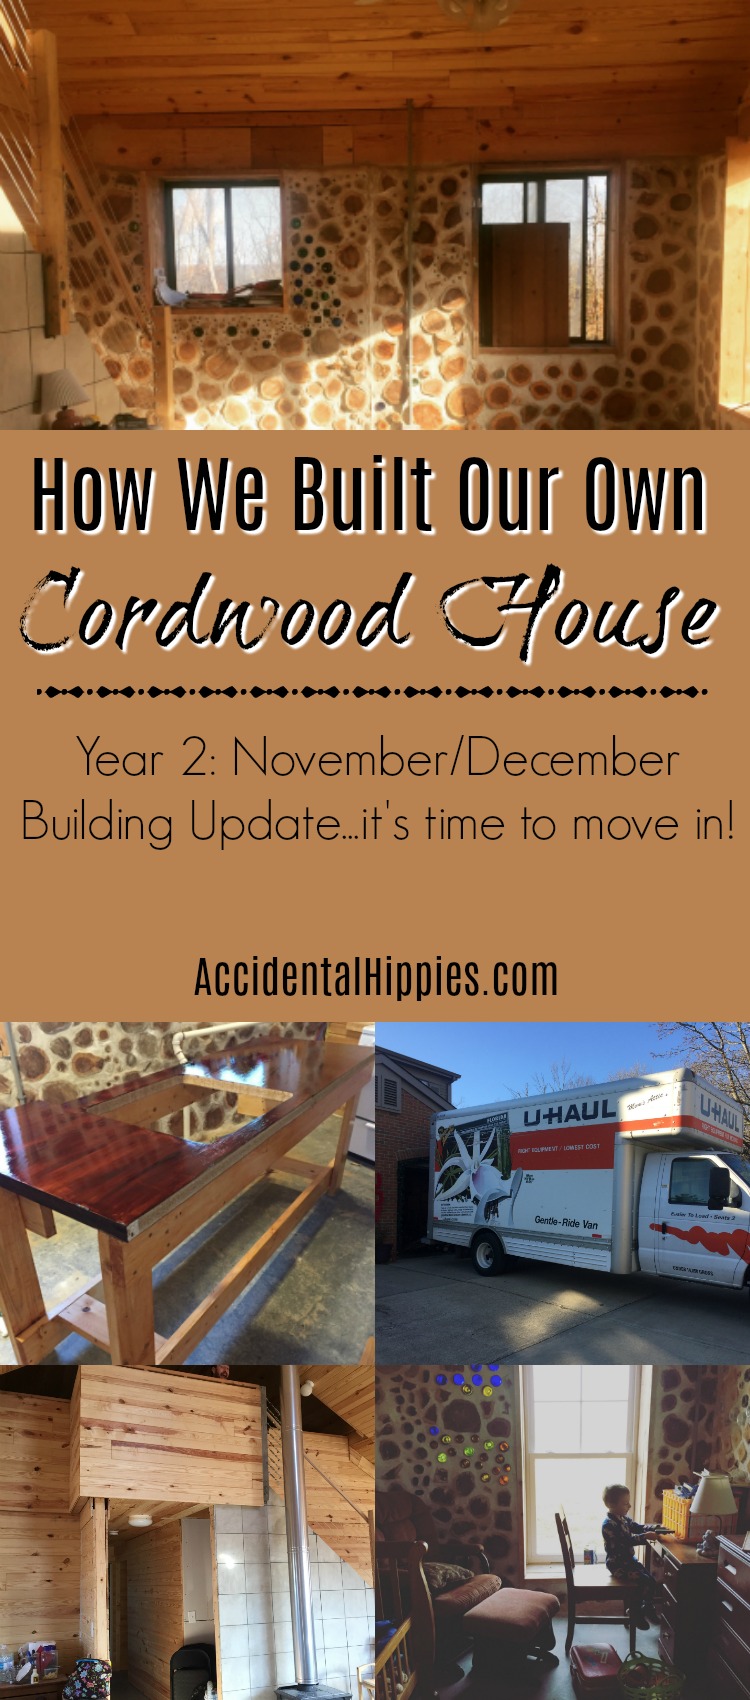
Building a cordwood home with our own hands has been a long and rewarding experience. Here are some of the major things that happened in the last two months as we finished the build.
We have been building our cordwood home for just over two years and in this building update we cleared a MAJOR hurdle!
In this update from LAST YEAR we didn’t even have the entire house closed in yet!
And at the end of the previous update from September-October, we had finished some relatively small projects. We’d completed the tile wall behind the stove, painted our free bathroom vanity, and built a stair railing.
To be fair, those are all important things, but they were secondary to the bigger tasks we had going on in the background.
Namely, we had to amend our solar system to meet our inspector’s requirements and complete the tasks needed to get our occupancy permit.
It was stressful trying to get all of it completed in the run up to Christmas, but we did it! And most importantly…
WE FINALLY GOT TO MOVE IN!
Let’s take a look at everything that happened in these final two months before the move:
Building a Cordwood House: November-December Building Update (round 2)
1. Dealt with the rest of the tongue and groove pine.
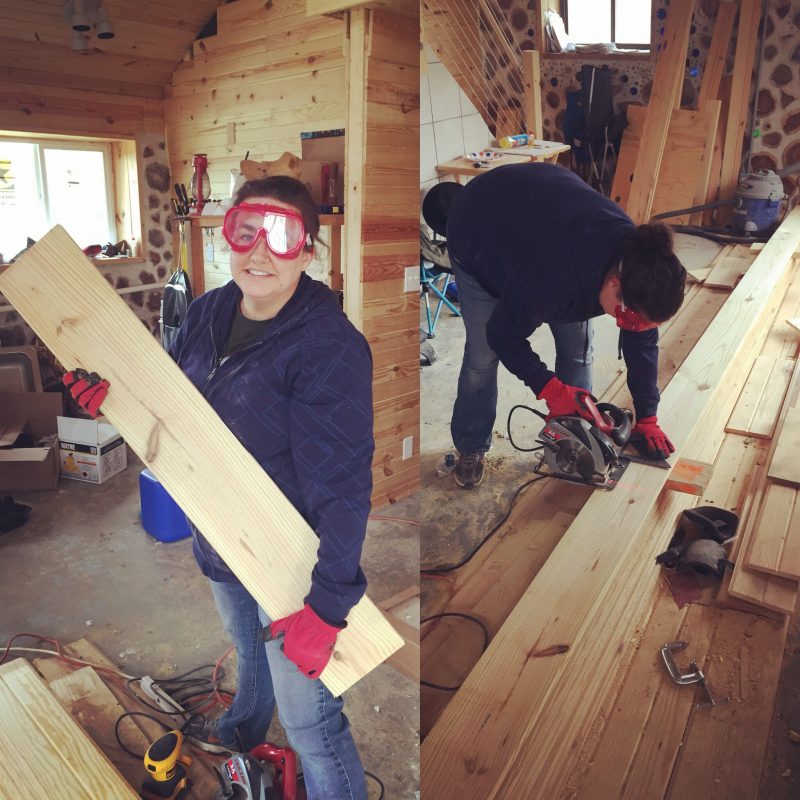
We used tongue and groove pine siding for all of the stud walls in our house. Good practice is to order extra in case of splits and miscuts, so we ordered about 15-20% more than we needed. Since we were pretty efficient with using what we had, we had a lot left over…and it was taking over the living room!
We needed to move it all if we were going to move in.
We used some for trimming the edges of the rooms (see an untrimmed area above my head on the wall behind me). Mark and I cut the rest of our 16 foot boards in half and moved them to the shed for storage. Some will go to family for their own home projects, some might stick around to use for any repairs if necessary. We’ll see!
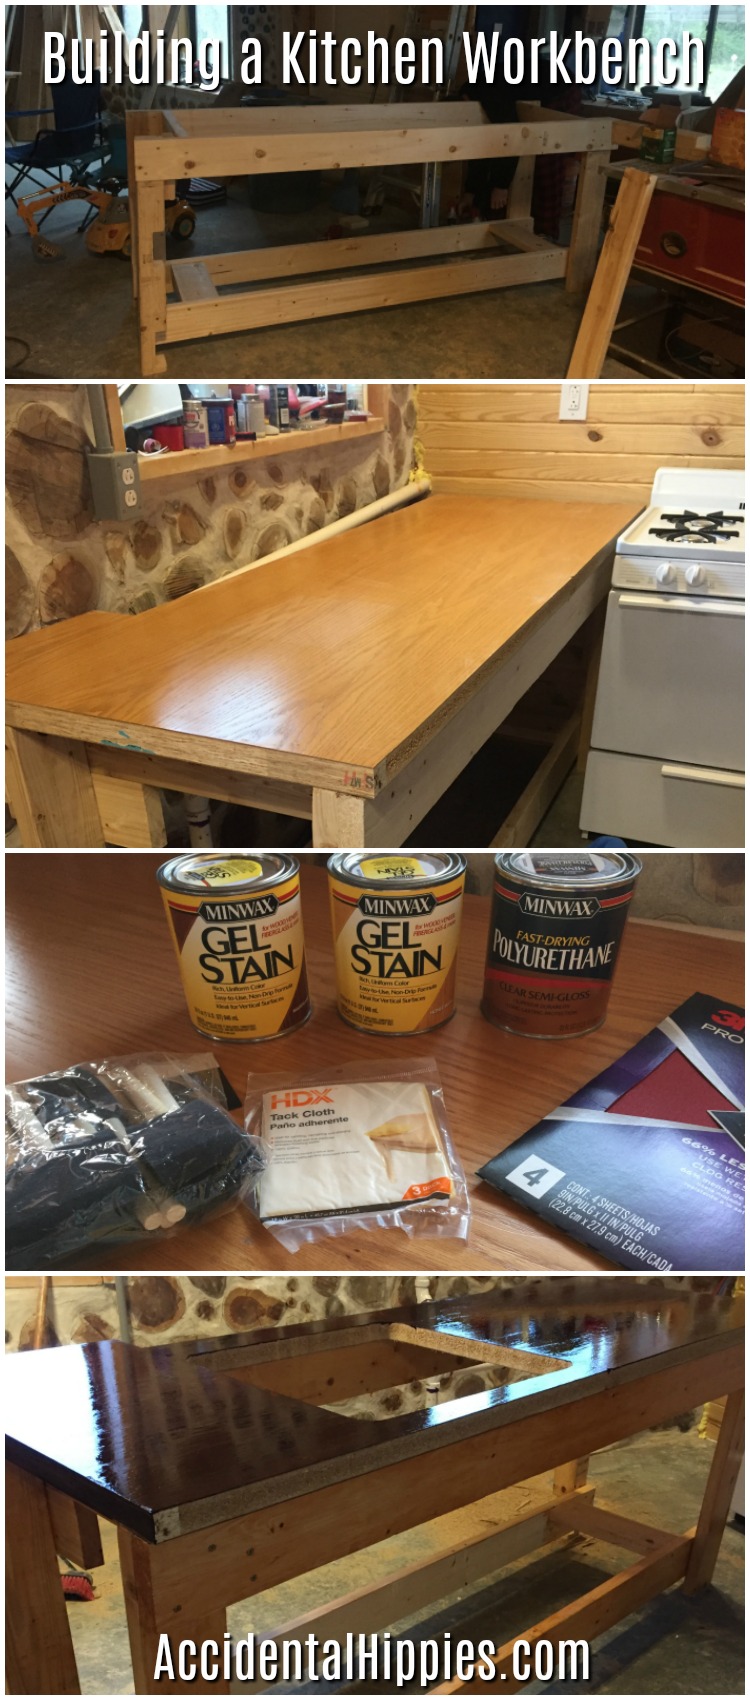
2. Built the kitchen “workbench”
I’ll have a whole post on this project eventually…it was such a cool little project!
Because our cordwood walls aren’t perfectly flat (irregular log shapes) and we had a wonky vent pipe to build around, it became apparent to us that using standard base cabinets in this area was going to be impractical.
To work around this, Mark built a sturdy workbench out of lumber. We used a solid core door from one of our local reuse centers as a countertop and cut it to fit our space. We wanted to keep the wood look of the door so I used gel stain and polyurethane to finish the countertop. In hindsight, I wish I had opted for paint and bartop epoxy, but hey, live and learn.
Still have to add the trim piece for the front edge. I’ll create a tutorial here shortly!
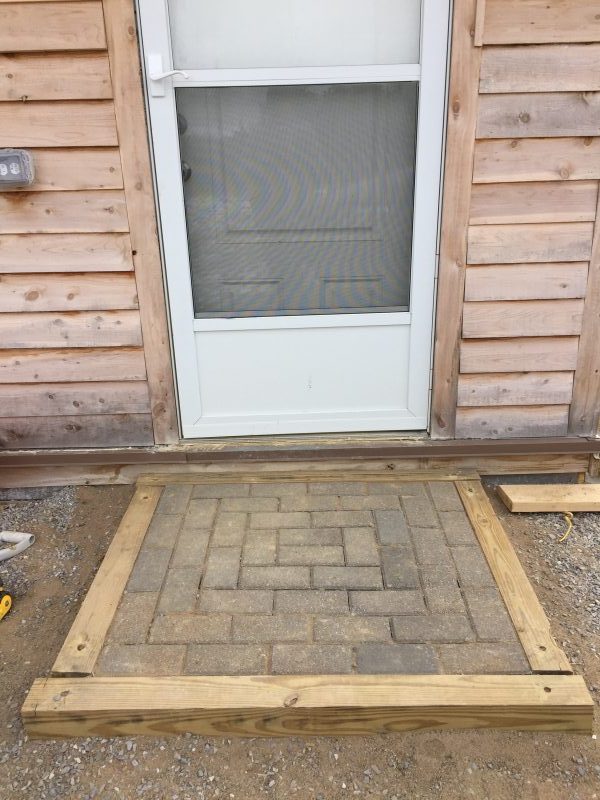
3. Built a step out of free pavers and scrap timbers.
One of the requirements of our occupancy permit is having a concrete pad for at least one entry door with a minimum size of 3’x3′. Our inspector told us that the brick pavers we had lying around would be fine for our purposes, so I repurposed some of them to make a pad that is just over 3’x4′.
To keep it easy we opted not to mortar the steps, but to fill it in with some of our masonry sand and hold everything together with some pressure treated 4×4 timbers we had left over. I drilled some holes at the ends of each timber and pounded in some rebar to hold it all together.
It’s not perfect but it works for us!
Related: How to Get Building Materials Cheap or Free
4. Amended our solar power system.
One of the things we kept a bit on the down low was the fact that our local electrical inspector had some amendments for us to make to our solar power system. This included adding a DC disconnect outside the house at the array, among other things.
This required us to consult a local solar technician to satisfy our inspector. The whole ordeal set us back a month or more and cost a lot of money in the process.
Related: Getting Started With Solar Power
The good news is that our system finally passed the last electrical inspection and allowed us to…
5. FINALLY MOVE IN!
After we had the electrical inspection we called the primary inspector for a final look around. He had a couple of quick things for us to do (like cover some spray foam insulation that was still exposed). Mark, being the beast that he is, managed to do all of these things pretty quickly, sent him pictures of his work, and got the occupancy permit!
The big surprise in all of this is that our inspector decided to grant us a FINAL occupancy permit and not just the temporary, meaning we are OFFICIALLY DONE WITH INSPECTIONS!!
That doesn’t mean there’s no more work to do. We still need to grade the outside and put in a paver pad at the other door, not to mention all of the trim work we’ve been avoiding. But we don’t have to answer to anyone about it anymore.
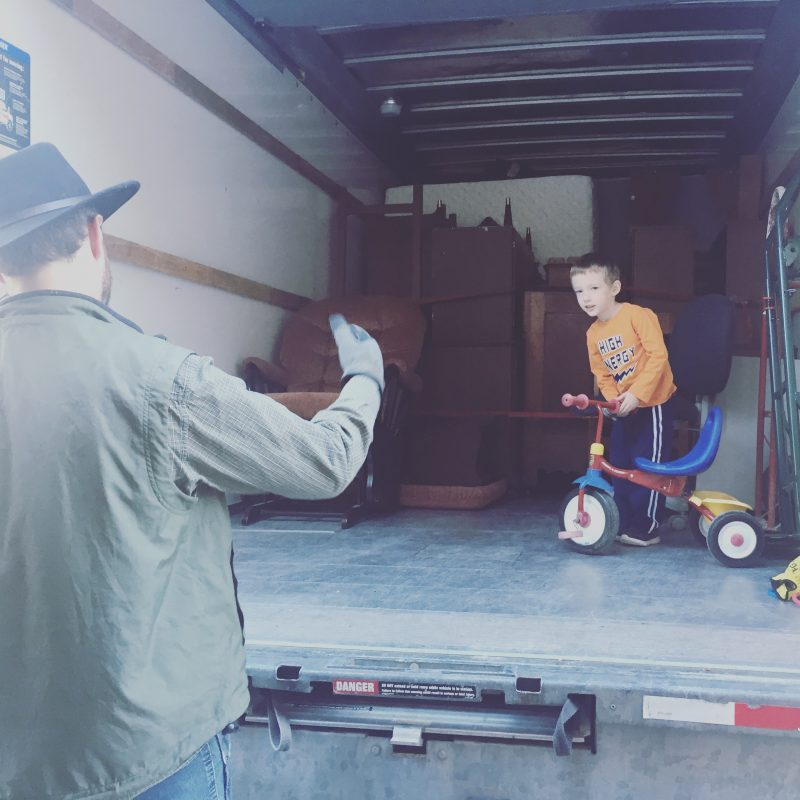
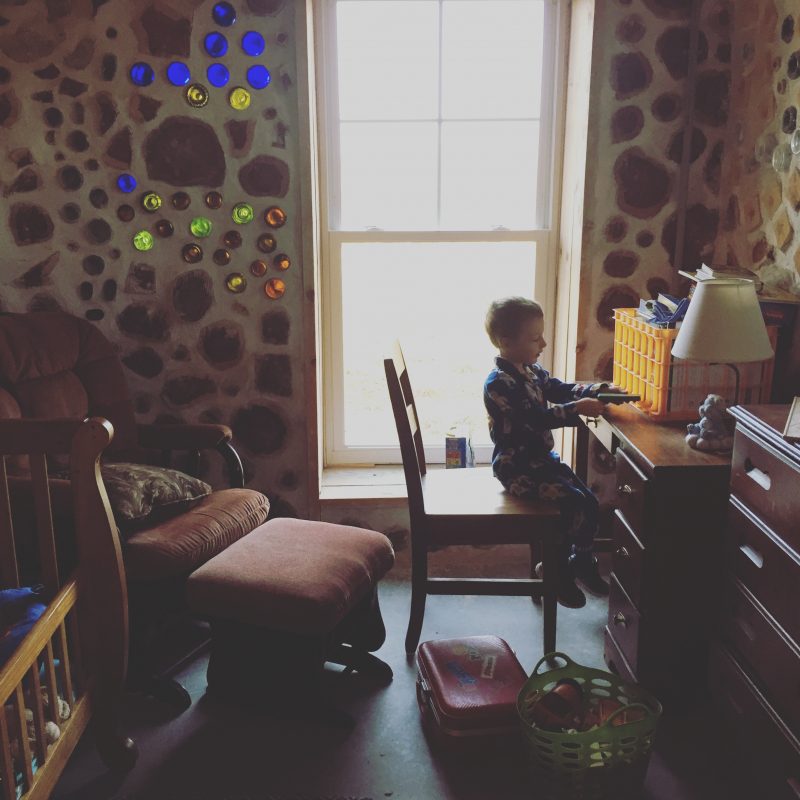
We got to move in just in time for Christmas! Hard work truly pays off and we are blessed to have had all of this happen in such a timely manner. Waking up in a house we built with our own hands is amazing.
So what happens now?
The house is still far from “done” (really, what house is ever actually “done”?). There are lots of tasks left to do, like assembling the kitchen how we want it, putting in the tub for the hall bathroom, and putting some kind of flooring upstairs in the loft.
In the meantime though, we’re cozy. We have what we need here to start making our house a home, and hopefully come spring, a functional HOMESTEAD with some gardens.
There’s also a lot planned professionally in regards to cordwood, homesteading, and increased service to others through this blog. It has become abundantly clear that so many of you are striving for greater self-sufficiency. I hope we can use our off grid homesteading experience to help you achieve just that!
So were you able to finish debt free? Good luck with creating the rest of your homestead. It’s quite a process. We are 7 years into it. Our blog is http://www.powellacres.com if you would like to see ours.
Not completely. I’ve mentioned it briefly in other posts but haven’t written about it specifically. We started out building 100% debt free but as our life circumstances changed we ended up needing to get a small loan to finish it out. All in all we ended up doing about 70+% of it with straight for cash. At some point I’ll try to go into it in more detail but I haven’t quite gotten there yet.
Congratulations! Your home looks amazing!
Thanks so much! 🙂
Nice looking house. Can’t wait until we get into our own cordwood home. And thanks for sharing, I’ve picked up some good tips and ideas from your site. Even inspired me to start our own blog site about our adventure.
Thanks! Glad to hear you’re taking your own adventure. 😉 Best of luck and let me know if you ever have any questions!