Disclosure: I sometimes earn products or commissions from affiliate links or partnerships on my blog. I only recommend products and services I trust to serve you. Learn more.
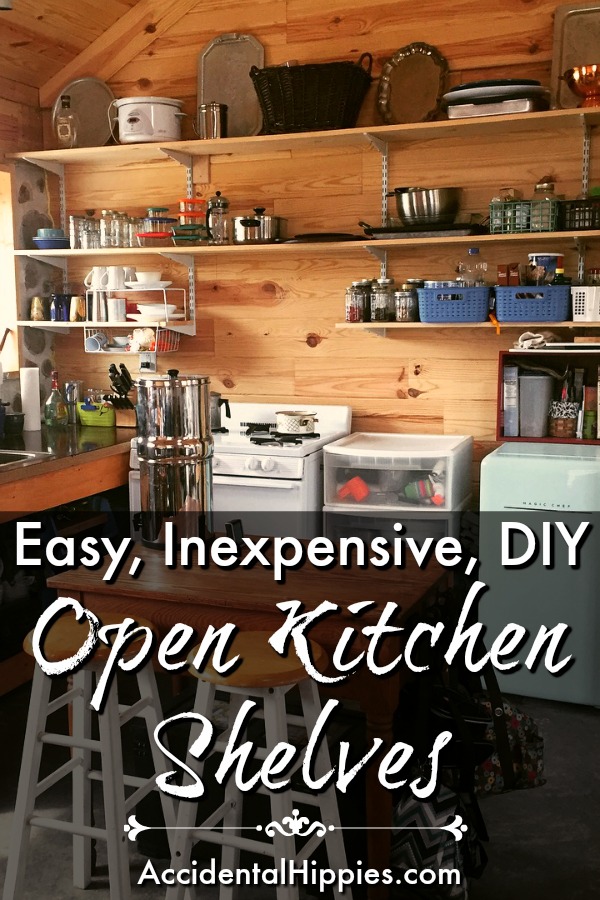
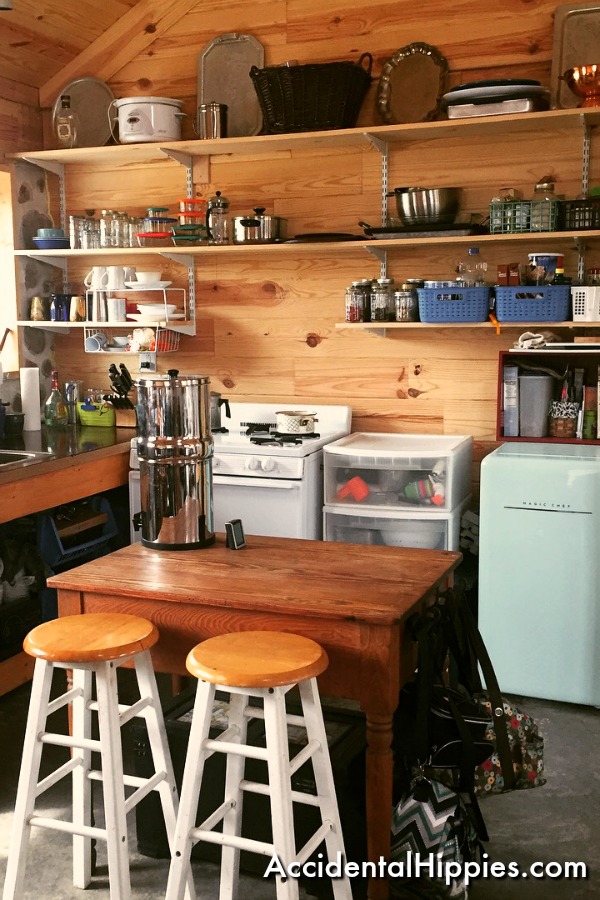
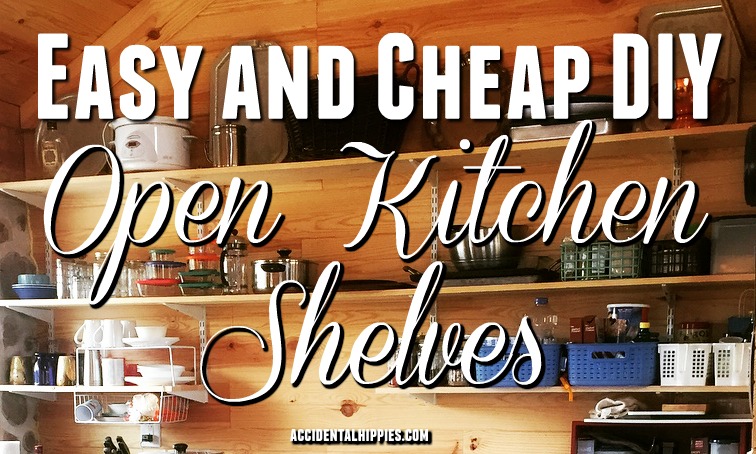
Creating a beautiful kitchen from scratch doesn’t have to be expensive or complicated. We’ll show you how we built a functional, versatile, and beautiful kitchen on the cheap with open shelving.
After building our cordwood house from scratch, we decided to move in as soon as we had our occupancy permit even though so much was unfinished. Honestly, this was a great idea because it gave us time to see how we really wanted to use our space.
By this point, our budget was pretty small as well. Without much money to work with we needed a way to unpack our many boxes of kitchen stuff from the move, get organized, and have a real space to cook in again. Cabinets, even from the reuse store, would have been out of our budget, and I wasn’t having much luck finding anything for cheap or free on Craigslist and Facebook Marketplace at the time.
For all those reasons we chose to create open kitchen shelving. Here’s how we did it on the cheap.
How to Create Inexpensive and Versatile Open Kitchen Shelves
We’ve discovered loads of great things about having open shelving in our kitchen. For us the benefits include:
- You can actually see where everything is!
- It allows us to see our cordwood wall (on the side) instead of covering it up.
- The layout is flexible.
- It forces you to minimize and think about the kinds of things you keep in your kitchen since it’s all visible.
After evaluating all of our options, we chose to use a rail system because it was relatively inexpensive, more stable, and the layout can be more easily changed. We know that we’ll probably be running a new propane line for a gas refrigerator in the near future and wanted to keep the wall fairly accessible.
Here’s how we created our system.
1. Measure the space to determine what materials you need.
Our space is just shy of 10 feet wide and roughly 60 inches from the tops of the counter and range to the top of the wall. We used this info to figure out how many rails and brackets we needed as well as the length of boards we required for the shelves.
Rails
Rails at the big box came in 25, 48, and 70 inch lengths with both single and double bracket configurations. We figured that 48 inch rails would fit our space the best, and that we would need four of them to provide enough support for the shelves. We chose the double brackets for increased support.
The double rails were pretty inexpensive at the big box at about $6.98 each, making it $27.92 total for our kitchen.
Brackets
We determined we would have at least three shelves running the length of the wall. If we wanted to add another one later the adjustable brackets would allow us to do so. Three shelves multiplied by four rails meant we needed 12 brackets. These were $3.78 a piece for a total of $45.36.
2. Pick your shelving.
When you go to the big box store there are prefab shelves right by the rail and bracket systems. Honestly, these are more money than they’re worth.
Instead of prefab pressboard or melamine shelves, head to the lumber section and get some 1×12 boards for a fraction of the price.
Prices will vary by the types of boards you choose, the general availability, and your store location. In our local store, the prefab laminated shelves were about $12 for a 72-inch board (the longest available) but regular pine project boards were about $10 for 10-foot boards, which was less expensive AND would allow us to cut to length for seamless shelves across the whole span.
We got two 10-foot boards and one 6-foot board (for the bottom shelf since we left a gap for the stove).
This meant we spent about $26 for boards instead of $60+ for prefab boards.
You are free to paint, stain, and seal your boards as you like. I was originally going to stain the boards and put a coat of polyurethane on them (and I might still) but for right now they’re just up there unfinished. By the time we got to this project it was the dead of winter and I didn’t have an indoor space where I could stain them without the fumes getting to us. I figured I’d just wait until spring to do it but the thought of taking everything down to stain them just feels so unnecessary.
So far the boards haven’t warped or gotten gross from cooking. If you’re going to finish them, it’s better to do it BEFORE you mount everything up.
3. Mount your rails to the wall.
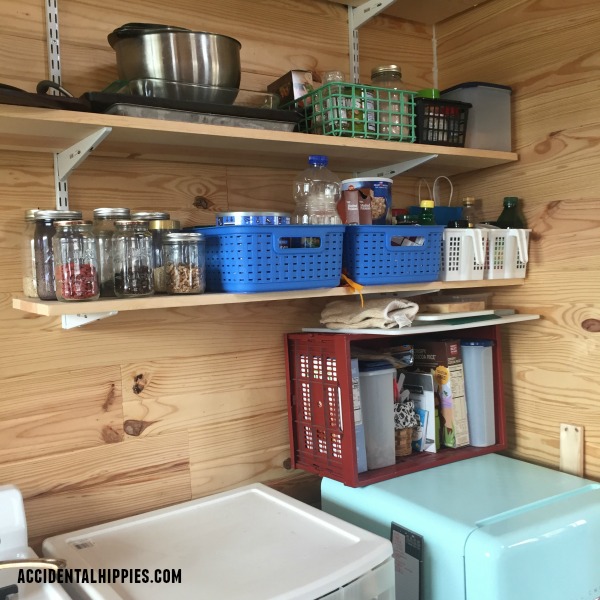
Plot out where you want your rails to go. We left a gap in the middle to provide clearance for our stove, which means our rails aren’t equidistant from each other. The rails have holes for screwing them into the wall. Mark out the hole placements on your walls and make sure they are level. Make sure each rail is level with each other and plumb as you fasten them to the wall.
4. Place brackets on the rails and rough fit the boards.
Put your brackets up on your railing system and place the boards before you fasten them to the brackets. Double check that each board is level. Also check that you like the placement of your shelves, as it is much easier to move them around now instead of doing it after you fasten them together.
5. Fasten the boards to the brackets.
You’ll need two different sizes of screws for this job if you pick brackets like ours: smaller 3/4″ screws and longer 1.5″ screws to accommodate the depth of the bracket in the back. There are holes in the brackets specifically for this so there’s no real guesswork. You’ll want to double check in the store before taking the brackets home though to make sure you have the right screw depth. Make sure they fit through the bracket and into (but not through) your boards. The boards will be about 3/4″ thick.
6. Arrange your things!
I put the more decorative items and things I only use occasionally on the top shelf. I put my everyday dishes and pantry items on the bottom shelf, and my baking dishes and glass storage items in the middle. There are a million different ways to go about it though. Come up with your own configurations and change things over time to fit your needs and wants.
The final cost of this project was about $100. That’s cheaper than buying one new cabinet or even buying a couple of old ones.
We put together the vast majority of our house with cheap or free items. Some stuff is new, like the shelving in this post, and others are used or reclaimed, like our clawfoot tub. Check out these other ways to do your house on the cheap, and come back for more projects as they’re added!
DIY Custom Kitchen Workbench – coming soon!
How to Refinish a Clawfoot Tub for Next to Nothing
9 Ways to Get Building Materials Cheap or Free
7 More Ways to Get Building Materials Cheap or Free (reader suggestions!)
Check out our homestead progress reports and find out more about our cordwood homestead project here. You should also join us on Facebook, Twitter, and Instagram. I’m always pinning lots of great ideas on Pinterest too! Thanks for reading!


I like the idea of open shelving Emily and Mark. And so much cheaper than cabinets.
So much cheaper for sure. Thanks!