Disclosure: I sometimes earn products or commissions from affiliate links or partnerships on my blog. I only recommend products and services I trust to serve you. Learn more.
There are many types of foundations you can use with cordwood walls, but you must take great care to choose the right one for you. Learn what you need to consider before you build the foundation for your cordwood walls, and discover how we built ours.
At the time of this writing, it has actually been two entire years since we broke ground to build the foundation for our cordwood home. At the time we were so busy with the actual building of our home that I didn’t get to write about some parts of our home in the full detail they deserve.
To fix that, we’re going back to address some of the building aspects we neglected the first time around. I wanted to start with our foundation because I get asked about it so frequently! There is a lot to consider when you want to build a cordwood house, so we’re going to share some of our insight to help you along the way.
Cordwood Home Foundations: How We Built Ours (and what to consider for yours)
QUICK NAVIGATION
Cordwood Foundation Considerations
Cordwood Foundation Considerations
Supporting the Walls
Whatever foundation you choose, you should make sure it can support the immense weight of your wall. A 16-inch thick cordwood wall at 8-feet high weighs roughly 500 pounds per lineal foot. That means an 8-foot section of wall weighs 4000 pounds.
By this math, the cordwood sections of our home weigh roughly 56,000 pounds or 28 TONS, minus whatever weight is negated by the windows.
Not only should your foundation be able to support the weight, it needs to be able to support it’s width. Standard stud framed walls are only 6 inches deep, not counting the sheathing and siding or veneer. Most cordwood walls are somewhere between 12-24 inches thick (ours are 16″) so make sure your foundation will accommodate the extra thickness of the walls.
Meeting Code Requirements
Whether you have to deal with code officials in your area or not, you should make sure that your foundation type is code approved for your area. This is actually part of the reason we chose the foundation we did, even though we could have saved TONS of money doing it another way.
Make sure you double check your building plans with any relevant code officials in your area. If there aren’t any, make sure you run your plans by an experienced builder to make sure you won’t be wasting thousands of dollars on a failed system.
You can learn more about dealing with the code before you build in our owner builder guide here.
Common Foundations for Cordwood Homes
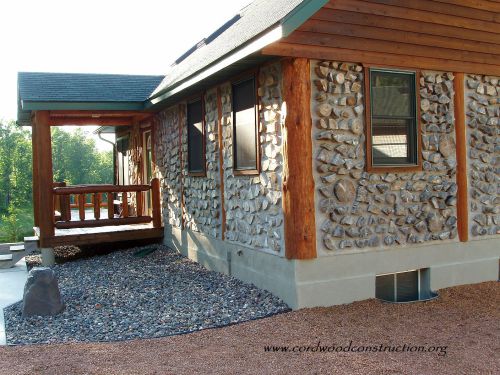
Did you know you can build cordwood on a basement foundation? With some careful planning, it’s certainly possible.
Most types of foundations can be used for cordwood homes too as long as you pay heed to the considerations above.
There are stunning examples of cordwood built on concrete block, small perimeter walls, and basements. You can read more about them here:
Frost Protected Shallow Foundation at the Cordwood Warming Shelter
Rubble Trench Foundation
One of the most commonly referenced foundation types for cordwood, natural, and alternative builders is the “rubble trench”. Popularized by Frank Lloyd Wright, the rubble trench is an ancient technique that uses a trench filled with loose stone to build on top of. This minimizes the need for concrete, which is not a particularly eco-friendly material, and improves drainage. It is also a highly economical way to build, which is attractive for lots of owner builders trying to save money.
HOWEVER, this was not an option for us for two reasons:
- Rubble trench foundations are not good to build on unstable soils like expansive clay or sand. Our building site was entirely composed of expansive clay (and apparently loads of limestone underneath).
- Our building inspector wouldn’t approve it. Again, this goes back to the clay soil, but if you have a building inspector who won’t approve it regardless it’s pretty hard to argue.
How We Built Our Foundation
Overview: We have concrete piers in the ground that support each post of our home’s frame. We poured a concrete slab within the perimeter of the posts. There is insulation and radiant heat tubing (water heated by propane) within the slab.
We had to work around a few different obstacles before our building plans were approved. First, the frame of our home is basically a pole barn, but instead of sheathing with metal like the majority of agricultural buildings, we used cordwood as an infill.
To avoid the potential of rotting posts, to help support the additional weight of the cordwood, and satisfy our building inspector we chose to build the following:
Concrete Piers
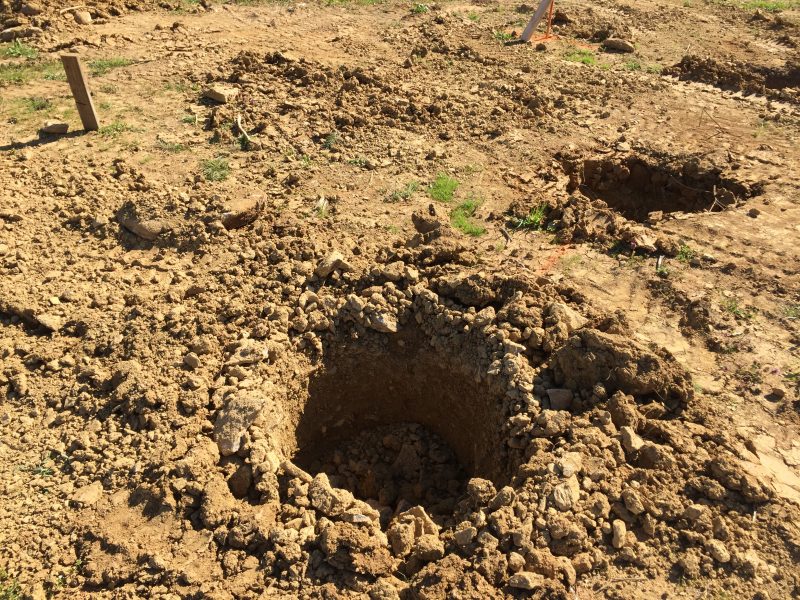
1. Drill holes approximately 2 feet wide and 4 feet deep using an auger on a mini excavator.
As I stated previously, our soil is mostly expansive clay with a LOT of limestone beneath the surface. There is a quarry over the hill from us for good reason! We knew we couldn’t dig all that by hand, so we hired a small team with some equipment to dig each of the 19 holes we needed. They put gravel at the bottom of the holes for the base.
2. Pour concrete into the holes.
Especially since our ground is so rocky, we opted to pour the concrete straight into the hole and then just use the top of a Sonotube concrete form to shape and level the top of the pier.
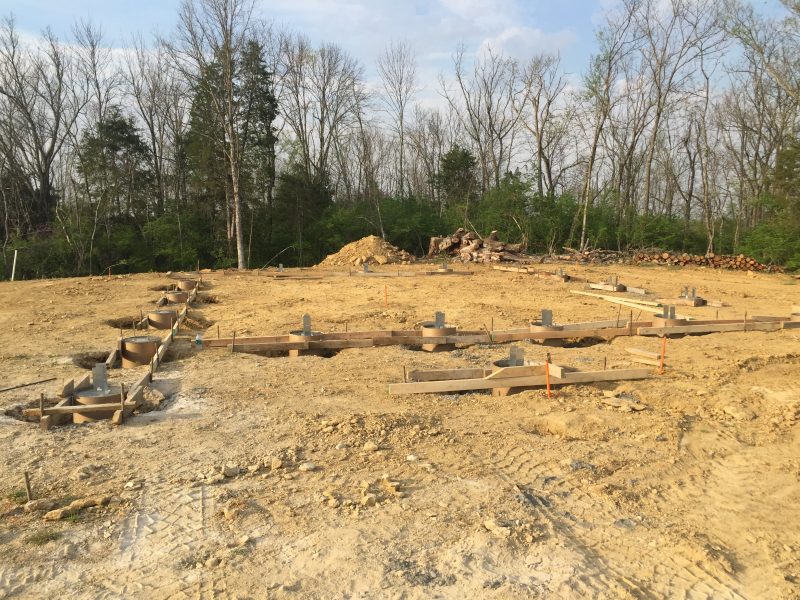
3. Attach Simpson Strong-Tie post bases into the top of each pier.
These are the metal brackets that would later hold our posts in place. We knew our posts would be nominal 6 inches so they used brackets that would fit them precisely. They placed each bracket according to our home plans.
The finished piers looked something like this:
Prepping for the Slab
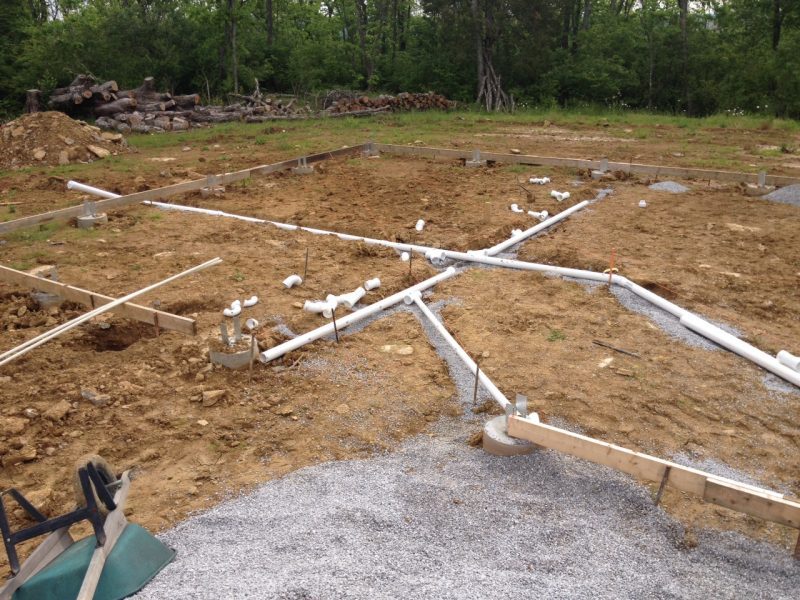
Before we could pour the slab we needed to complete our plumbing lines, lay our insulation, and run the radiant heat tubing.
Read more about how easy (minus the digging) and inexpensive it was to DIY our own plumbing here.
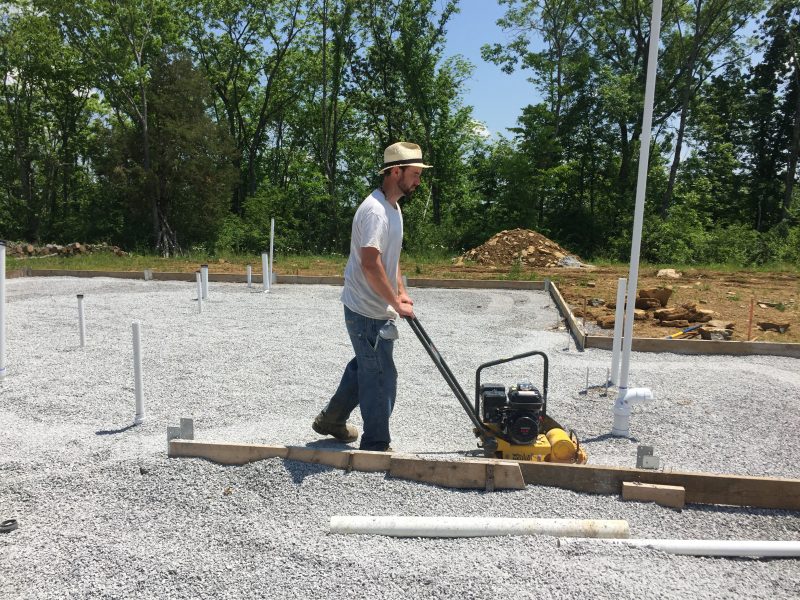
We moved all of the gravel by hand with shovels and a wheelbarrow and rented a compactor from one of our small, local hardware stores.
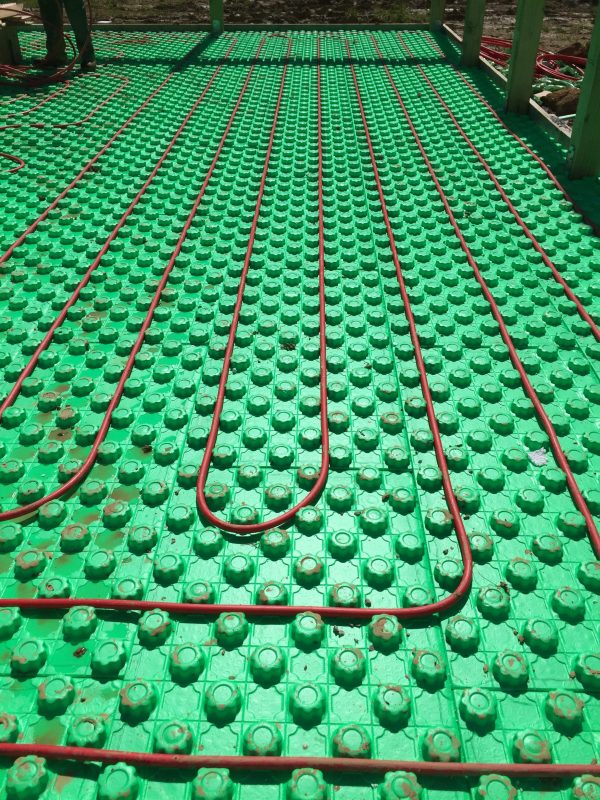
We had one heck of an adventure laying out our Crete-Heat insulation, unrolling the PEX tubing, and hooking up the manifolds (more on that in another post soon).
Exterior Framing
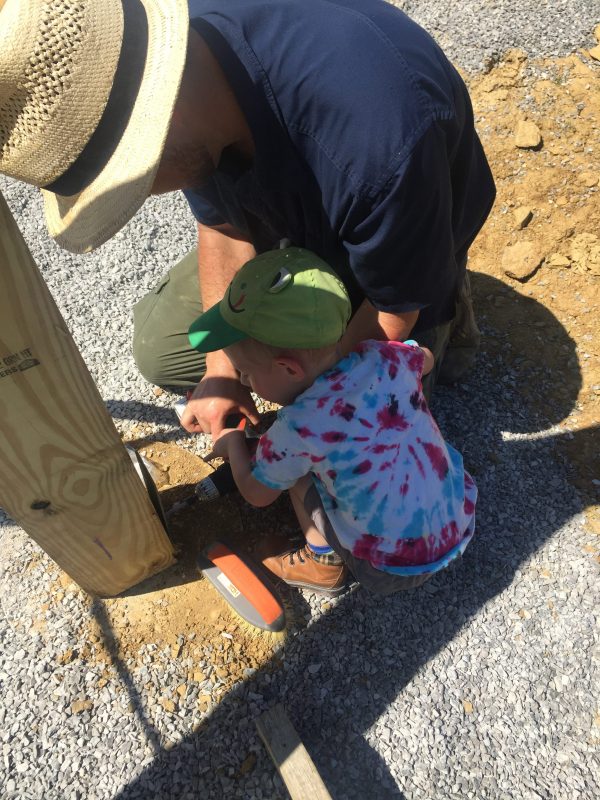
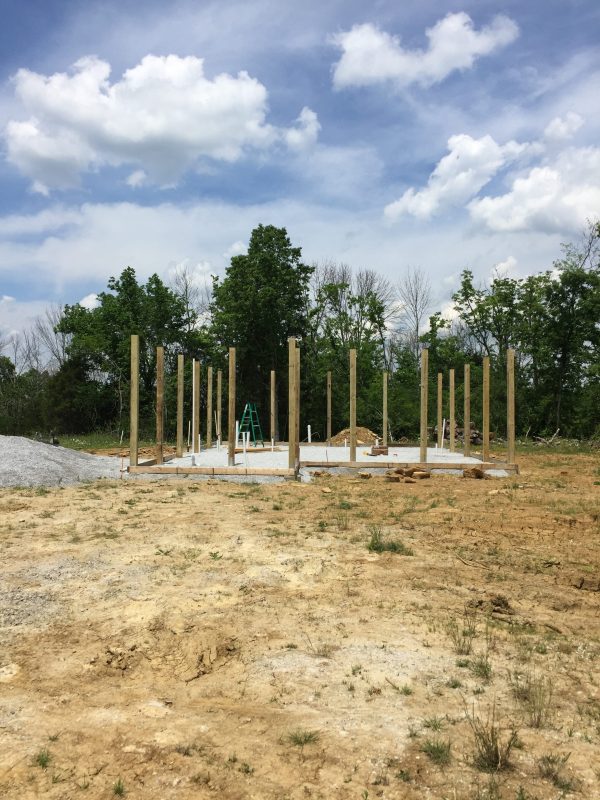
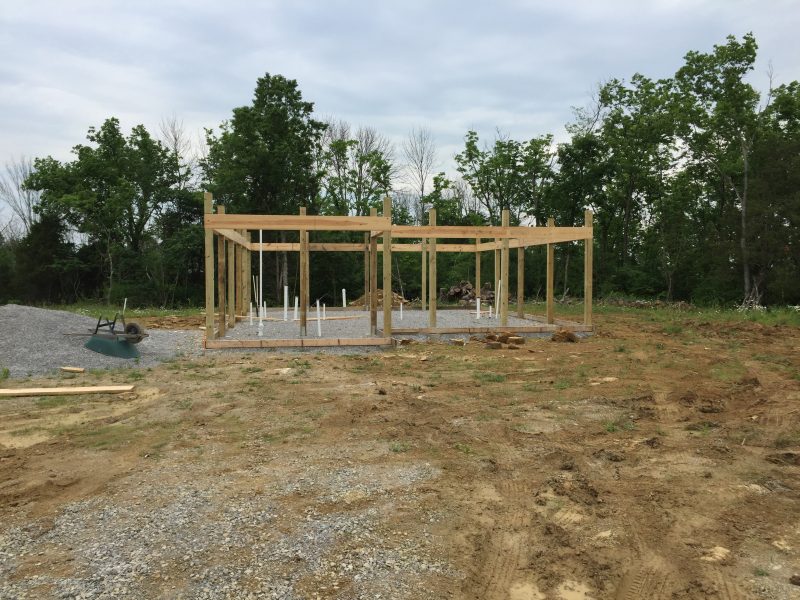
After the plumbing was set, Mark and I set about putting in each post and header of our frame. The posts needed to be in place before pouring the foundation since the posts would be partially encased by the concrete.
You can read the building update where we did this here. The posts and headers looked a bit like this going in:
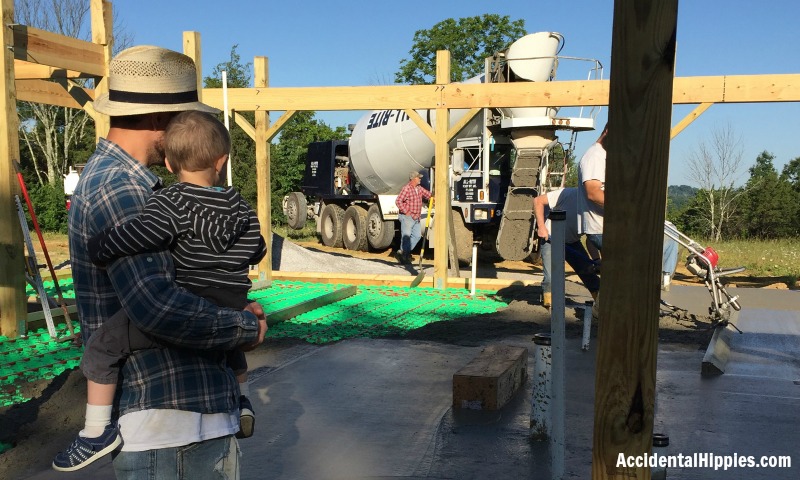
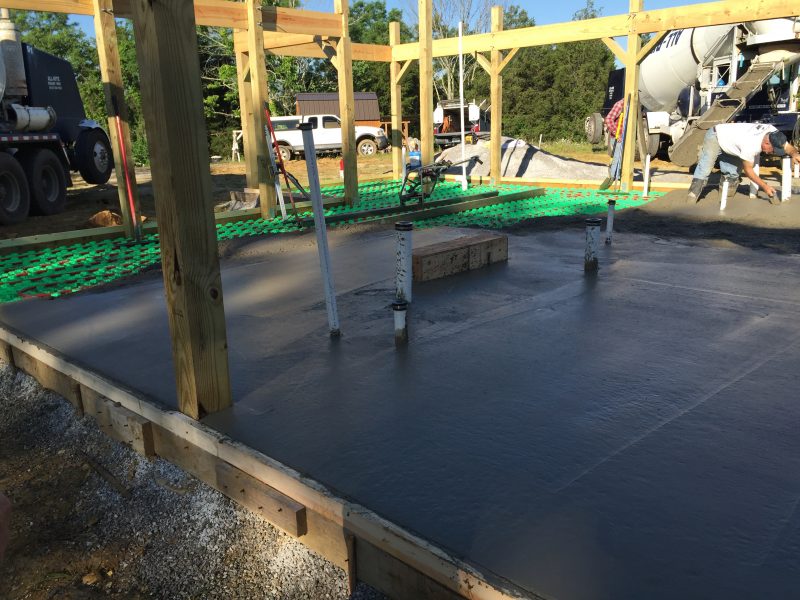
Once it was ready we hired our crew back to pour the slab.
Concrete Slab
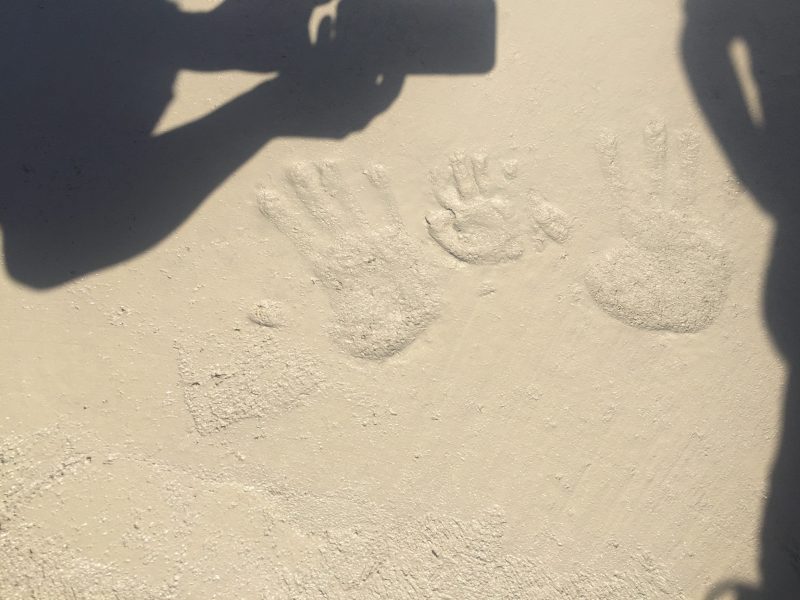
We chose a concrete slab mostly for the thermal mass and ease of running radiant heat within it. Since we hired this part out we just got to stand back and watch the magic. We even got to put our handprints in it before it dried!
Ready to learn more?
Subscribe below to get a free PDF detailing everything that went into building our cordwood house from scratch, as well as access to our Members-Only Resource Library!
Check out our homestead progress reports and find out more about our cordwood homestead project here. You should also join us on Facebook, Twitter, and Instagram. I’m always pinning lots of great ideas on Pinterest too! Thanks for reading!
Hi Emily,
Thanks for sharing your experience on cordwood construction. I have plans to build a summer bathhouse/sauna with cordwood. The wood is peeled and chunked and drying. My plan has been similar to yours it seems, but on a smaller scale…timber frame with cordwood infill. I’ve been wondering about the foundation for a while. Did you guys have to add wire mesh to the slab for reinforcement? And we’re there any special treatments around the piers to make the slab and piers connected/one? Thanks in advance for any info you can share!! Appreciate it
Nope, no wire mesh. We used a fiber-reinforced concrete directly on top of the insulation/PEX for the radiant heat system. There were no special treatments around the piers to make the slab connect to them. They just poured the concrete straight on. Hope that helps!
Hi Emily,
How thick was is the slab?
6 inches