Disclosure: I sometimes earn products or commissions from affiliate links or partnerships on my blog. I only recommend products and services I trust to serve you. Learn more.
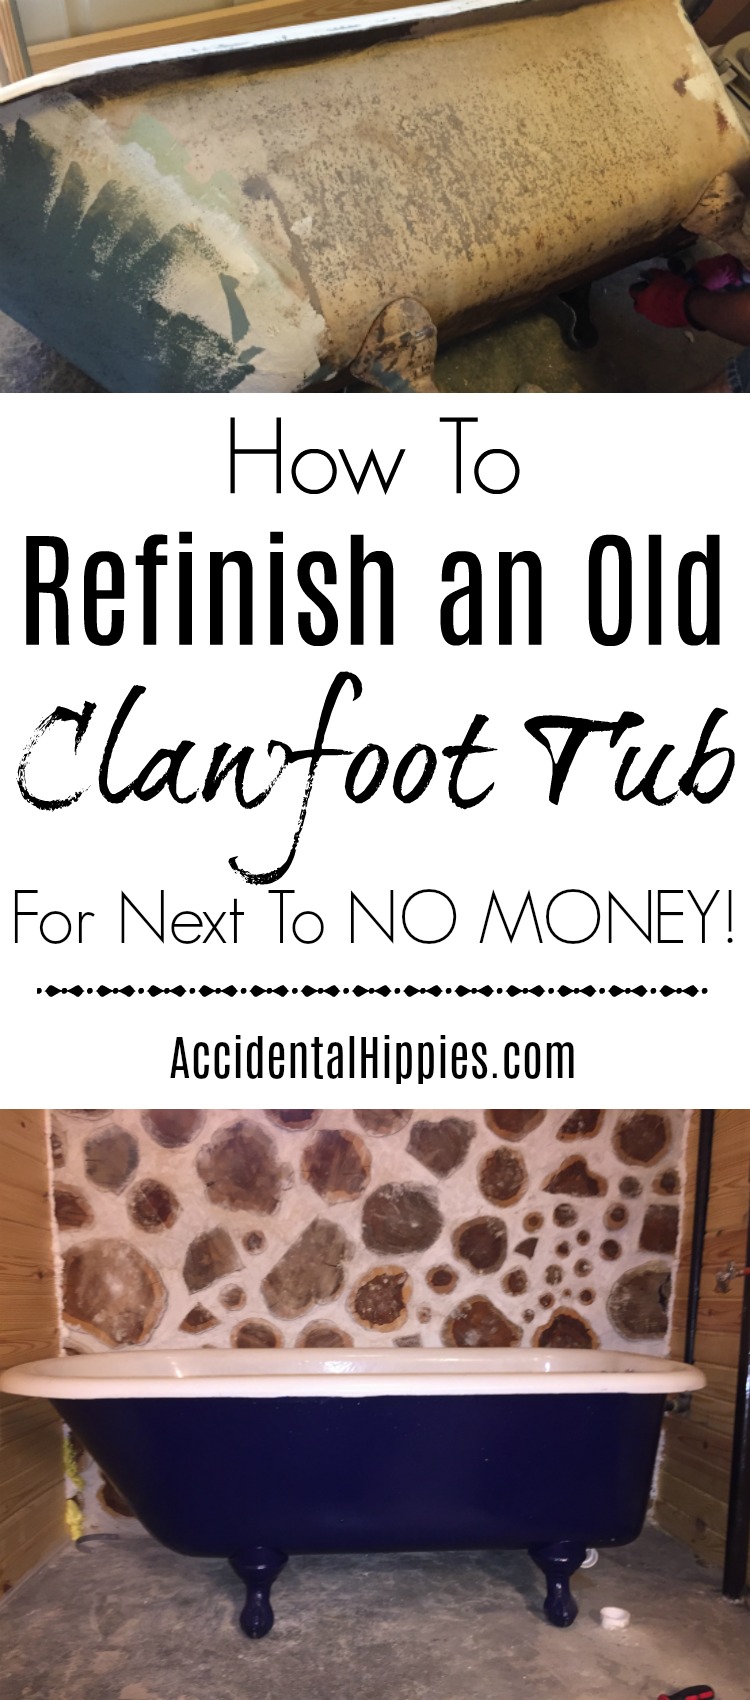
Want a beautiful clawfoot bathtub but don’t want to pay thousands of dollars for one? We’ll show you how to find and refinish an old cast iron clawfoot tub for a tenth of the price!
When we were planning the bathrooms in our cordwood house, we knew we wanted freestanding tubs to avoid having to frame up any structures that obscure our beautiful cordwood walls. The problem is that brand new freestanding or clawfoot tubs are SO EXPENSIVE.
I’m talking $1000-2000 expensive.
And when you’re a couple of homesteaders building a house by yourselves on a tight budget there’s no wiggle room for $2000-4000 worth of just TUBS.
We knew we wanted to find the most economical way to get what we wanted without sacrificing quality. I’m going to share with you EVERYTHING we learned from finding the best tubs to refinishing and plumbing them.
How to Find and Refinish an Old Cast Iron Clawfoot Tub
Quick Navigation
How to Find the Perfect Used Clawfoot Tub
How to Refinish Your Clawfoot Tub: A Step By Step Guide
Let’s get started!
How to Find the Perfect Used Clawfoot Tub
There are so many great places to start your search for a secondhand clawfoot tub. Check online at places like:
- Craigslist
- Facebook Marketplace
- Kijiji (for you Canadians out there)
- Freecycle
- Local newspaper classifieds (print and online)
Or go shopping in the real world via:
- Building reuse stores (like those run by Habitat for Humanity or local non-profits)
- Appliance outlet stores
- Estate sales
- Auctions
- Yard/Open House sales
Related: 9 Ways to Get Building Materials Cheap or Free
We happened to find ours listed on Craigslist for $100. Most in our area ranged between $100-450. If you buy one used, be aware that cast iron clawfoot tubs are HEAVY (maybe 350-400 pounds), so bring some strong friends to move it. Maybe the friends that don’t skip “leg day”.
Is it a good tub? Should I buy it?
What might look like a good tub should be carefully evaluated. Ask yourself:
- Does it have all of its feet?
- If it has its feet, are they firmly attached?
- Are any feet broken or missing?
- Is there significant rust eating away at the body or feet of the tub?
- Are there any cracks, dents, or other visible damage?
Look for a tub with all four feet and no cracks in the body You can work with it if the body has rust or if there are scuffs on the inside enamel of the tub.
Why do the feet matter so much?
Clawfoot tubs are quite finicky, and replacing broken or missing feet is more challenging than it seems. Each tub is a little different, so finding feet that actually fit a particular tub is difficult.
Prefab feet may or may not fit on your tubs support brackets and may not bolt on properly. Other tubs may need to have them professionally attached, which may negate the whole reason you’re looking for a used tub in the first place.
And sure, you may be able to just remove the feet and set it on the floor, but this has its own challenges. Clawfeet don’t just look elegant, they provide an important function in that they elevate the drain hole and allow the plumbing to fit in place. Some people have been able to find or build wooden cradles to elevate older tubs with missing feet, but this may not be practical for you.
If you NEED feet and don’t want to spend an arm and a leg getting them from a specialty supplier, you can try feet kits from Amazon like this one.
Do yourself a favor and find a tub with all its feet.
***A NOTE ABOUT LEAD IN OLDER TUBS***
A significant portion of older cast iron bathtubs will have lead in them, so it is important to test yours. You can get a very simple lead test stick like these from 3M to test the surface of your tub. If you have lead present, you should use a lead encapsulating finish to seal your tub.
How to Refinish Your Clawfoot Tub
Materials needed:
- coarse grit sandpaper (I used 60 grit)
- palm sander (we’ve used this one for 7+ years now without issues)
- wire brush
- dust mask
- rubber gloves
- plastic or fabric drop cloths (to protect work area)
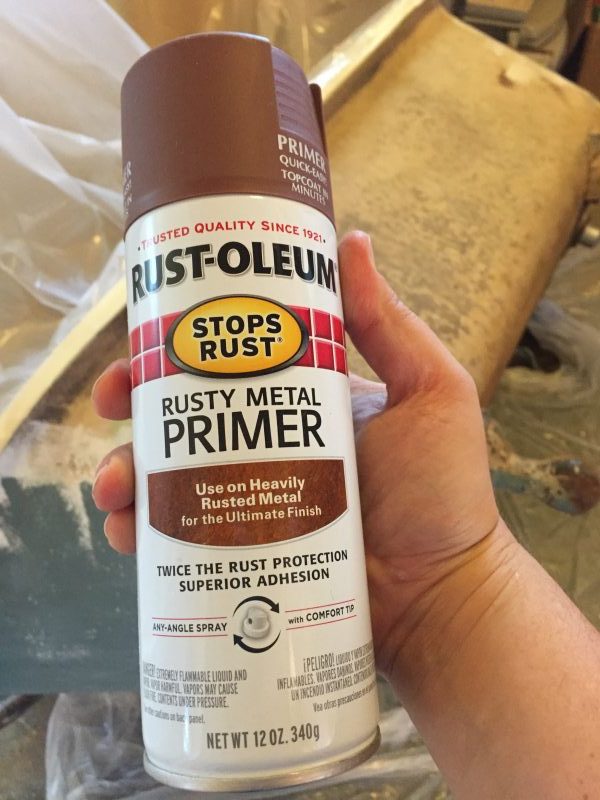
- metal primer (I used Rustoleum’s Rusty Metal Primer)
- metal spray paint (I used Rustoleum 2x Ultra Cover Spray Paint+Primer in Navy Blue and the same in brush-on)
1. Remove any old plumbing fixtures.
Our tub came with the old faucet, drain, and overflow still attached. We removed these from the tub to replace with new fixtures. Reusing old fixtures is difficult because no matter how meticulous you are, leaks are more likely to happen.
As much as I love reusing and repurposing items, some things are better left alone. Save yourself the trouble and get a new tub and shower kit on the cheap from Amazon.
2. Prep your workspace.
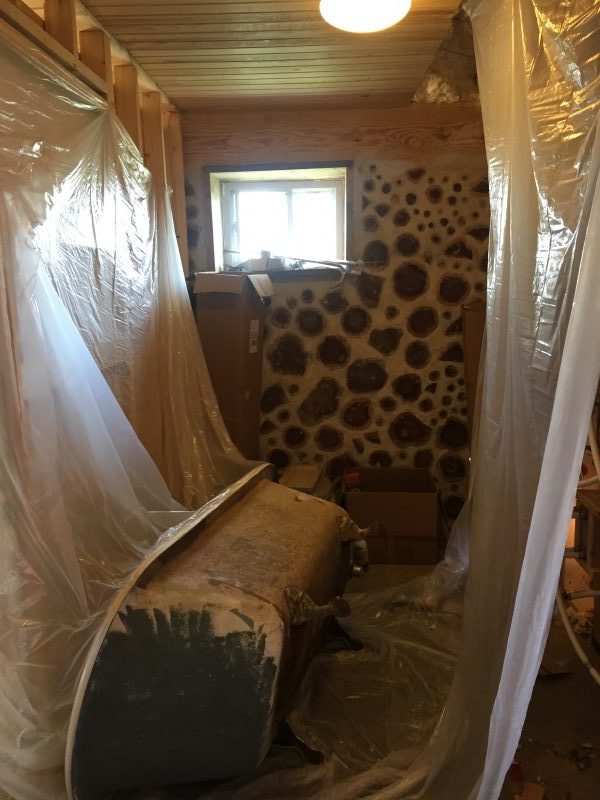
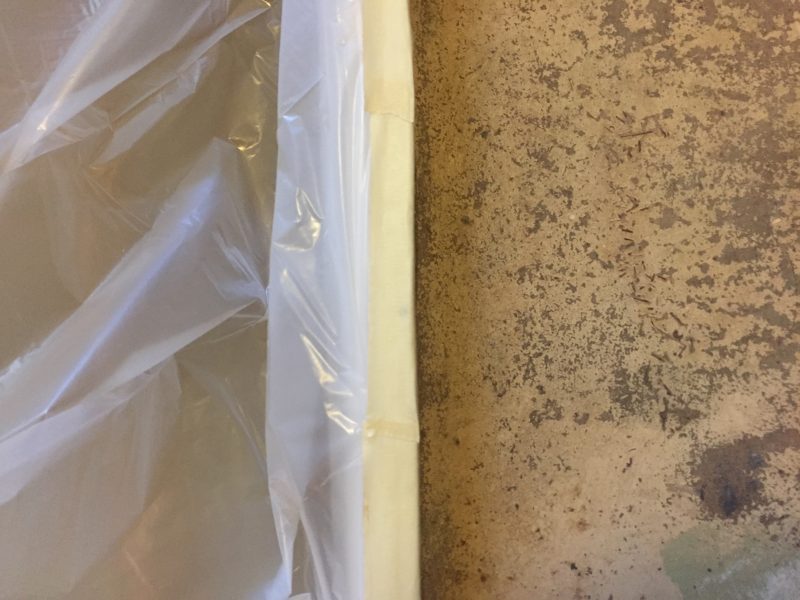
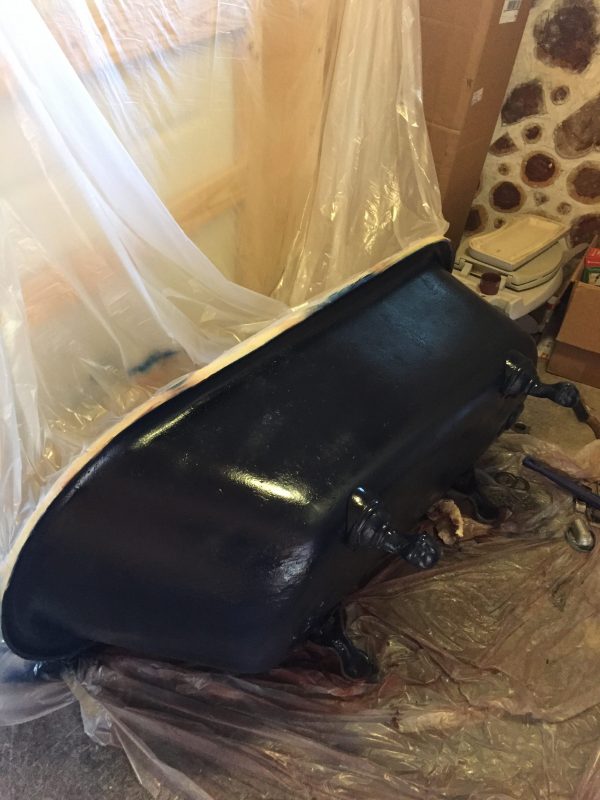
Place drop cloths around the tub, making sure to completely cover anything needing extra protection. This might include vents, walls, floors, electronics, mechanical items, and more. For example, our entire radiant heat manifold and tankless water heater were right by the tub, so I used plastic sheeting and masking tape to cover everything completely. You see this step in progress up above.
3. Sand the exterior of the tub.
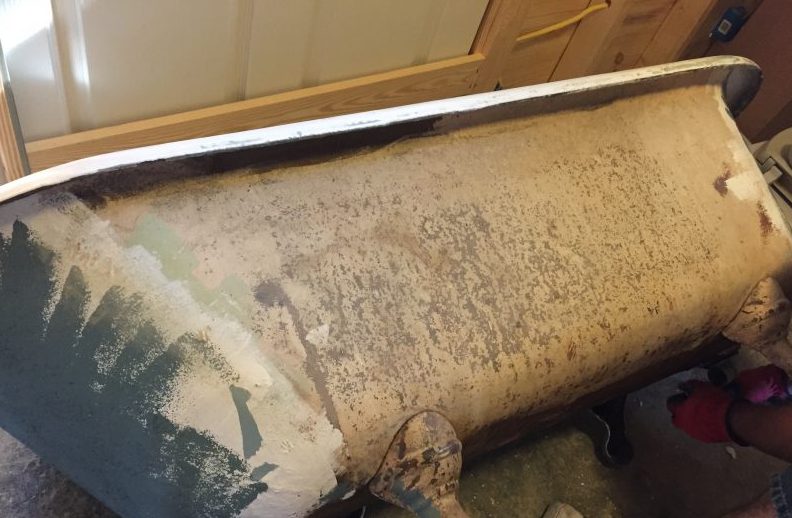
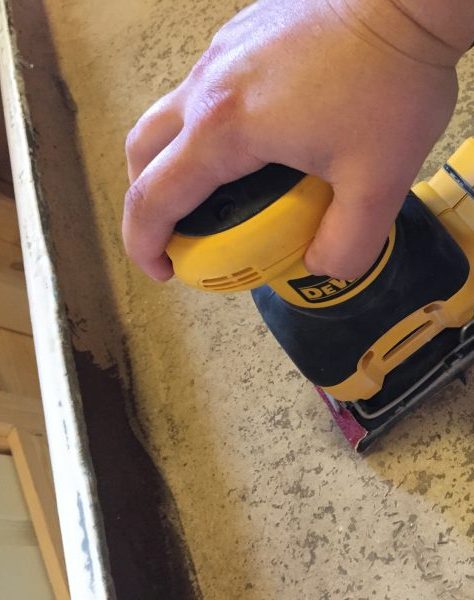
Our tub had a lot of little bumps from many layers of old paint. I used the coarsest grit of sandpaper I could get my hands on with our Dewalt power sander. We’ve used this sander over the years for everything from drywall repair to sanding the logs on our cordwood house and it’s still going strong.
We’re mostly just trying to get a smooth surface and not remove layers of paint here. I didn’t want to disturb the underlayers or expose anything potentially dangerous in the sanding process.
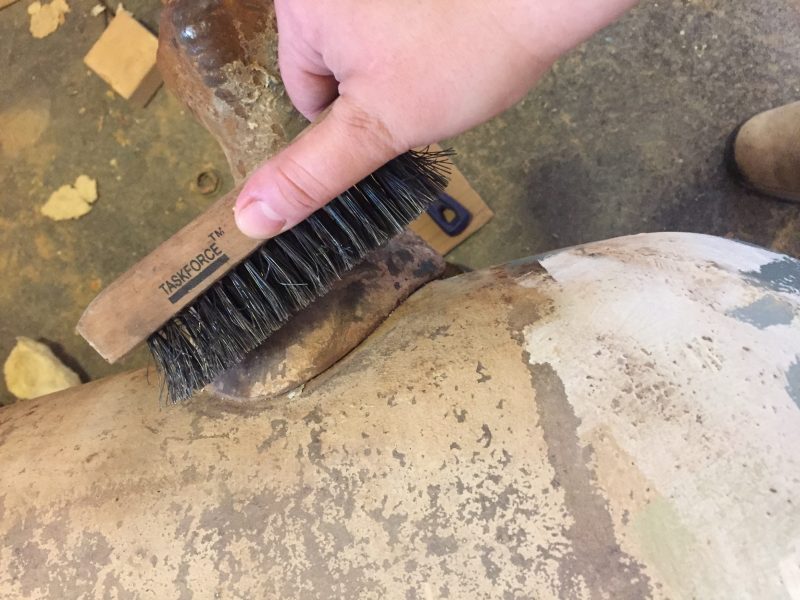
3. Use a wire brush to clean the crevices of the clawfeet, plumbing holes, etc.
Try as you might, a sander just won’t get into those little spaces in the details of the clawfeet or inside the plumbing holes. Use a stainless steel wire brush to get any dirt and debris out of those small spaces. In our case, what looks like rust was actually a fine sludge of dust and hair.
4. Clean the tub with soapy water.
Use some regular dish soap and a sponge to clean the tub thoroughly. The surface should be free of dirt and dust for the paint to adhere effectively.
I didn’t go crazy and use tack cloth or anything to make the surface super clean and smooth. You can, but the primer and paint are holding fine without it.
5. Tape off the interior of the tub with plastic sheeting.
At this point, if you’re using spray paint you’ll want to tape your drop cloth or plastic sheeting over the interior of the tub to protect from overspray.
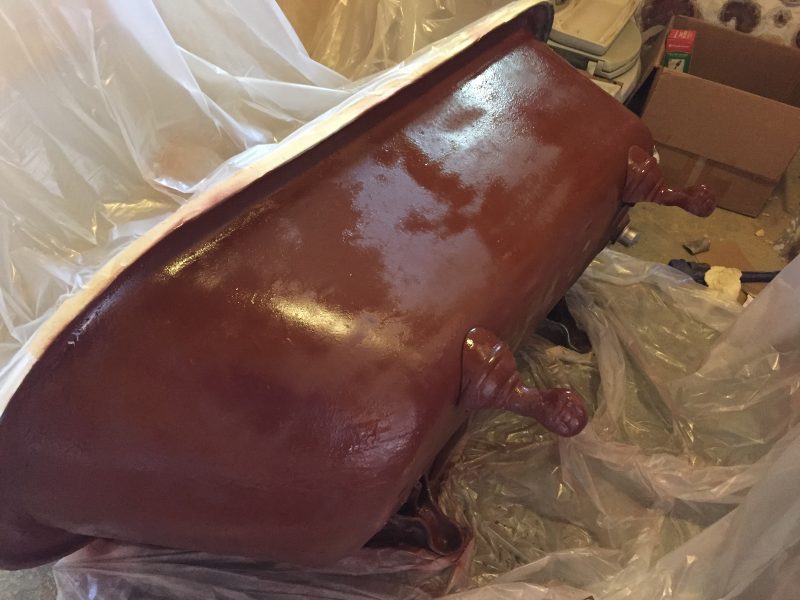
7. Prime the tub exterior.
I used Rustoleum’s Rusty Metal Primer even though my tub wasn’t rusty. I figured it would be better to use a more aggressive primer to keep any existing rust at bay to avoid having it spread in the future.
Spray your first coat and let it dry to the touch. Reapply a second coat to ensure even coverage and protection.
I managed to coat the entire tub thoroughly with one can (including the bottom of the tub and all sides of the feet. Your experience might be different though, so get two cans just in case and then return one if you don’t need it.
8. Paint the tub exterior.
I did the first two coats with spray paint, using Rustoleum 2x Ultra Cover Spray Paint+Primer.
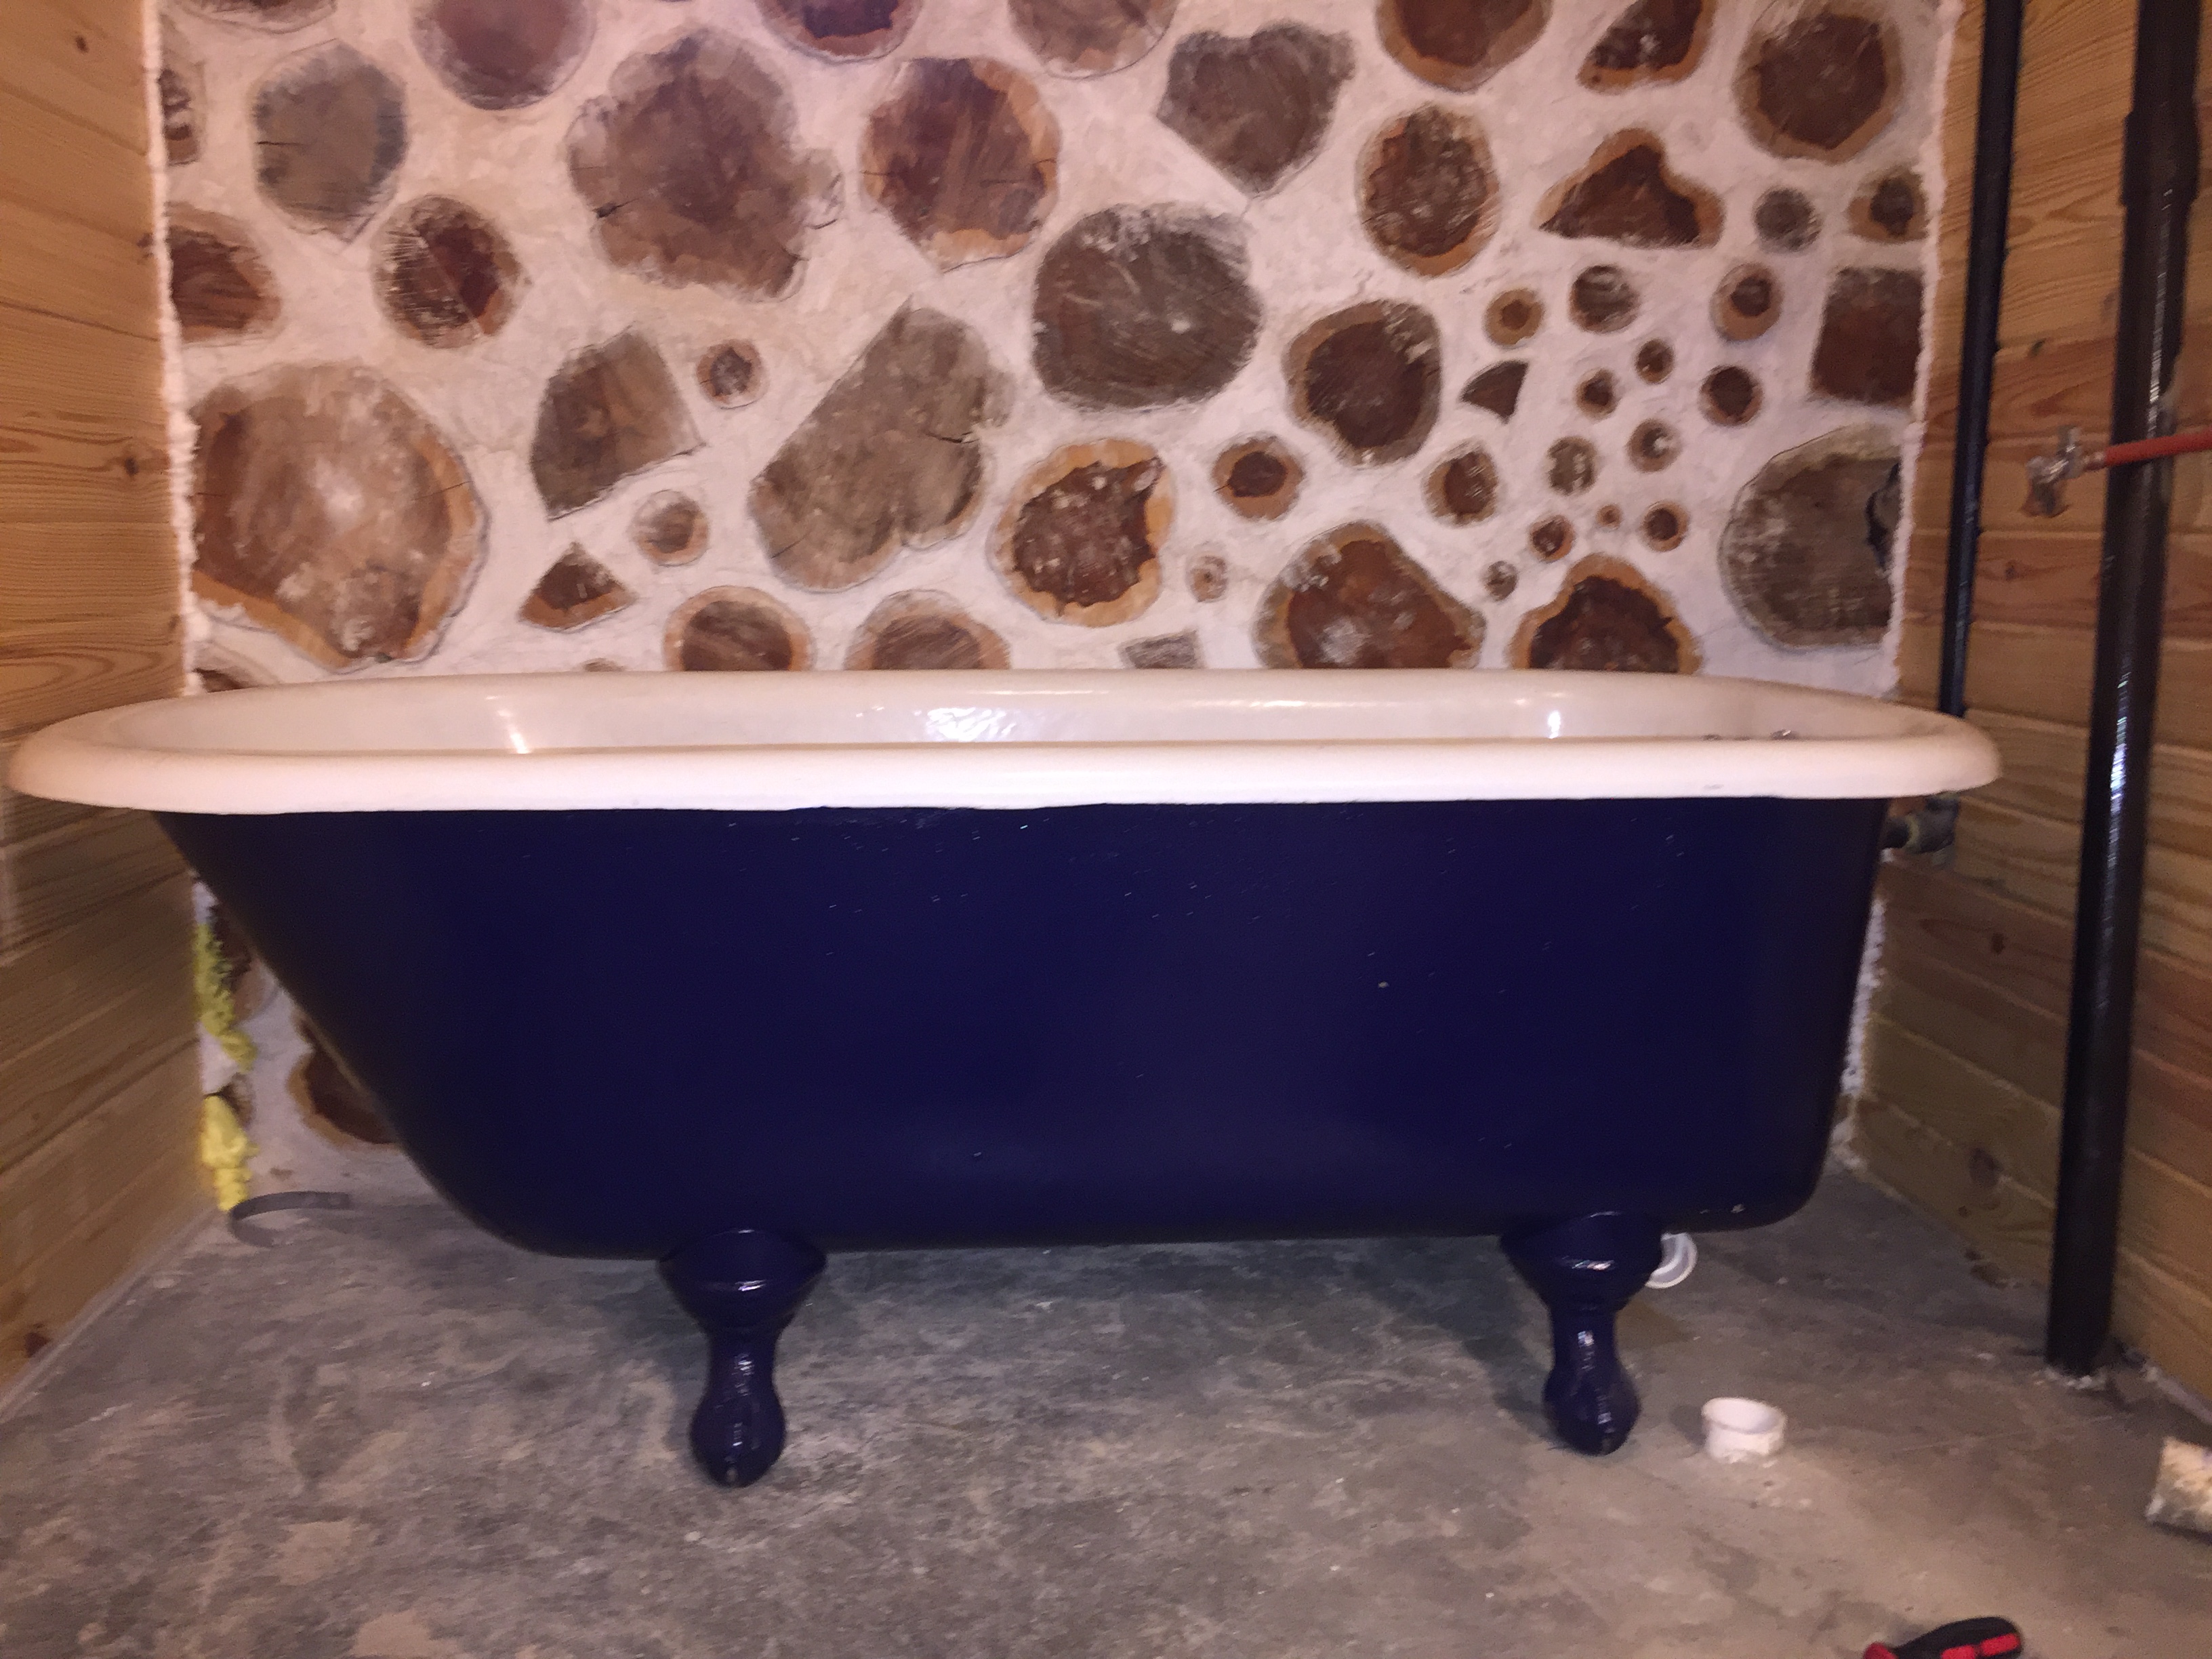
My goal was to match the blue portion of the wall where we mounted our radiant heat manifold and tankless water heater. Unfortunately I purchased Midnight Blue when my husband had actually used an old can of Navy Blue, which is significantly lighter than the midnight version! Whoops.
I let it sit for a few days to see if I wanted to keep it the darker blue. Eventually I decided that I wanted it lighter (since everyone kept thinking it was black) so I went back for a quart sized can in Navy Blue. I figured having this much paint meant I could cover the tub AND refinish our free bathroom vanity, plus it would all end up matching.
Spray paint ensured even coverage, while brush-on paint gave a better finish. I actually really liked the combination of using both spray and brush-on. The spray kept the brush-on from looking streaky and the brush-on provided a thicker, more protective finish to the spray.
9. Refinish the interior of the tub.
***NOTE: I wrote this section before finding out about the possibilities of lead in the enamel. We will be refinishing our tub’s interior at the earliest, safest opportunity. As I wrote above, I encourage you to get a lead test kit and test any tub you’re thinking of refinishing BEFORE you start your project.
Since our tub’s interior wasn’t in bad shape I opted NOT to refinish it. We ended up having a pretty lively discussion about this on our Facebook page, so I did a little research for those of you wanting to refinish yours.
First, you can refinish on the cheap with Rustoleum’s Tub and Tile Refinishing Kit, BUT I would definitely take the time to read the reviews on Amazon and elsewhere before attempting this. It seems for most people that you have to be beyond meticulous with your prep work or the finish won’t last you very long before chipping and flaking.
There are more expensive versions of this like Aquafinish or Bathworks, but many of those reviews say similar things to what I read about Rustoleum’s product. Of the two, I see the most consistently positive reviews for Bathworks, so it may be an option worth exploring.
And of course, you can hire a tub refinisher to do the job for you. But then again, that kind of negates all the painting we just talked about. It can, however, be a great option if you want to guarantee a safe, lead-free finish on your enamel.
10. Find the right fixtures.
If your tub comes with holes for faucet and drain pieces, you want to make sure you get the right size. When measuring the plumbing holes, make sure you measure to the centers, meaning the center of one hole to the center of the next hole.
Most tubs seem to come standardized to 3 3/8″ but there are always variations out there. If yours is standard, many of these will work for you. We ordered this tub and shower kit on Amazon for hundreds of dollars less than any of the online or local suppliers were selling it for.
The downside though is that it didn’t come with much more than a sheet of instructions, leaving us to figure out how the hoop was supposed to be put together. If we weren’t as DIY savvy as we are this would have been a WAY harder project.
If you have plumbing holes in a non-standard size, it may be worth visiting a specialty plumbing supplier in your area. We had an experience with an old farmhouse sink years ago. When the old faucet broke and blew off the sink, we discovered that the only way to get a replacement that would fit was to visit a specialty plumbing supply warehouse across town.
Of course, if you don’t have any plumbing holes available, you should look into stand-alone tub fillers like these (floor mount, floor-based supply lines) or these (wall mounted).
11. Attach your plumbing, hang some curtains, and enjoy!
Once you have a fixture, you basically connect it to the tub, attach your supply lines, connect the drain line, and test for leaks.
This was a pretty easy job for us since our supply lines are all run in PEX. That being said, every installation is different so do your research. You can read more here and here to get an idea of what is involved.
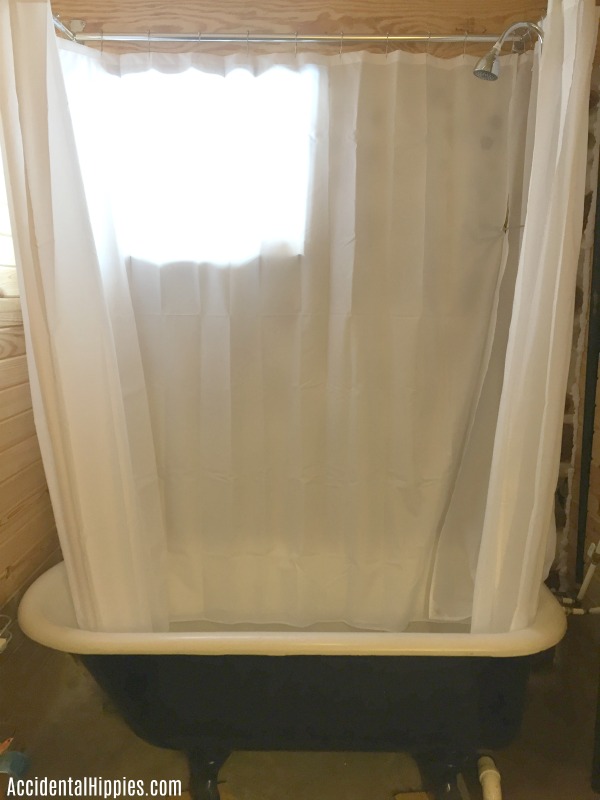
Assuming you’re leak free, hang some curtains from the big hoop that came in your tub and shower kit and enjoy!
Grand Total for Tub and All Materials: less than $200!
Wondering about our other projects? Check out our homestead progress updates and find out more about our cordwood homestead project here. You should also join us on Facebook, Twitter, and Instagram. I’m always pinning lots of great ideas on Pinterest too! Thanks for reading!


Thank you this is very helpful.
You’re quite welcome!
Refinishing a clawfoot tub is such a giant job! My husband refinished ours and used a specialty paint to make the exterior look like marble and it turned out beautiful. The one thing I did not like is the stand up shower because it really is a tight space. I would prefer to have a faucet with a hand held shower. Your process steps are helpful.
I’ve been nervous to start on my claw foot tub but you’ve certainly given me courage to get started. Thanks for the helpful info!
Did you test the interior of the tub for lead? Mine is in perfect condition on the interior, but while researching refinishing it, I learned the majority (60-70%) of older clawfoot tubs contain lead. I did a home lead test and yep, I’ve got lead. I can and will refinish the interior, but am wondering if you did a test.
You know, I never even thought to, so I have to say a huge THANK YOU for leaving this comment! It prompted me to go out today for a simple home test kit and sure enough, the interior is positive for lead. Not surprising but definitely disappointing. We’ll definitely be getting some kind of lead encapsulating paint finish for doing the inside at some point when we can ventilate the room properly. Luckily when I was sanding the outside it had already been painted several times in recent history, I didn’t sand down very far, and I was wearing protective gear, so hopefully I don’t have much lead risk there. Our family mostly showers in it and, as far as I’ve researched, the human body can’t absorb lead through the skin. Until we can get it fixed we’ll simply have to avoid ingesting the water in it (which we all avoid anyway since it’s the single-filtered cistern water). I’ll make sure to amend the post to include information for how to test your tub. Thank you so much for your comment!!