Disclosure: I sometimes earn products or commissions from affiliate links or partnerships on my blog. I only recommend products and services I trust to serve you. Learn more.
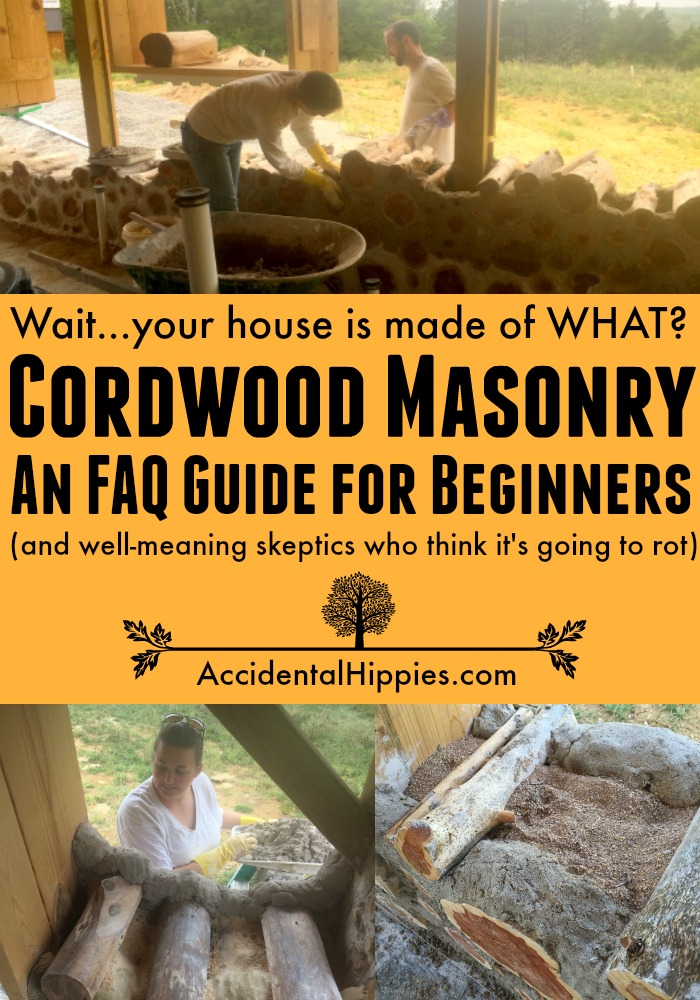
It is quite common for us to get questions about just what cordwood masonry is. While it is a centuries-old building method, it is not widely known compared to standard construction techniques.
Many people wonder just what it is, how you actually construct it, and whether it’s just going to rot or not. That’s fair!
I’ve taken time to answer all of our most frequently asked questions (FAQs) about cordwood for you. If you’re a cordwood enthusiast, share these with a friend who needs some enlightenment. If you’re new to this building type, WELCOME! I hope you understand and appreciate it a bit better by the end of these FAQ pages.
Cordwood Construction FAQs
1. What is cordwood masonry?
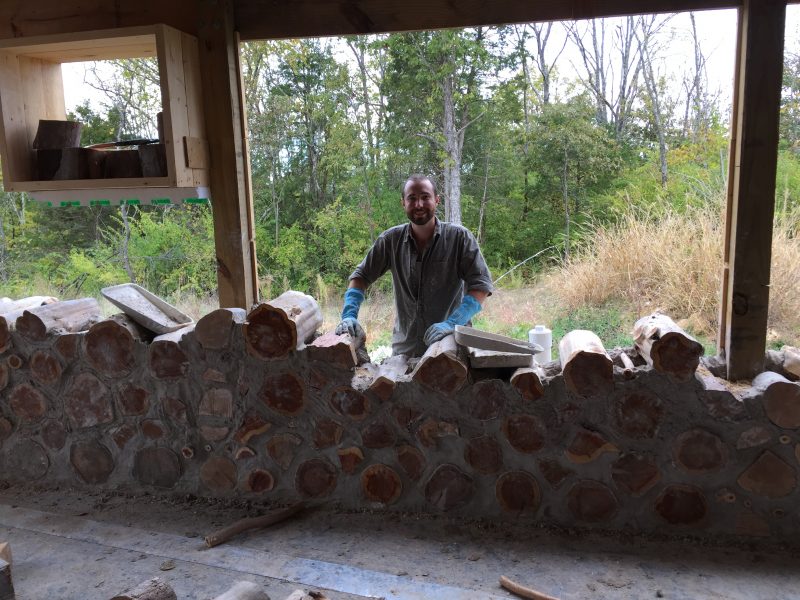
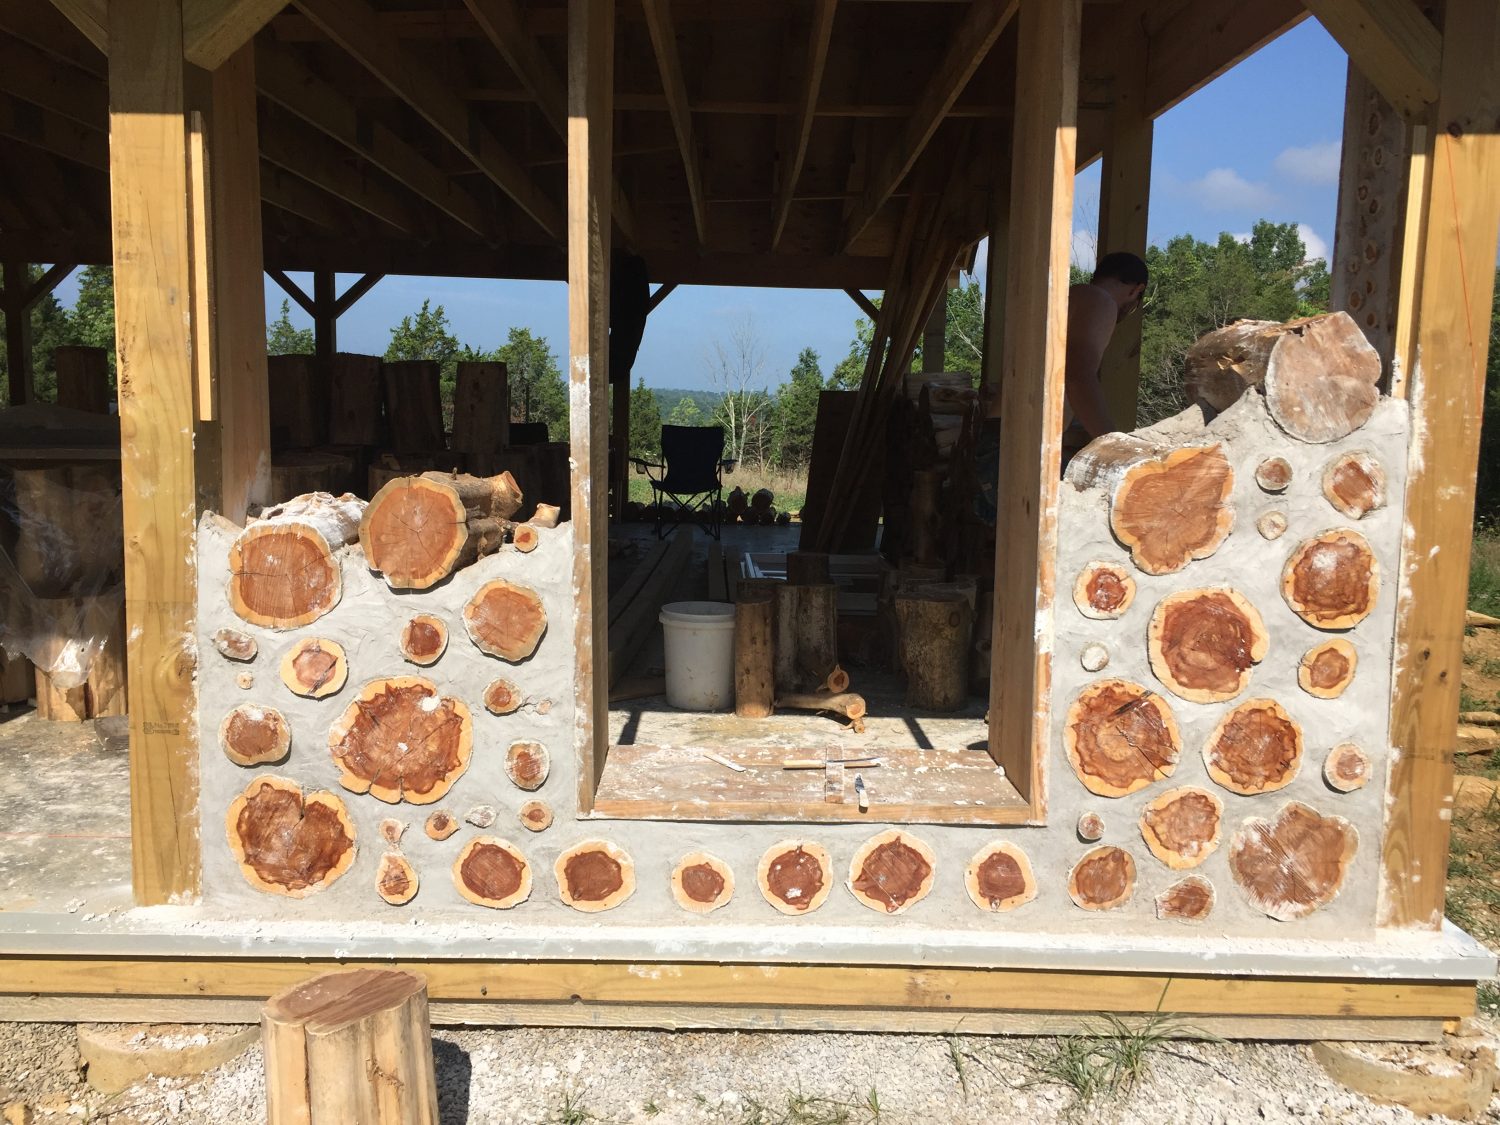
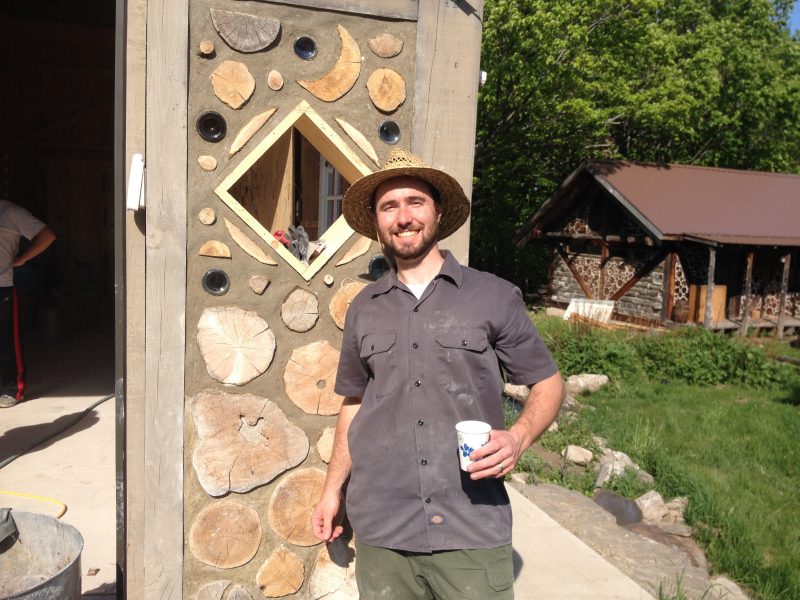
Cordwood masonry is a method of log building that is NOT like standard log home construction. Instead of using long logs that run the length of the walls, this style uses short logs of a uniform length (typically from 12-24 inches, though it can be more or less) laid with the end grain facing out like this:
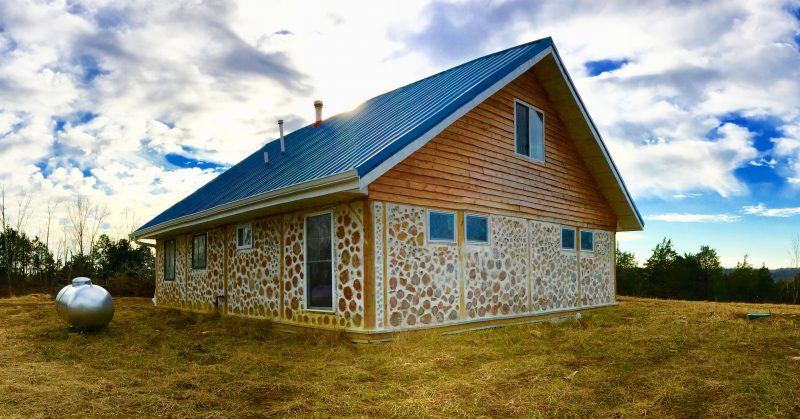
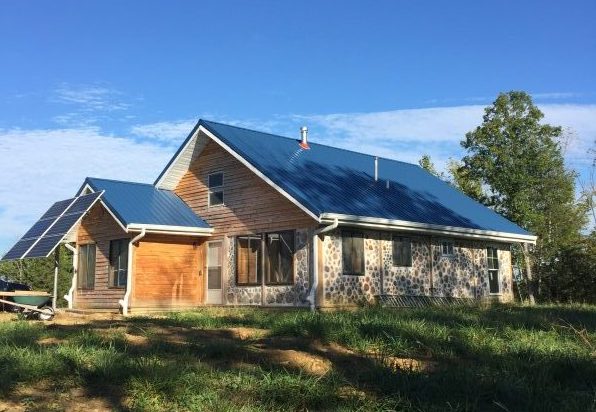
The result? Walls that are much thicker than standard walls. Ours are 16 inches built within a post and beam frame as an infill.
It plays nicely with other building methods including strawbale and stud-framing. We actually have a stud-framed mudroom on the front of our house.
It also allows for using other things in the walls like marbles, stones, and bottles.
2. What holds it together? Is that concrete or something?
MORTAR! But not just any mortar. With cordwood building you want the mortar to cure slowly to avoid cracking, so you can’t simply buy a mix off the shelf at the big box store.
There are many fine mortar mix recipes out there. There are versions using simple lime putty and sand, others that include Portland cement and sawdust, and even papercrete or cob. Recipes can be found in Richard Flatau’s book Cordwood Construction Best Practices.
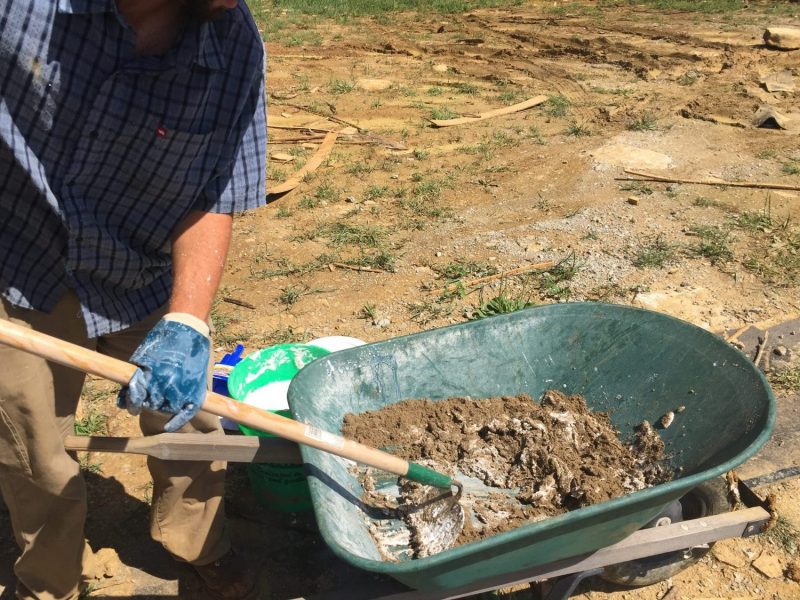
We used a lime putty mortar for ours, which is similar to what the Romans used. Our mix consists of 5 parts fine masonry sand to 2 parts lime putty.
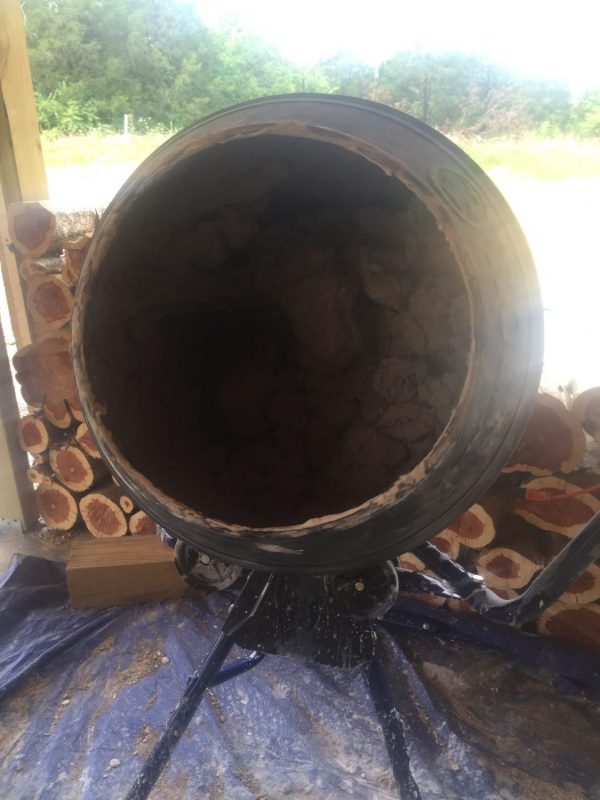
Of the many mortar recipes out there, we chose lime putty because of its bright color, simplicity, and ability to self-heal small cracks. We had a load of sand delivered by a dump truck and bought bags of Type-S hydrated lime at Menards. To mix it we bought an electric mortar mixer to speed up the work and save ourselves the labor of mixing it by hand.
3. How do you insulate it? Doesn’t that wall get cold? Does it meet building code?
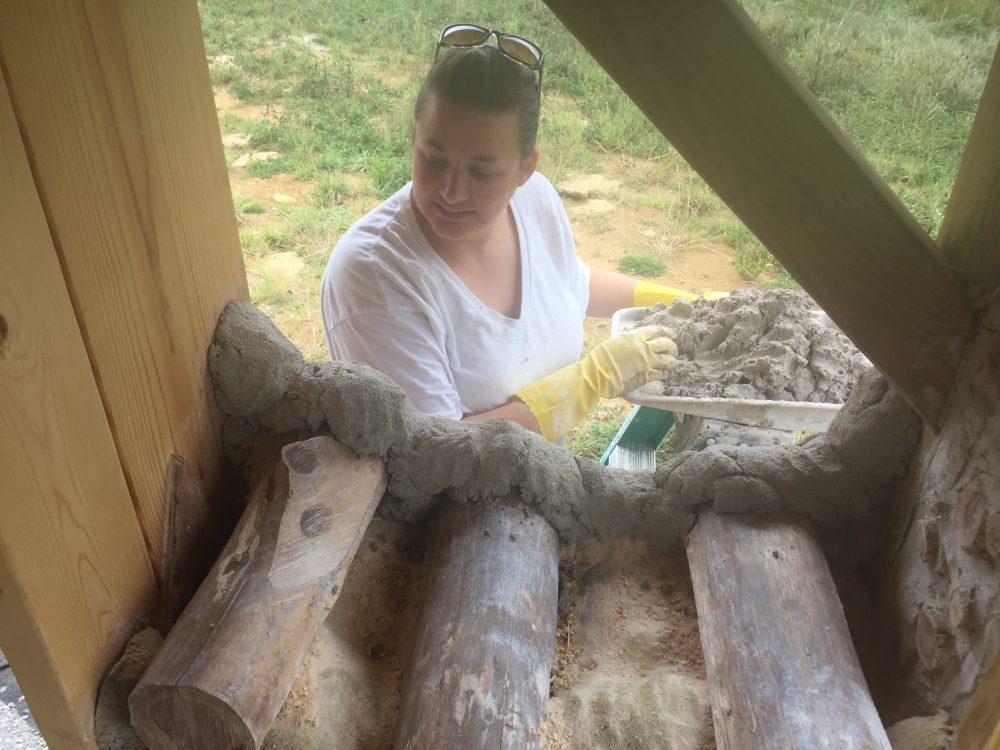
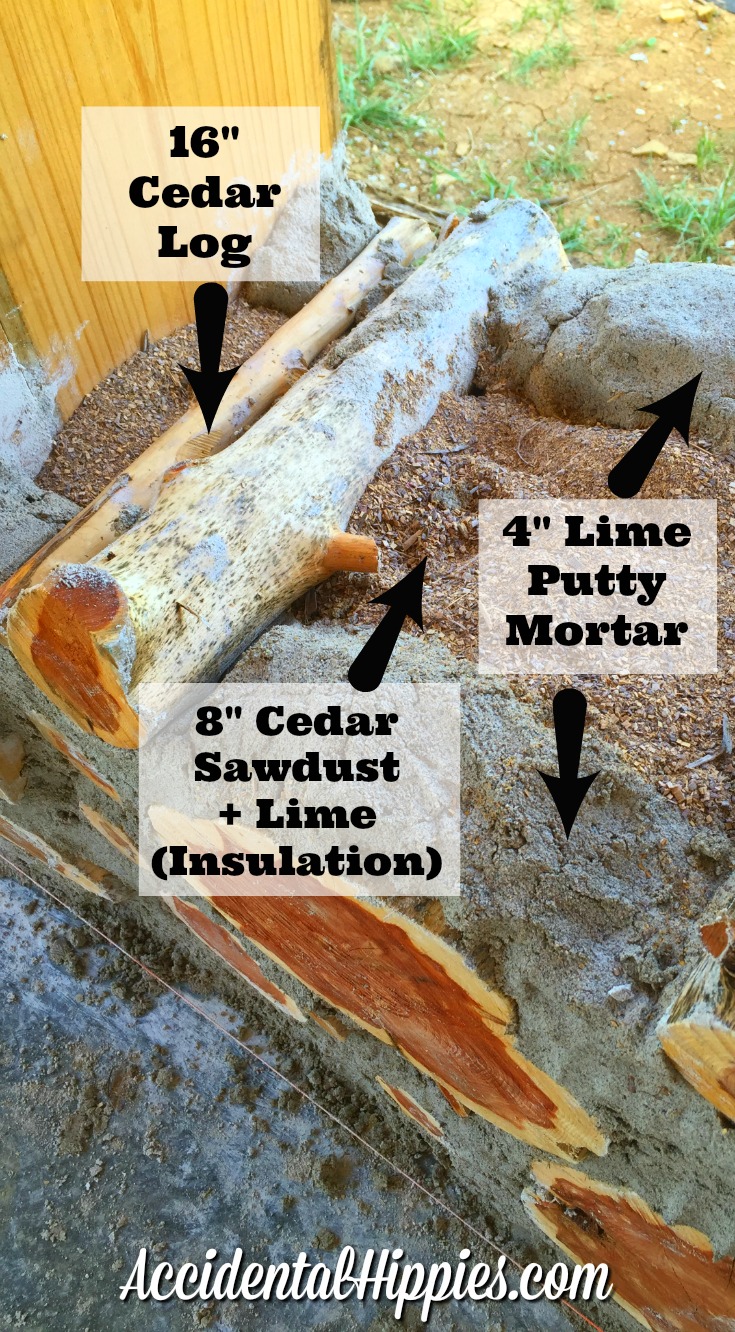
The middle of the wall holds insulation. If you were to view a cross-section of the wall, it’s a bit of a Mortar-Insulation-Mortar sandwich, like this:
There are different ways to achieve the R-value, or insulation value, you’re looking for. Since we live in Kentucky our R-value code requirements are lower than for people living in places like Wisconsin or Canada.
Our walls are 16 inches thick and have 8 inches of softwood sawdust/lime powder insulation in the middle. All together this achieves a code accepted R-value of R-16. We exceed our local code requirement of R-13.
For those living in the frozen north, many have successfully built using spray foam insulation in the middle or by building super thick, super-insulated double walls like those shown here.
But no, our walls aren’t drafty or cold. You can see our winter comparison of how cordwood compares to standard walls here.
4. Can you use any logs for this type of building?
NO. You should use softwoods, preferably cedar if it is available since it is more rot and pest resistant. Generally speaking, you should avoid hardwoods because they behave poorly in a cordwood wall. They are more prone to expansion and contraction and have been known to knock entire walls apart due to swelling. There are ways to build with hardwood if it is the only thing you have available, but I would discourage you from doing so.
5.What about the shrinkage of the wood? How do you guarantee that each log will not crack and split? It is the nature of wood.
Yes, that is the nature of wood. While you can’t guarantee that there will be no shrinkage or checking/cracking/splitting of wood, there are steps to take to ensure you’re following cordwood best practices.
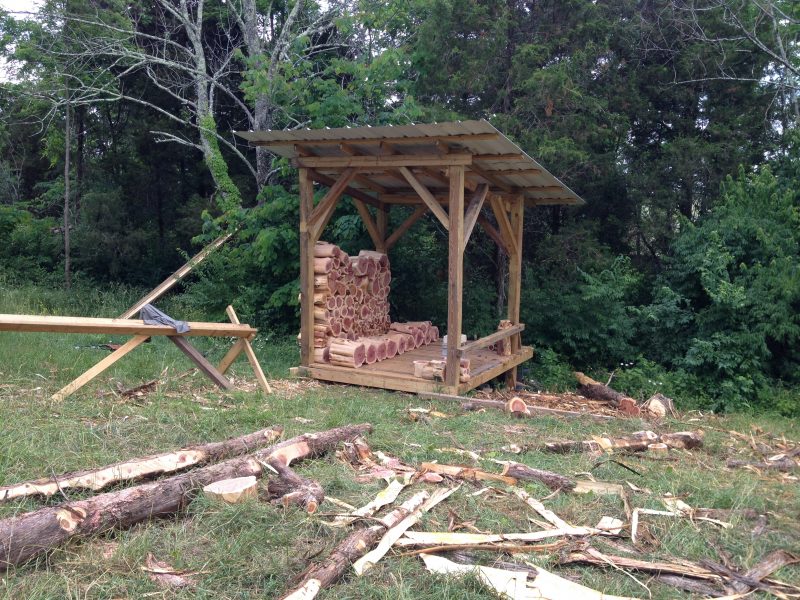
First, dry your wood to about 12% moisture content. Measuring the moisture of a piece of wood is simple with a moisture meter like this one that we used. Fresh cut logs will be anywhere from 30-40% moisture content. We dried the majority of our logs for over a year in an open-sided shed with a large overhanging roof.
Second, split the logs that have already begun to crack or check. The primary check is the first large split a log will develop, and is a natural place to start for splitting the wood. This also helps create logs of varying sizes and shapes that will come in handy as you create an aesthetically pleasing and strong wall.
You can learn more about how we prepped our logs here.
6. But what about the cracking in the mortar around the logs?
As I referenced in number 2, the mortar mixes for cordwood masonry are designed for a slow cure time to minimize cracking. However, if after time some cracks to develop you can cover them over with a mortar chinking like Log Jam or Permachink. Both are available in a wide range of colors to match your mortar type.
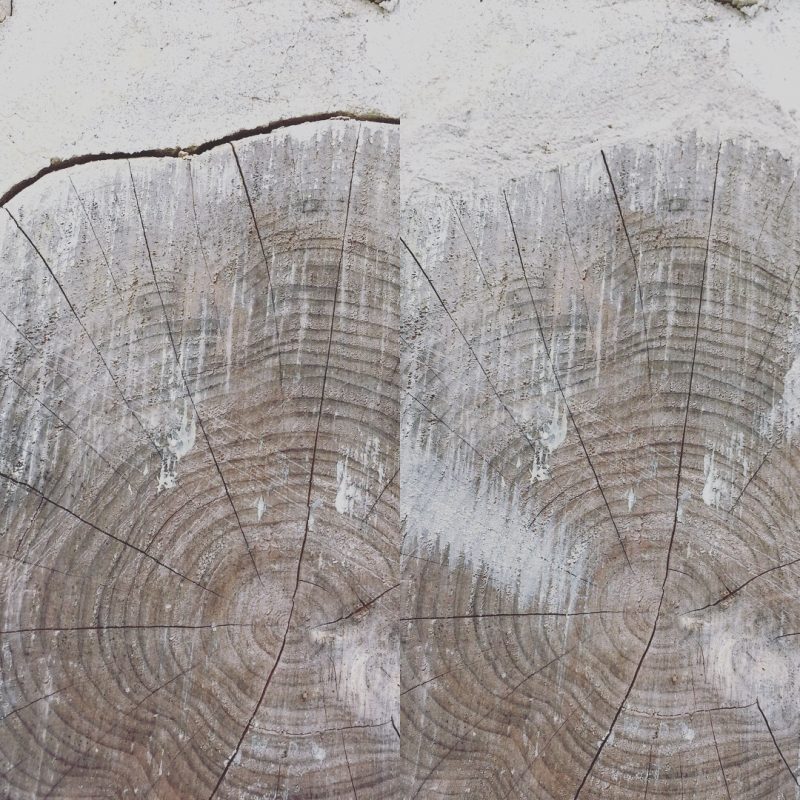
This is an example of one of our larger gaps before and after being filled with Log Jam. I used “Mortar White” for our lime putty walls, though honestly, it was probably still a little too gray for some parts of our mortar.
7. What do you do to prevent bugs from eating your cordwood? Termite pre-treat?
If you follow some basic best practices this is a virtual non-issue. I go over this much more extensively in this post about preventing cordwood rot, but you should take care at least to:
- Provide a wide roof overhang of at least 24 inches minimum.
- Build with a rot-resistant wood like cedar, if possible. Termites and carpenter bees tend to stay away.
- Set your cordwood up off the ground as much as you are able.
There is much more to learn about preventing pests, but if you take away nothing else, just understand that termites will eat a stud wall way faster than they will chew through a hulking cedar log.
8. What kind of preservative do you use on the logs as a finished product?
Generally speaking, you don’t. The very nature of cordwood is that the logs should be allowed to breathe through the end grain. This breathability is part of what prevents rot. Some people choose to dip the logs in a water/borax solution and let dry before building, but this is not required.
Once you use some kind of finish or preservative on the logs, you trap yourself in a cycle of maintenance that you must do to avoid future rot. Leaving the logs alone avoids unnecessary maintenance work and keeps your cordwood in better condition for longer.
That said, you can STAIN the log ends if you so choose, but you SHOULD NOT SEAL THEM.
Read the post on preventing rot to learn more in-depth about this.
9. How on earth did you learn to do this? How can I learn it too?
Mark went and took a weekend building clinic with Rob and Jaki Roy. You can find their workshop schedule here.
Richard and Becky Flatau also host workshops throughout the year, which can be found here.
If you can’t make it to a workshop I highly recommend getting both Cordwood Building by Rob Roy and Cordwood Construction Best Practices by Richard Flatau. Both are respected experts in the field of cordwood masonry and have lived in their own cordwood homes for 30-40+ years
10. It’s cool but I don’t want to build a whole HOUSE. Can I use it for other things?
Of course! Loads of people have used cordwood to build things like:
- children’s playhouses
- doghouse
- chicken coop
- garden shed
- greenhouse
- pool house
- “man cave” or “she shed” (whatever you fancy)
- workshop
- studio
- garage
- maple sugar shack
- storage/tool shed
- sauna
- chapel
- learning center/classroom
- etc…the possibilities are endless!
Get the FREE PDF eBook detailing everything that went into the building of our cordwood home below!
Additional References:
Our Complete Cordwood Project Overview and Specs
Read all of our building progress reports here
Our Cordwood Building Project FAQ
How to Prep Cedar Trees for Cordwood Building
How to Prevent Rot In Your Cordwood Walls
Cordwood Foundations: Options for Building (and how we built ours)
How Much Can It Cost to Build a Cordwood Home From Scratch?
Cordwood Homes In The Winter: How Do They Compare to Regular Construction?
Ultimate Guide to Using Bottles in Cordwood Walls
Our Cordwood Building Photo Gallery
Still convinced cordwood will rot? Wondering about fire resistance? Continue to Cordwood Performance FAQs to find out.
What about our particular building project? Check out our specs here.
Check out our homestead progress reports and find out more about our cordwood homestead project here. And don’t forget to follow us on Pinterest, Facebook, Twitter, and Instagram!

Could you please recommend someone who can build us a tiny cordwood home? Between 200-360 sq ft, one story.
I have four little children (babies) that are quite needy and I am always holding a baby. When my husband gets home after working over 60 hours a week, another baby will want him to hold her and we are both constantly holding babies. No way could we take the time to build this ourselves, but it is my dream to have a tiny natural home. Unfortunately, I can only find workshops and do it yourself info. I need someone to build for me!
Unfortunately, I can’t. The appeal of cordwood is the DIY aspect of it along with the cost-savings of how you get the materials. The trade-off is that it takes a long time to build and is quite labor intensive. If we’d had to pay someone for all of the labor associated with our cordwood it would have been way more expensive than having someone build a regular home, which is why you don’t see people offering these services. That said, you might explore having someone build you a tiny home that uses relatively green materials with an emphasis on net-zero design. It might be a bit easier to find a contractor willing to build more conventionally with those things in mind. You could incorporate passive solar design, off-grid power and water systems, and steer them towards green materials whenever possible. You can also act as your own general contractor this way and hire out the actual labor portions, which could be a good compromise. I feel for you in this season of life being as busy as you are and raising your littles. It’s so hard and I’d love for you to realize your dreams! It may be that during this season you simply take the time to dream and make plans. As your kids get older and a little more self-sufficient, it may get easier to start going from dreaming about it to actually doing it. I wish I had a better answer for you, but hopefully that helps! Best of luck to you and your precious family!
Thanks for getting back to me. I understood now that to save money, it is a lot of labor.
Saving money is nice, but another even more important thing for me is that I want it natural and tiny. I do have a builder I found that can build a tiny wooden house, but it is not my first option. I guess one day maybe I can help my kids build a cordwood or strawbale playhouse in the backyard for fun.
I am curious about how using the full 16″ log through the double wall technique effects the R-value of the wall? We live in NW Ontario and get very cold winters. My hubby thinks that it’ll be colder through the log parts than the areas that have the insulated cavity. Have you ever measured this? Is it a big enough difference to effect it to any large degree? Thanks for any info you have regarding this!
Great questions! There was actually a really interesting photo that someone in the Cordwood Construction group shared on Facebook showing his cordwood walls through a FLIR Smartphone Camera add-on. Here’s the link (I hope you can see that): https://www.facebook.com/photo.php?fbid=2111382748881922&set=gm.947614575362636&type=3&theater&ifg=1 In a nutshell, the opposite of his concerns seem to be true. The bigger heat loss occurs in the standard locations: around doors and windows. There are many fine cordwood homes in Canada and the northern US using either the standard single-wall technique we show OR using a double-wall method that places cordwood on either side of a solid wall of insulation. Here’s a link to that here: https://cordwoodconstruction.wordpress.com/2014/02/08/double-wall-cordwood/ In short, as long as you build using best practices, you’ll end up with a well-insulated wall that behaves better than a standard wall because of its thermal mass. Often, cordwood walls behave as if they have a higher R-value than their nominal value would suggest. Hope that helps!