Disclosure: I sometimes earn products or commissions from affiliate links or partnerships on my blog. I only recommend products and services I trust to serve you. Learn more.
When we were in the middle of building our off-grid homestead, we weren’t able to plant a garden in the ground there. With all of the trucks and machines rolling around, it was nearly impossible to prep the soil and plant a garden! So we resorted to container gardening. The problem?
Since we were putting all of our resources towards the build, we didn’t want to spend a bunch of money on fancy containers. We also didn’t want the waste of new containers when we knew that there were tons of free options already out there.
In this easy guide, we’ll show you how we sourced TONS of containers for our garden for FREE, how we prepared them for planting, and the easy and natural way we potted our plants for the best possible growth.
How to Make a Thriving Container Garden for Free
1. How to get containers for FREE
If you want to start a container garden but lack the funds, there is an easy, free way to get your containers and it only takes a couple of seconds!
Ask for food grade buckets at your local supermarket.
The best place to ask is at the bakery, though other departments may have buckets for you too. Just make sure they weren’t used to hold caustic chemicals or anything not food safe.
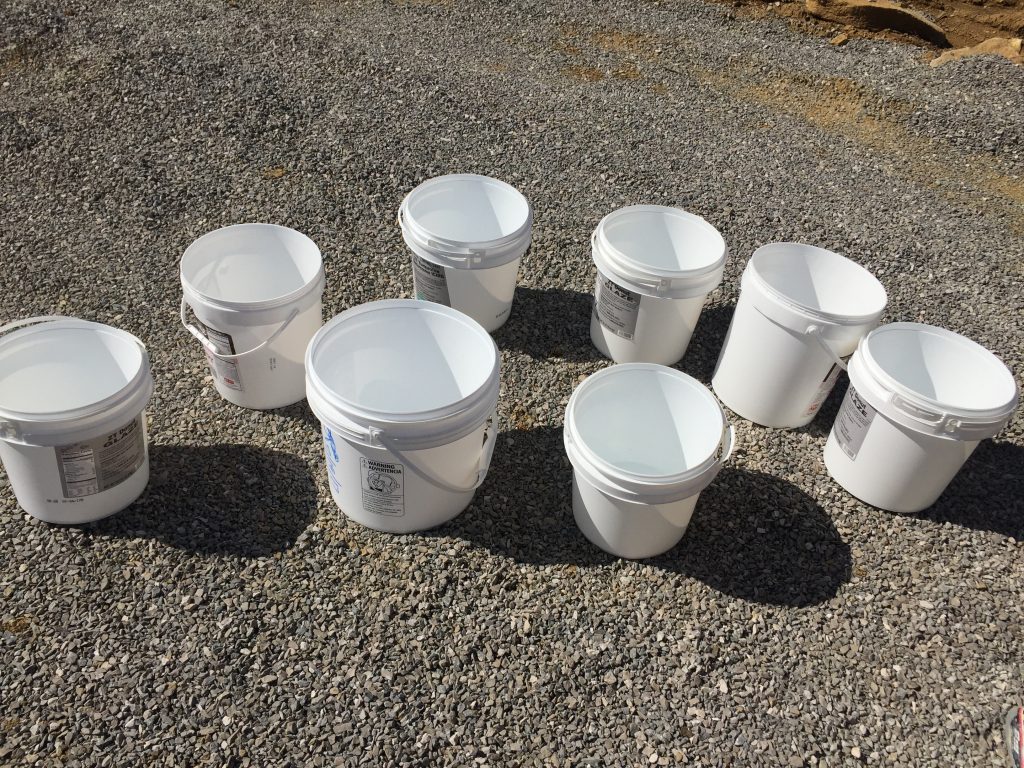
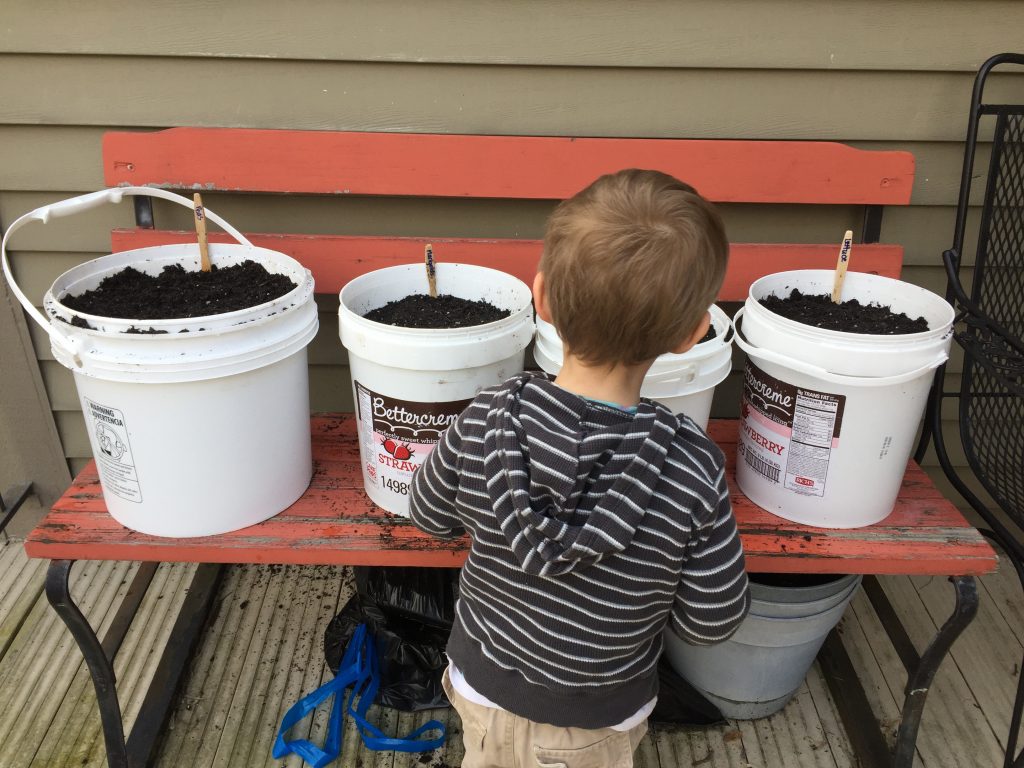
I asked at a Kroger bakery, but it works at most any store. I walked right up to the bakery counter and asked if they had any extra buckets to get rid of. To my delight, they said YES and brought me out about 6 buckets ranging from 2-4 gallons. And later while I was shopping one of the bakery ladies ran me down to give me a couple more before I got away.
8 buckets. All free, clean, and food grade.
Not only do you get free containers, you’re saving a bunch of plastic waste from the landfill! Can you believe they just get rid of these?
Note: You CAN get free containers elsewhere! For example, I got a bunch of older planters from my mom who wasn’t going to use them anymore. Some folks like to repurpose cat litter buckets into planters. Just make sure you know the history of any container you get and follow some basic safety precautions, such as avoiding anything that was used to hold pesticides, harsh cleaners, or anything else you don’t want in contact with your plants. This post by The Micro Gardener gives a great explanation of what to avoid when choosing a container for your garden.
2. Prepping Your Buckets
Wash
When I got the buckets they had already been washed out, but I did notice some residue and the occasional bit of blue frosting on the rims. I used some basic dish soap, water, and a sponge to clean everything off. I dried them with a towel and let them sit in the sun while I completed the next part.
Create Drainage Holes
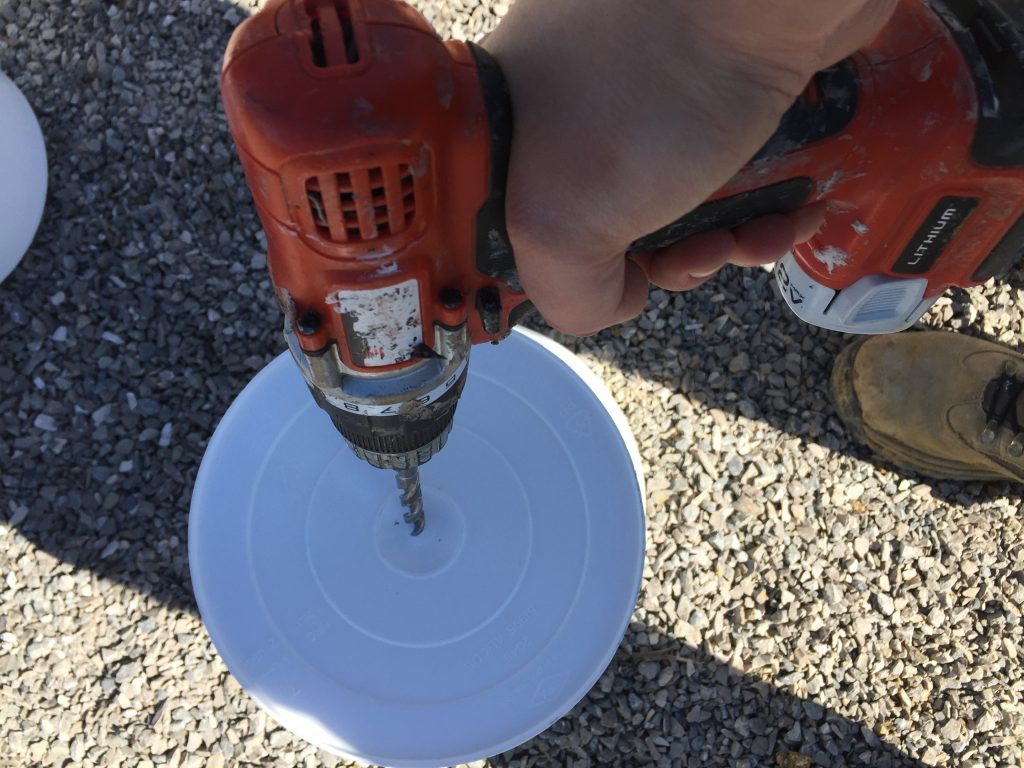
Using a drill and the largest practical drill bit I could find (5/8″) I drilled five holes: one in the center and four in a circle around it.
Decorate your buckets!
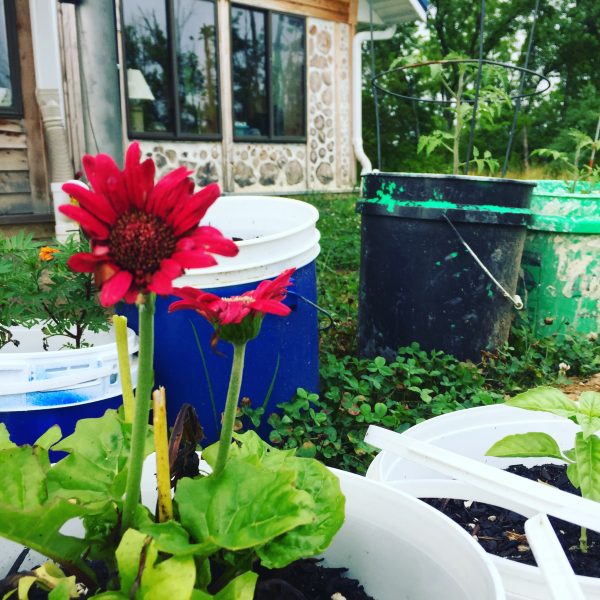
If you want something besides the basic white bucket, you can opt to paint it, wrap it in burlap, attach sticks or planks of wood, cover it in decorative duct tape, or any other number of creative things! Use your imagination here.
3. Planting for an Abundant Harvest
The secret to making your container garden THRIVE lies in how you prepare the soil that goes into it. I had wanted to miniaturize the “hugelkultur” garden technique (this post has some great cross-section drawings), so I researched different varieties of layers I could use in a small container. After some experimentation, we had fantastic results from using the following soil layering method:
Mini-Hugelkultur Soil Layers
- Chunks of bark and sticks: you want these pieces to be a few inches long and around one inch in diameter. Not too big, not too small. These pieces act as a moisture balancer. They promote drainage on rainy days but also retain moisture to help water the planter from the bottom up on dry days.
- Leaf litter: We picked up fallen, dried leaves from the edge of the woods and placed them over the bark and sticks. These will break down in the soil and add nutrients.
- Paper shreds: I added a handful or two of shredded paper from our home office shredder. Just make sure to avoid glossy paper or plastic envelope windows! The paper adds some “brown” material to balance out the “green” of the food scraps above so it doesn’t get too wet or too smelly.
- Food scraps: This is a method of direct composting. Instead of waiting for fruit and veggie scraps to degrade in a compost bin, I added them directly to the buckets. The result? They broke down fairly quickly and added vital nutrients to the soil.
- Potting mix: Over the top of all the layers I added a generous layer of potting soil mixed with compost. I bought premade mixes at the store for this project, but you could easily make your own.
- Seeds or Plant Starts: Plant whatever you like in your potting mix as you usually would. You can start plants from seed or use the plant starts of your choice.
- Mulch: Containers are prone to drying out, so a generous layer of pine wood mulch on top helped the buckets regulate their moisture. This was especially effective on hot, dry days. Mulching my containers helped me reduce watering by roughly half and created healthier plants.
Getting Plants for Cheap or Free
You can get great plants for cheap or free by looking for clearance items or asking associates for plants that were going to be thrown away. I got a ton of oregano, spearmint, marigolds, and even lavender last year just by checking for discards. You would be shocked and appalled at how many stores throw their unsold plants in the dumpster at the end of the sales season. Do your wallet and the earth a favor and go rescue those plants!
As for seeds, they are fairly inexpensive on their own. If you want to get some for cheap or free, you can try:
- seed-saving
- asking for end-of-season discounts or sale prices
- attending a seed swap at your local library or extension office
- asking friends or family if they have extra seeds to share
Marking Your Plants
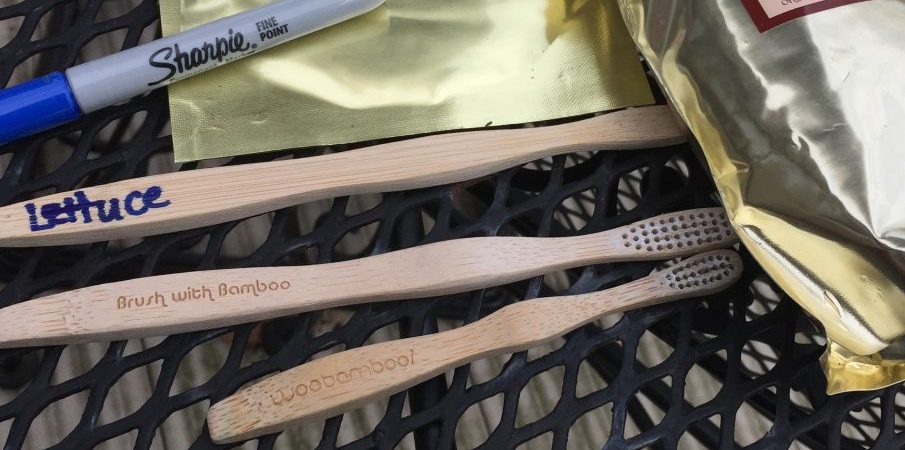
In our attempt to reduce waste, we started using bamboo toothbrushes. I saved a bunch of our used brushes, removed the bristles with pliers (these aren’t recyclable in most areas, unfortunately, but compared to throwing out an entire brush it’s a big reduction in waste), and kept the bamboo handles to use for projects like this. I used a marker to write the plant names on the handles and stuck them in the pots. You could also carve into it or use a wood burner if you desire.
You can easily reuse other materials as markers including popsicle sticks, plastic silverware, paint stirring sticks, and more. Get creative!
More Gardening Resources
There are loads of great ways to plant an abundant container garden using anything from boots to old gutters! Check out this roundup of amazing container gardening ideas from other homestead bloggers in this post.
If you’re a beginner or a recovering brown thumb (like me!) I highly encourage you to check out the resources and tips all about Gardening for Beginners, Brown Thumbs, and Aspiring Homesteaders in this post.
And of course, I don’t want you to have to spend an arm and a leg creating the perfect garden. From trellises to wattle fences, check out these amazing garden projects you can do for cheap or free (coming soon)!
We’re planning to do a bunch of those cheap or free garden projects in our own garden this year. And yes, even though we’re able to plant in our own ground now, we still love using our containers for all kinds of fun plants!
Want to build a homestead of your own someday? Learn all about our off-grid cordwood homestead project here and sign up to get access to all of our free homestead creator’s guides in our Resource Library!
Be sure to join us on Pinterest, Facebook, and Instagram for more homesteading goodies that don’t necessarily make it to the blog. Thanks for reading!

Love love love this post about reusing the big buckets for container gardening. I have a lot of buckets from DIY projects plus small pieces of glass and tile from prior projects. I am going to try do glue/plaster a design on the bucket.
Ooh a tile mosaic sounds absolutely lovely!
Last year we went to Wal Mart on McCain Blvd in NLR Ar and they were removing tomatoe plants and they were extremely healthy plants we asked if we could buy them and the man replied no and that once they reach a certain height that they had to be thrown away. I found unsettling since there are several people and organizations that could benefit from them. I’m just wandering if that’s normal for stores
Yes, it is, and it’s sad and unnecessary. Stores all over the place do this and it’s ridiculous. We rescued so many plants in the last 1-2 years from the TRASH and it breaks my heart. I wonder if we could collectively pressure them to change those policies because you’re totally right – lots of folks could benefit from those.