Disclosure: I sometimes earn products or commissions from affiliate links or partnerships on my blog. I only recommend products and services I trust to serve you. Learn more.
Now that the cordwood walls have officially been finished, we’ve gotten to move on to some other projects that will let us close in our home and make keep the critters out for winter. There are a lot of little parts to this side of the project that most people probably never even think about in regards to their own homes. I know we didn’t!
I have to say, I was surprised at how relieved I was when the cordwood was finished. It seems like back in July, I was SO EXCITED to finally be getting started with the walls. And then by October I couldn’t wait to get them finished. In hindsight, I’m sure this was because we were in a race against the cold weather and not because of the nature of cordwood construction. If we had been able to start the cordwood in June and take our time it would have been a much more pleasant experience. Cordwood is not something you want to rush, especially when you have many other pressing responsibilities looming over you.
Once we finished the cordwood we took a couple of weeks to ourselves. We spent some more time with our son, slept in on weekends, and took our time with subsequent parts of the project.
So what have we done since the walls have been finished?
1. Stud framed the mudroom.
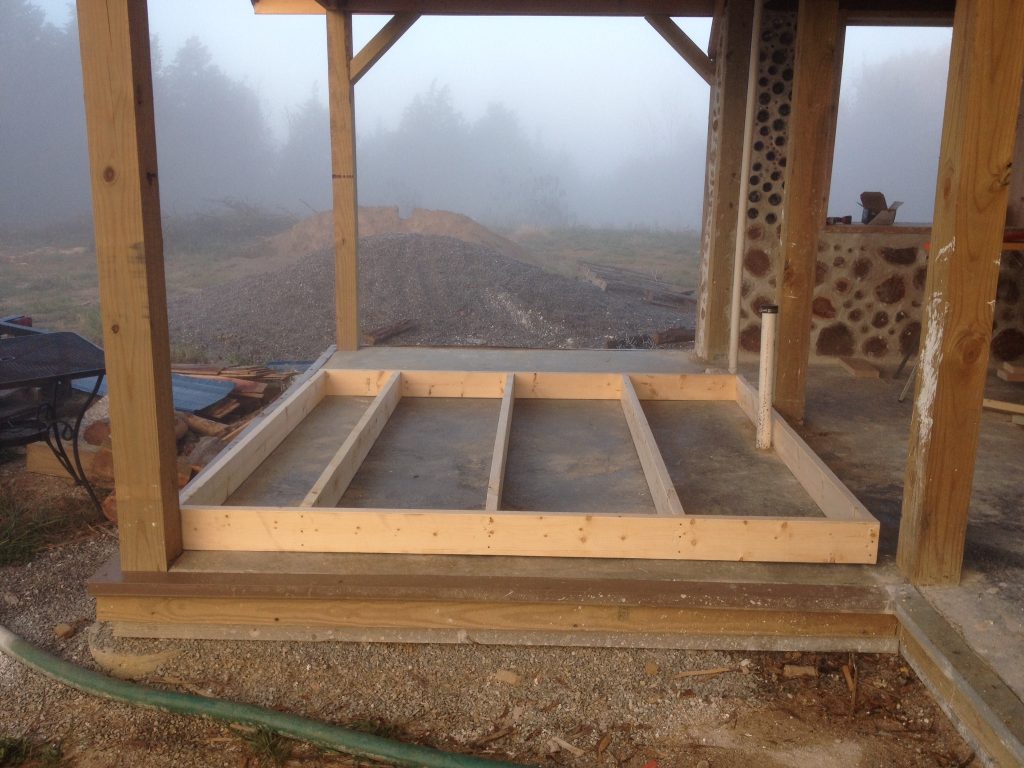
We chose to stud frame the mudroom for a few reasons: to maximize the square footage of the interior space (cordwood eats up a lot of area) and to make better use of materials we already have. You saw in the last update that we’d run out of cordwood and had to supplement with posts, so obviously doing even a thin cordwood wall for the mudroom was out. We could choose to do a cordwood veneer on the stud walls, but we have cedar lumber at the ready and will side the walls with it instead.
Since Mark had more time available to go out and work than I did, he managed to complete this job by himself in a matter of days. First he built the frames on the floor:
Then he put them up between our 6×6 posts:
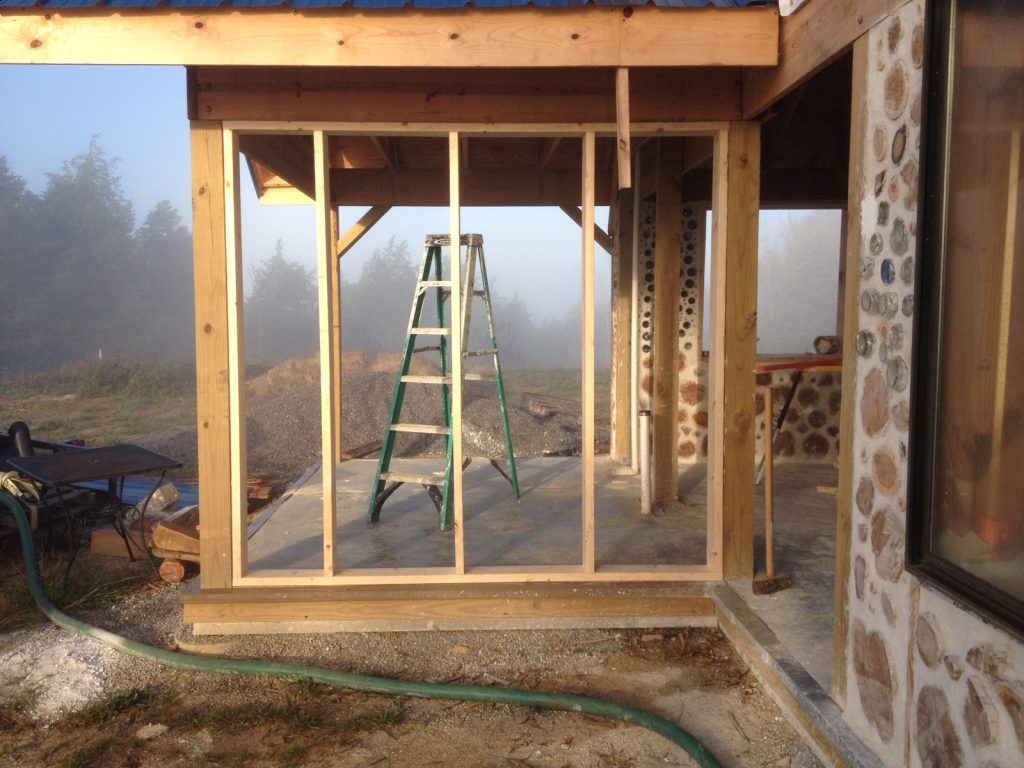
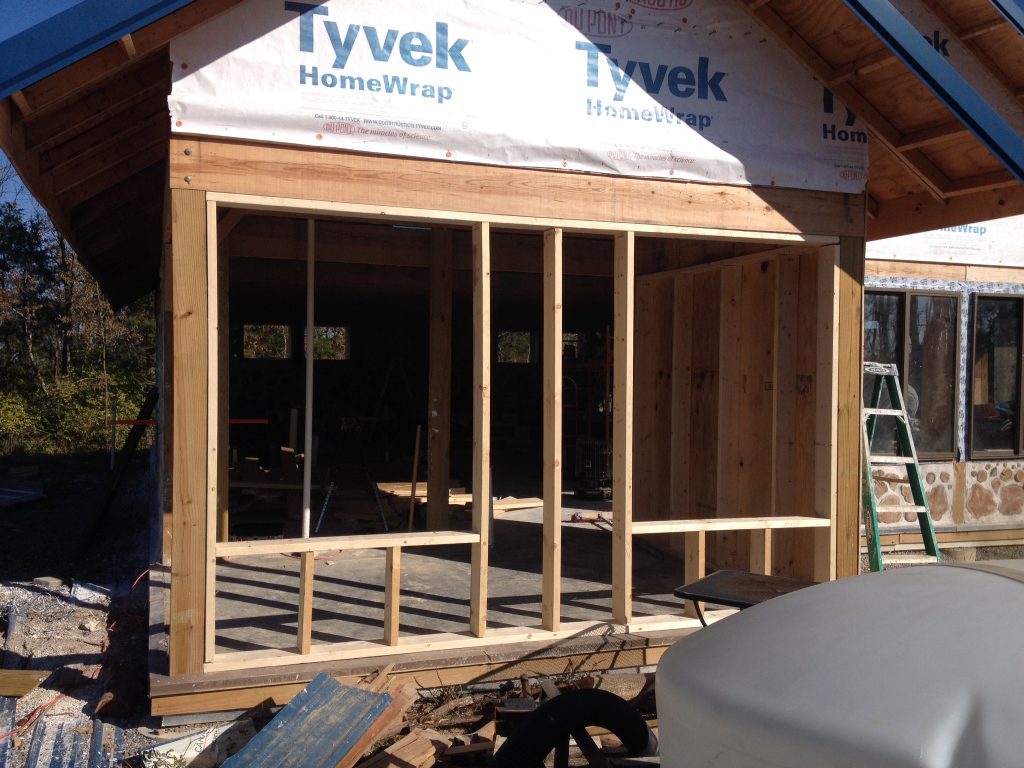
He attached the plywood sheathing:
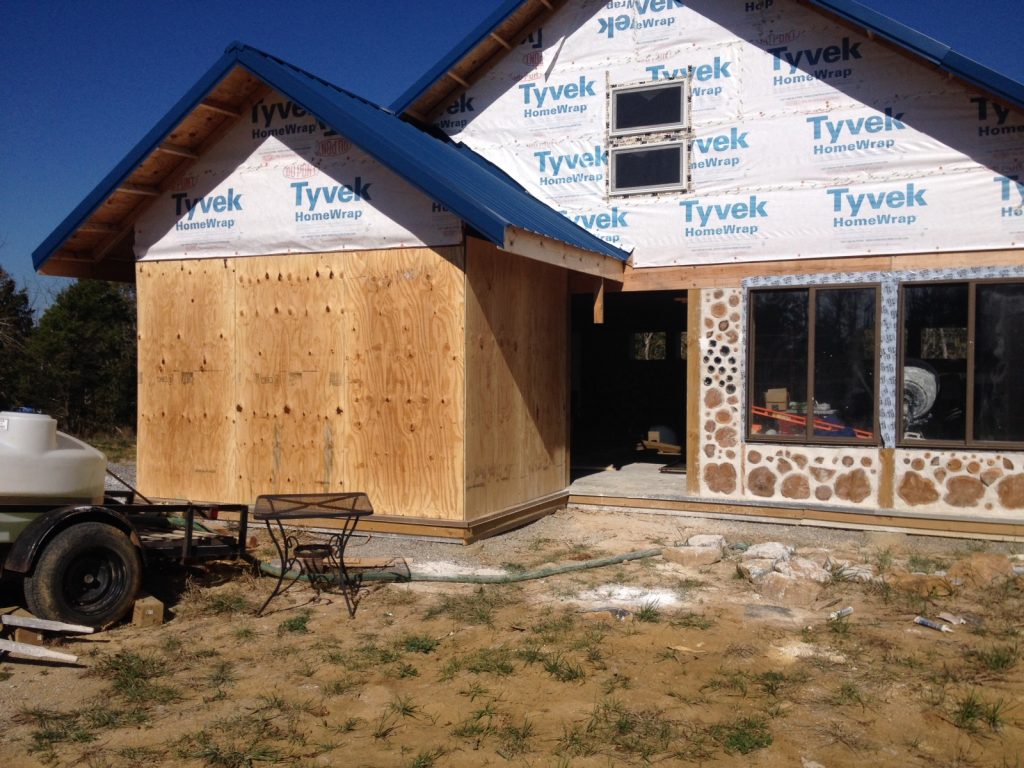
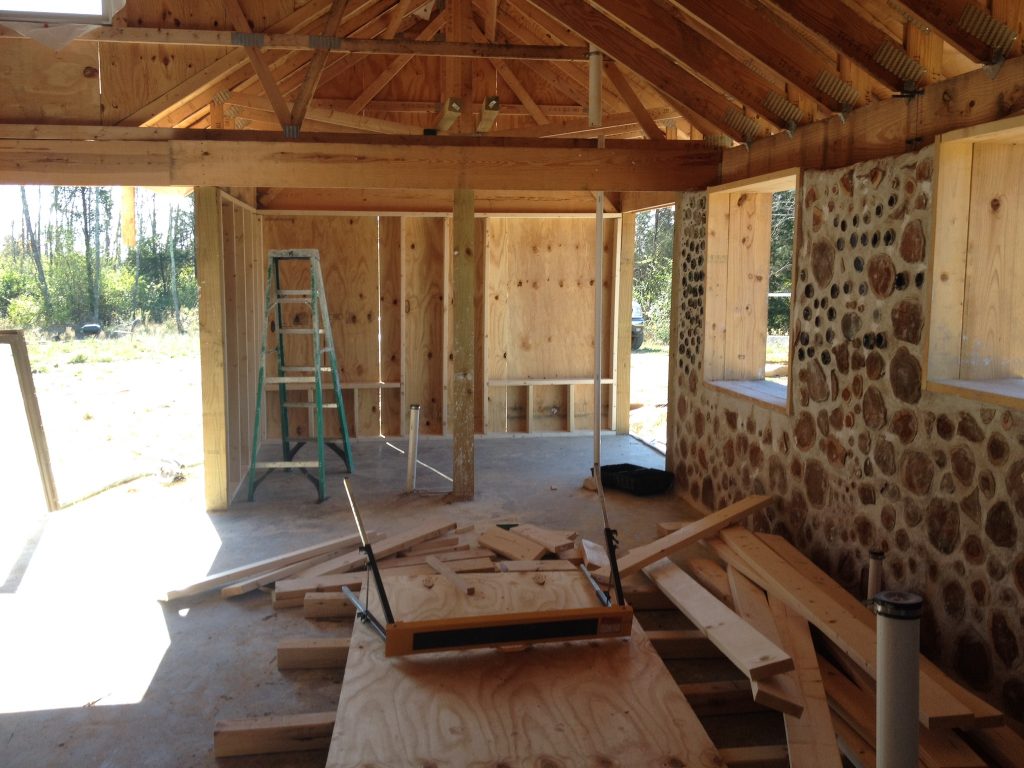
Cut out the windows, put up the house wrap, and installed the windows and doors:
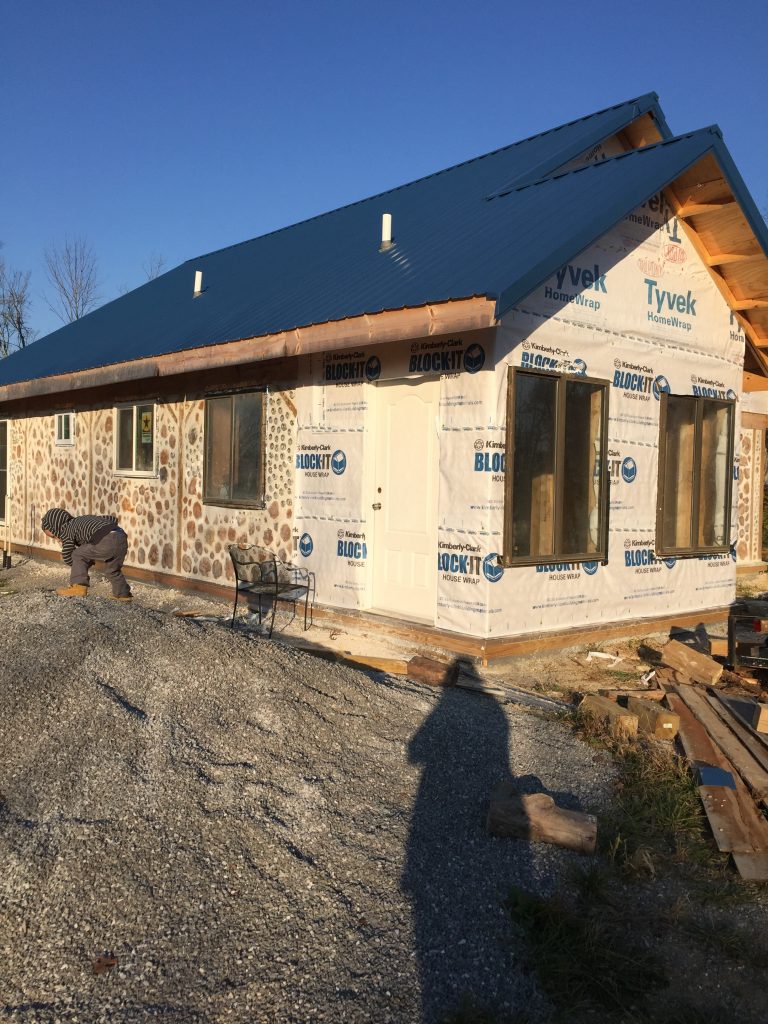
2. Installed the rest of the windows.
We kept them open while we finished the cordwood so we could pass tools back and forth more easily. Since the cordwood was done and the cold weather had arrived, it was time to get the windows into their frames and out of the way.
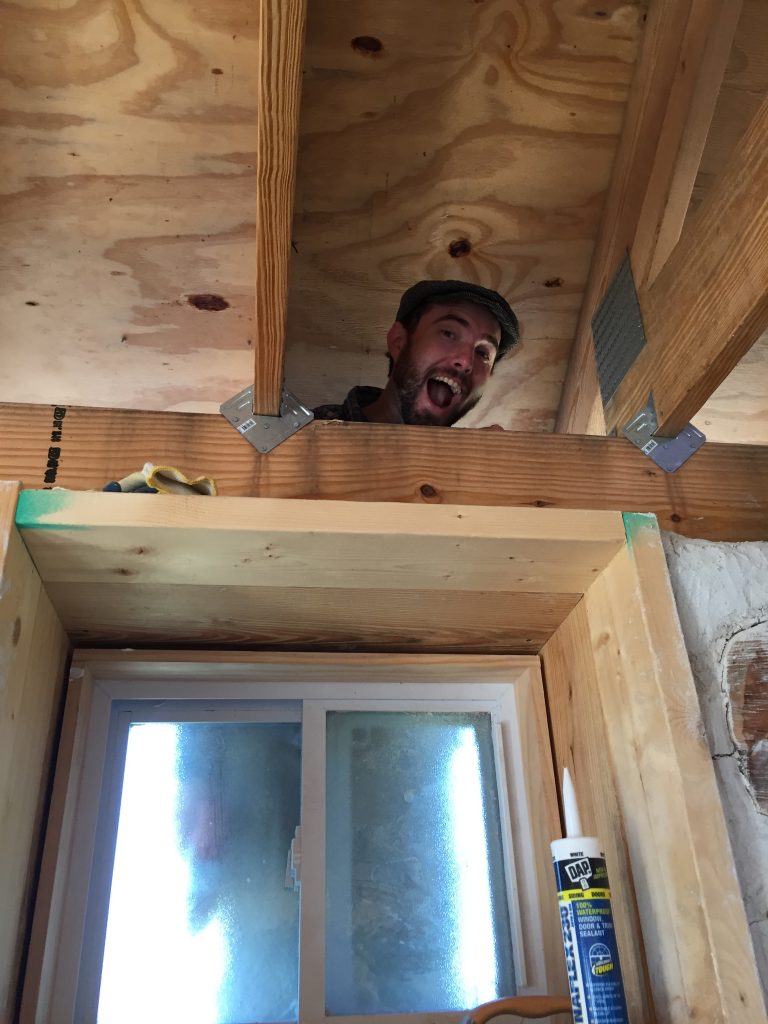
3. Started the soffits.
First, what are soffits? Soffits are the material that covers the gap between the roof overhang and the side of a building. They keep pests and the elements out while providing needed ventilation.
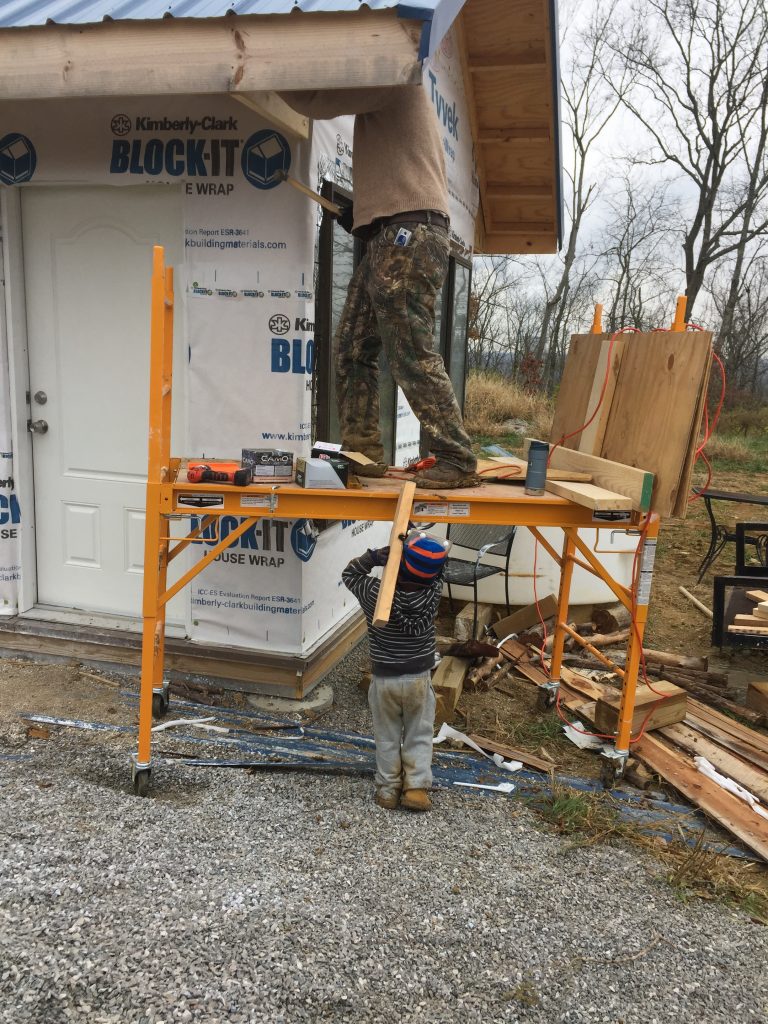
Cordwood best practices dictate that any cordwood structure have an ample roof overhang of at least 16″ or more to adequately shield the wall from rain. Our overhangs are 24″. However, most stock soffits at your typical big box store are only 12″, which is what most standard stick-framed homes have. We could have built our own soffits using lumber and installing vents along the length, but we wanted to use aluminum soffits for decreased maintenance and increase longevity, so Mark cut strips of stock aluminum soffits to 24″ inch lengths and then laid them into the J-channel he installed along the length of the wall.
We even had our favorite little helper join us!
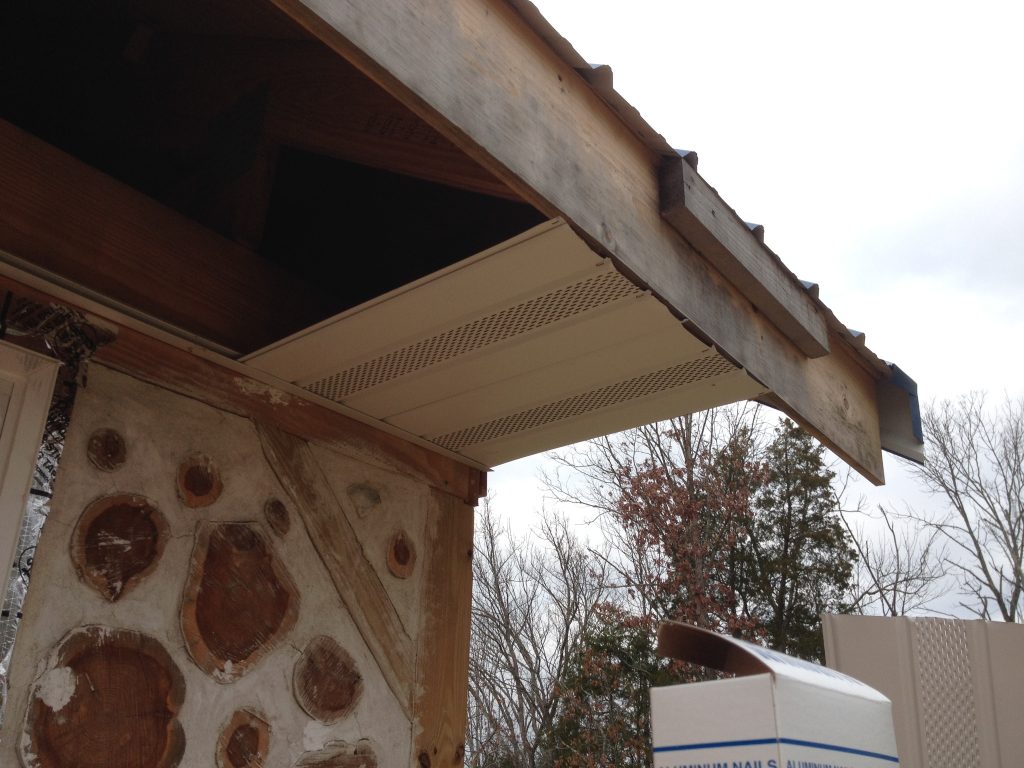
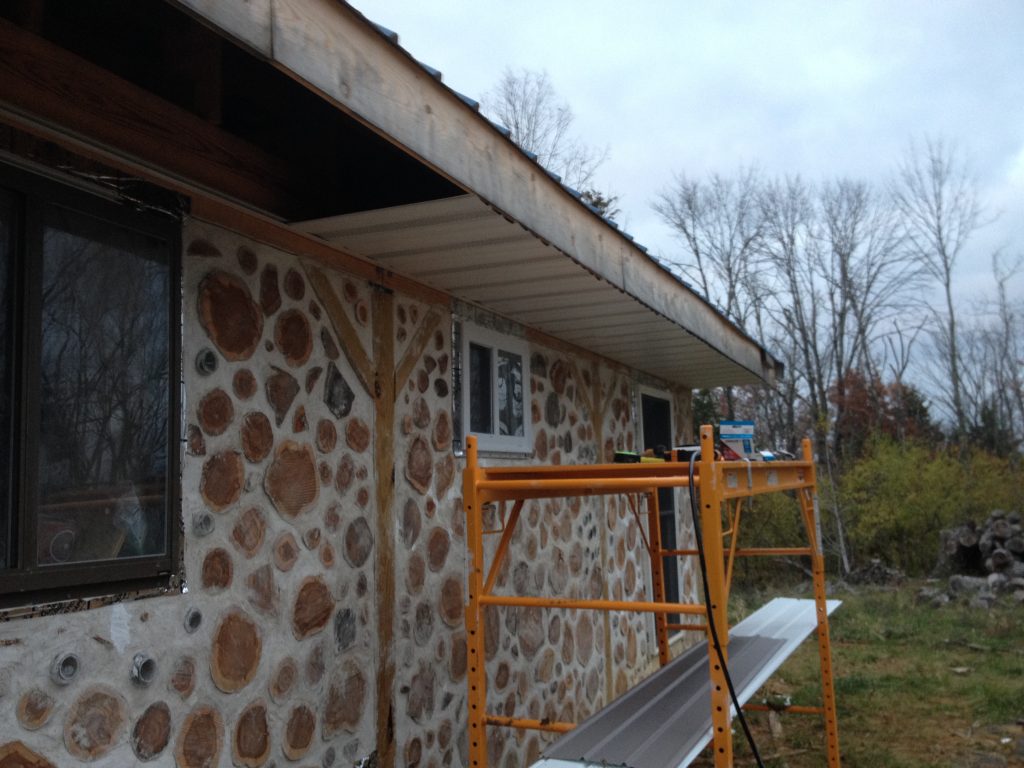
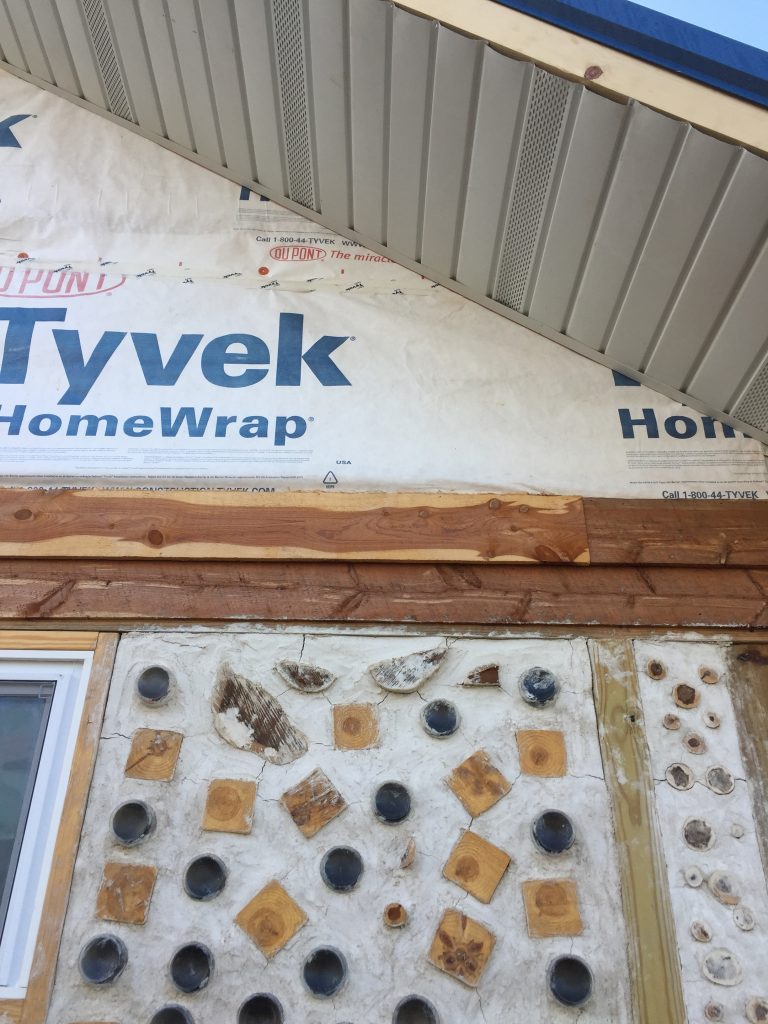
Note: For the curious, yes there are cracks in the mortar there. These are a naturally occurring part of cordwood masonry and are cosmetic, not structural. Over time, cracks like these can “self heal” in lime putty mortar like ours. Bigger cracks and gaps will be filled in with lime putty or chinking compound once the walls have gone through the change of seasons and have reasonably settled. I also still really need to scrub/sand the mortar off of the logs and posts, but I’m going to wait for warmer weather to do that!
4. Bought a kerosene heater!
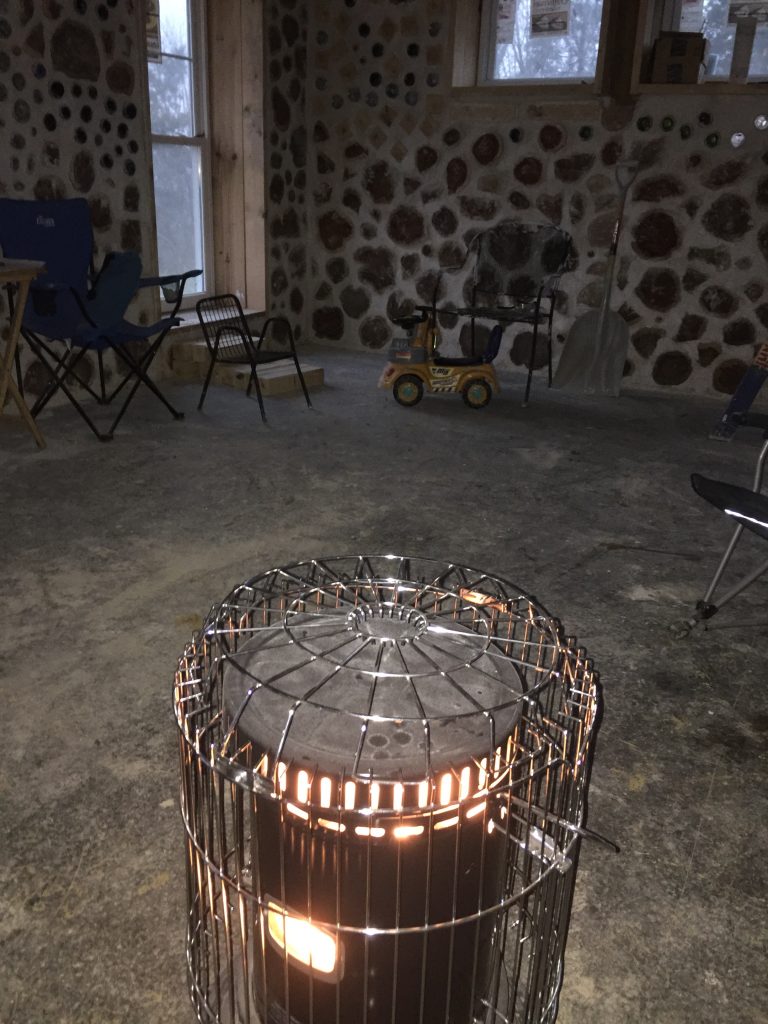
Summer lingered well into fall and then switched over to winter in a big hurry! Our roof isn’t insulated yet, so in spite of all the insulation in the walls it still gets plenty chilly in the house. We got a kerosene heater much like this one (affiliate link) and have been beyond happy. We don’t have any of the interior walls up yet, so we’re essentially heating a big 30×34 box and it keeps us plenty warm while we’re working inside. Good thing too, because the daytime high temperatures have regularly been well below freezing.
5. Bought a tractor!
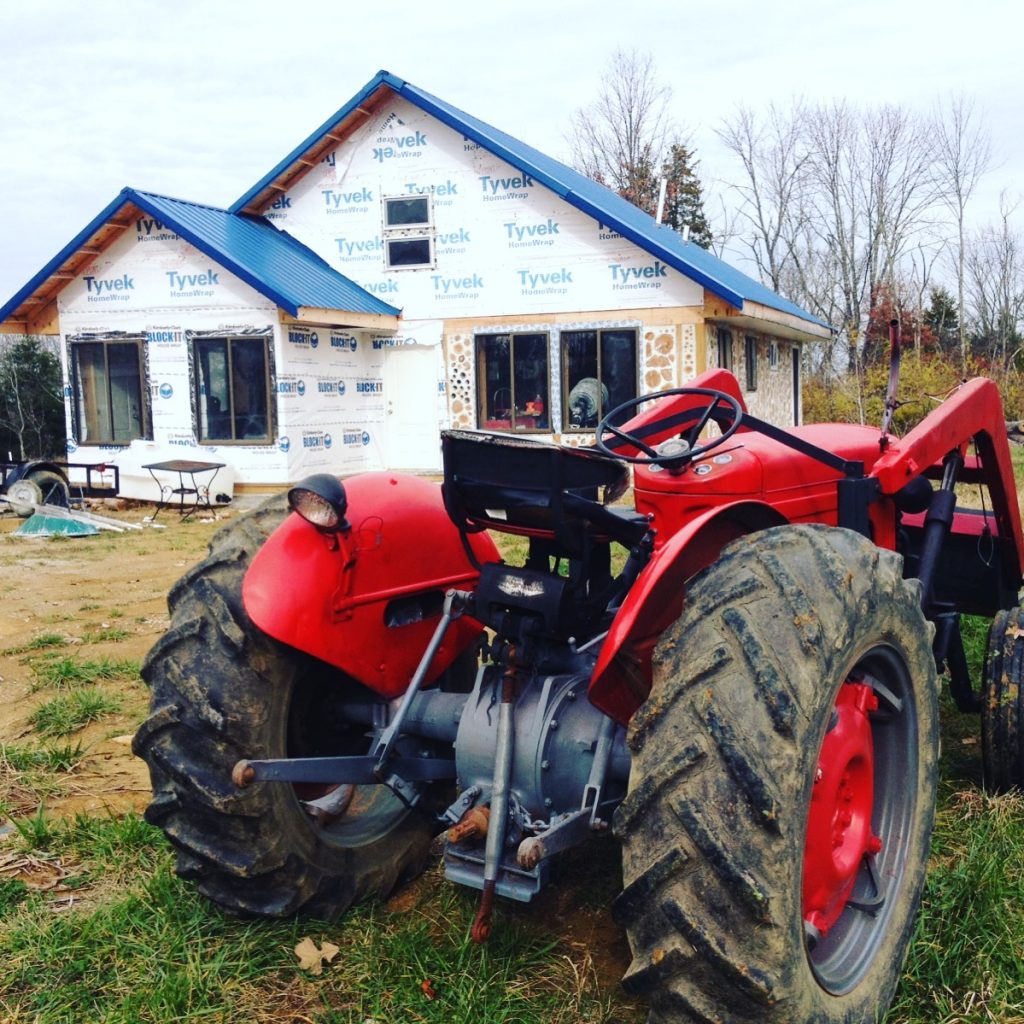
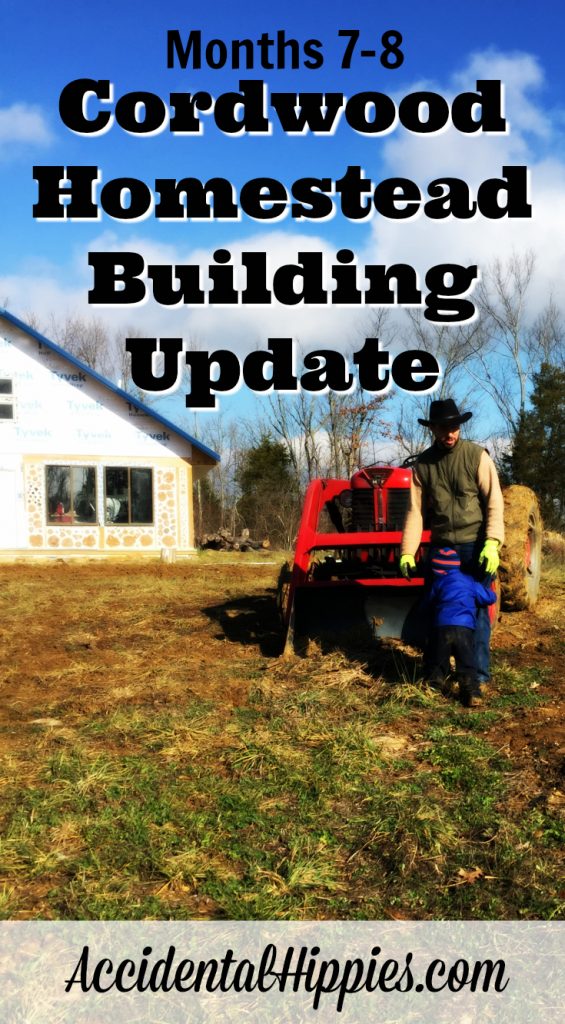
This is easily the most exciting development for the homestead. Mark had been eyeing tractors ever since we bought our property almost two years ago, but THIS particular tractor caught his eye on Craigslist. It’s a Massey Ferguson 50 with a loader. Mark took his uncle (who had a trailer to haul it and is much more knowledgable about tractors than we are) with him to look it over before purchasing. While not flawless, it does everything we need it to do and will allow us to better maintain the driveway, and grade/work our land. There’s also a Massey Ferguson dealer one county down from us and the guys there are really helpful. Having a reputable dealer/supplier near you for any piece of homesteading equipment is highly recommended. You need to be able to maintain your equipment to the best of your ability, so this is always something you should look for whether it’s for your tractor, chainsaw, etc.
CLICK HERE TO READ PAST BUILDING UPDATES
So there you have it! Since we finished the cordwood on October 30, it’s been a bit of a slow go. Cold weather and end-of-semester shenanigans have kept us pretty busy, but I’m proud of what we’ve managed to accomplish in spite of that. We’ll be able to use the rest of the cold months to continue getting the soffits, siding, and gutters on. Then we can start framing up the interior walls of the house!
If you want to know more about our off-grid cordwood homestead project, click here. Be sure to join us on Pinterest, Facebook, and Instagram for more building and homesteading goodies that don’t necessarily make it to the blog. Thanks!
