Disclosure: I sometimes earn products or commissions from affiliate links or partnerships on my blog. I only recommend products and services I trust to serve you. Learn more.
The month of July brought slow but steady progress to our cordwood building project. We’ll give you the recap of everything that happened and what we learned in the process.
July has come and gone way too fast. Is it really August already?! Mark and I have made a lot of progress this month in getting our cordwood home to look more like an actual house than it did at the end of June, but the visible progress has been much slower than we would have hoped. Why? More on that in a minute. First, check out our progress!
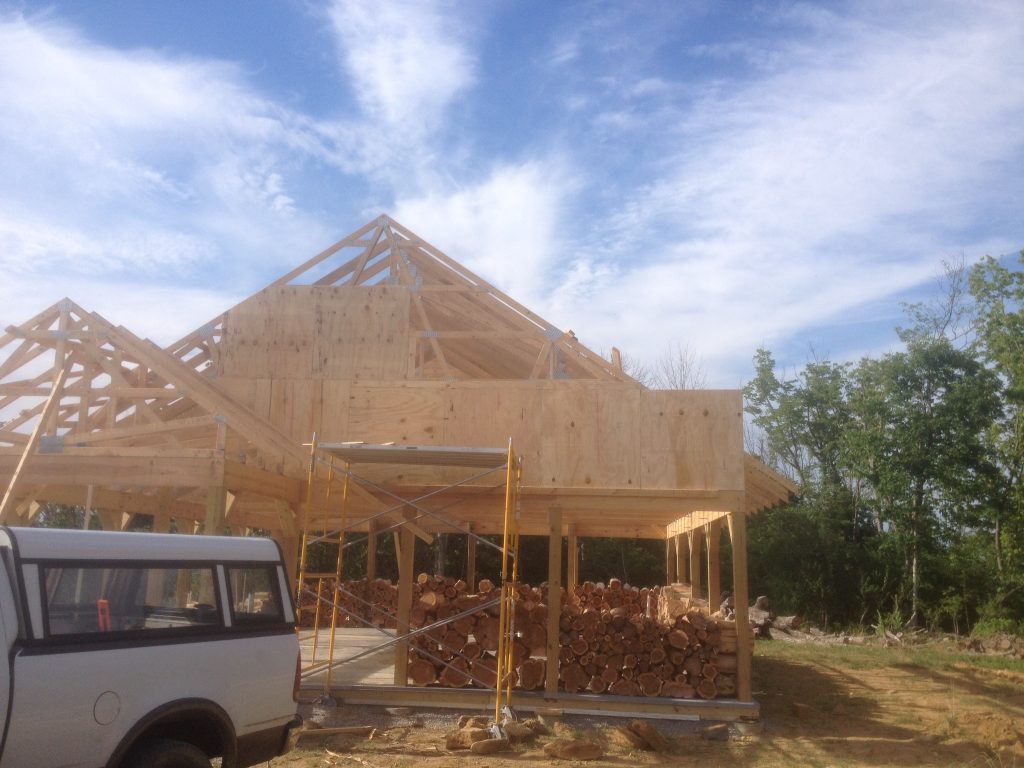
On July 1 the house looked like this:
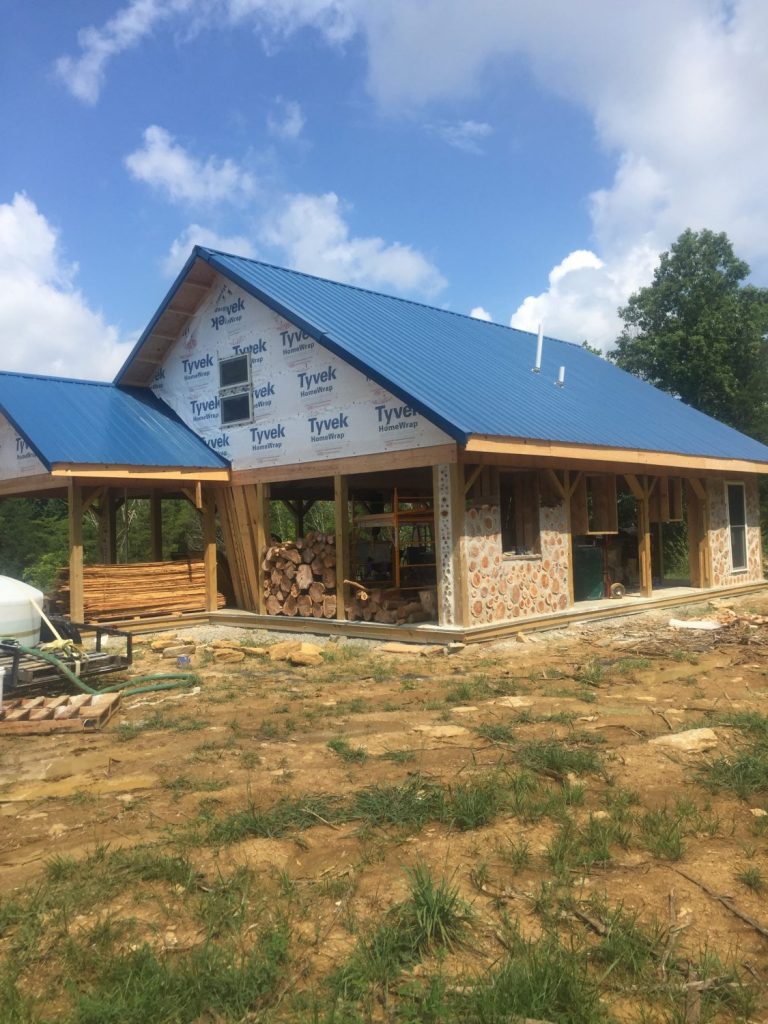
And on July 31, it looked like THIS:
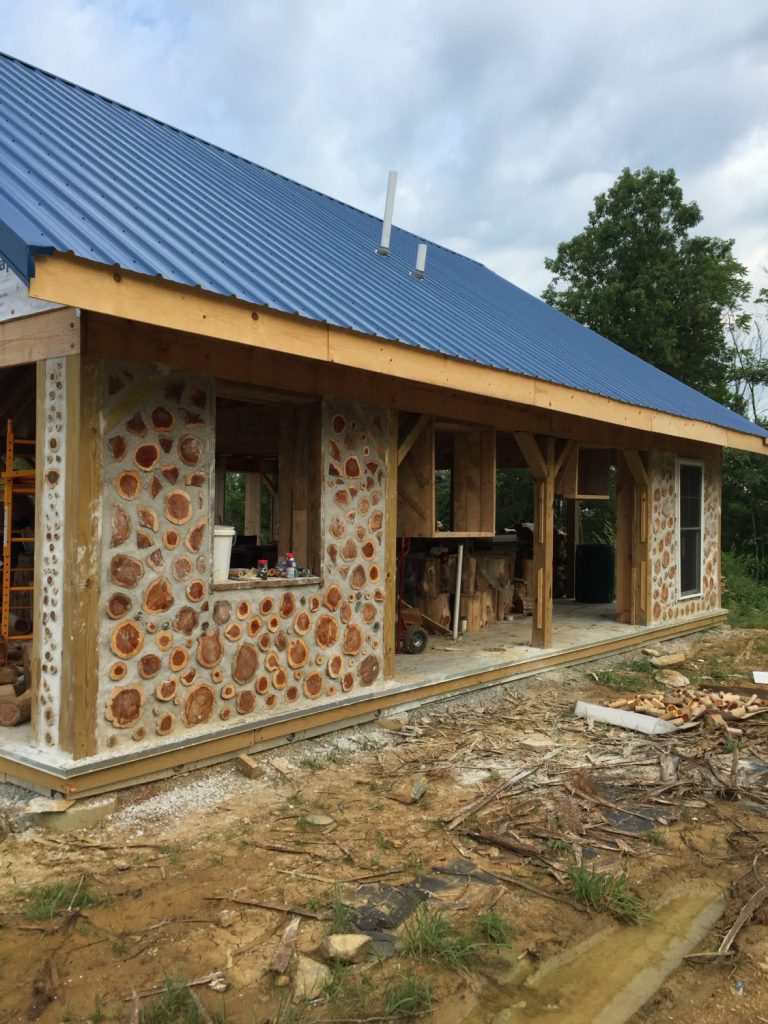
Not quite as drastic as the changes that took hold in June, but respectable nonetheless!
Here’s the breakdown:
1. Put up the remaining sheathing on the gable ends.
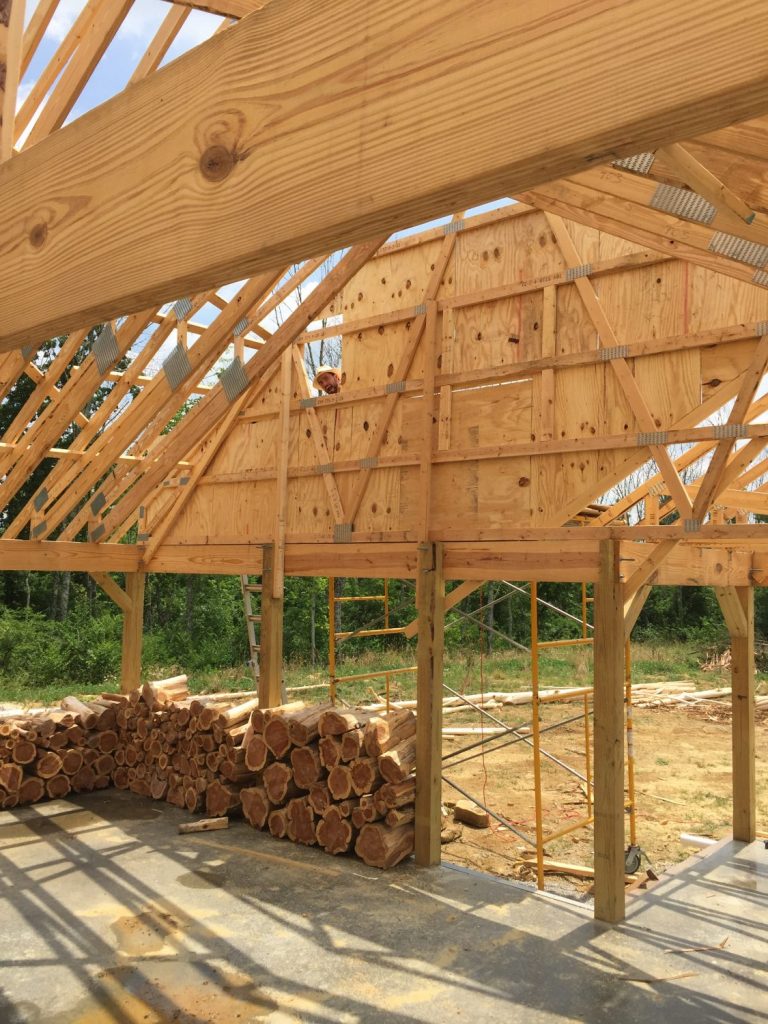
2. Covered the sheathing in Tyvek housewrap.
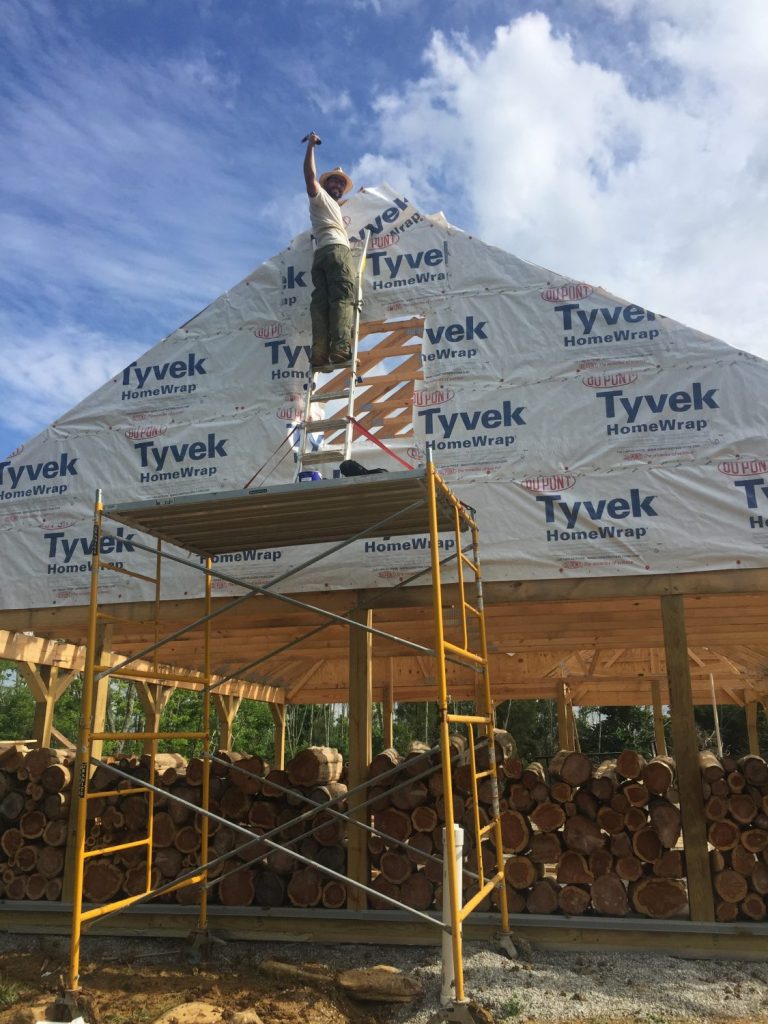
3. Ran the gutter boards along the ends of the trusses and installed the plumbing vents for the roofer.
4. Hired an actual roofer to put on our metal roof since it was a way bigger job than we realized when we conceptualized our house (ugh).
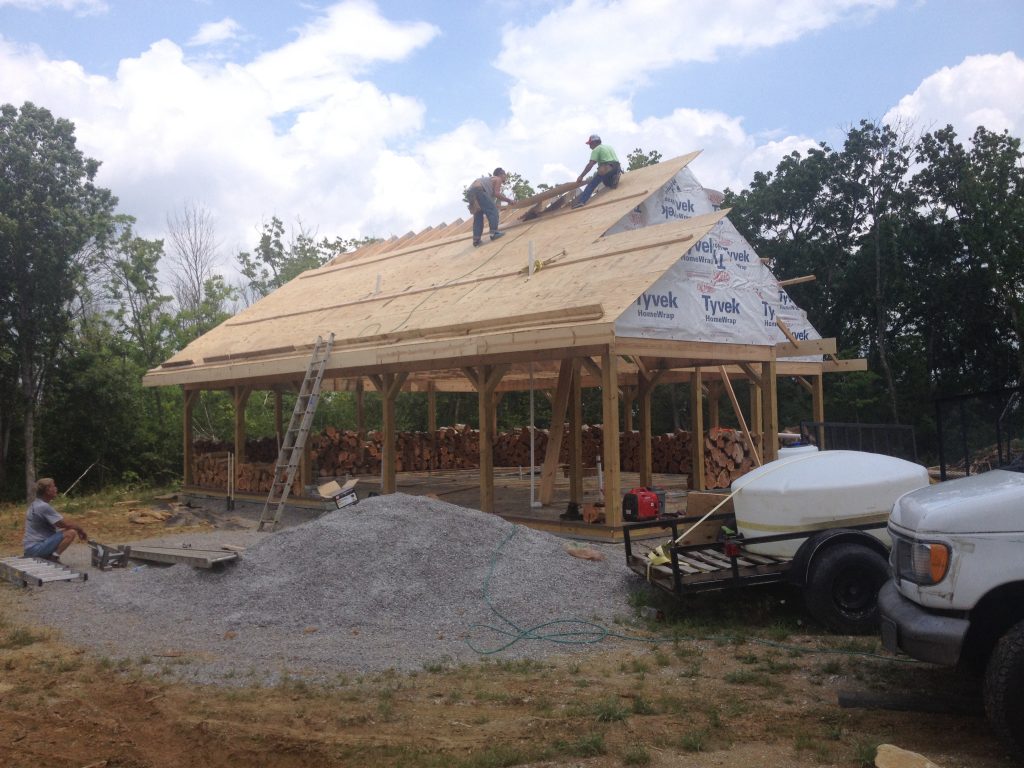
As we keep saying, “It’s the biggest little house I’ve ever seen!” It’s not big, but it isn’t “tiny” either. You can read more on that choice here, but getting the roof done made me start to wish we actually HAD built tiny. Geez.
5. Made a LOT of trips to Menards for hydrated lime, extra windows, and other goodies.
Menards is a magical wonderland of home improvement where you can get 2 windows for $100 AND a 12-pack of pudding cups for $2.79. AND they had a live jazz pianist near the bathroom fixtures. Let’s just forget about building the house and go live at Menards.
6. Cut and peeled yet some more trees to make sure we’d really really have enough.
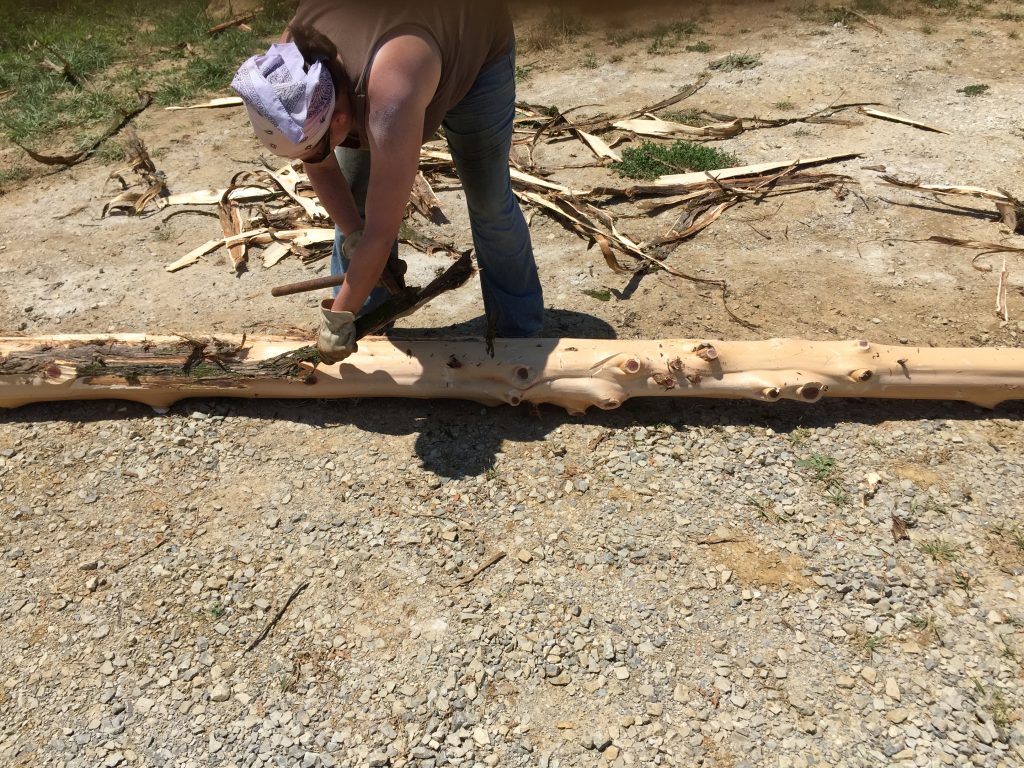
Because you can never have too much! By the way, in our 90+ degree heat it dried from 30% to about 17% moisture content in about a week (even with the humidity).
7. Scored a TON of rough cedar lumber off Craigslist to use for siding the gable ends and the mudroom (and anything else really…it’s kind of awesome).
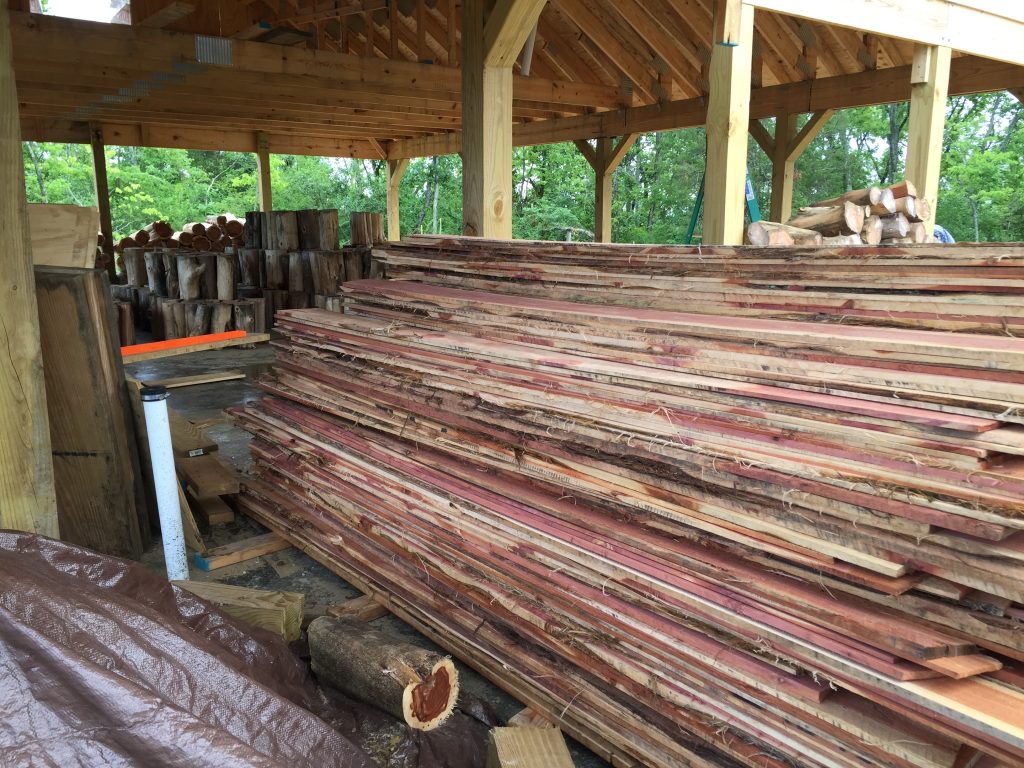
Made for a fun mini roadtrip!
8. On July 16th we FINALLY started the cordwood by building a small test column on the back side of the house.
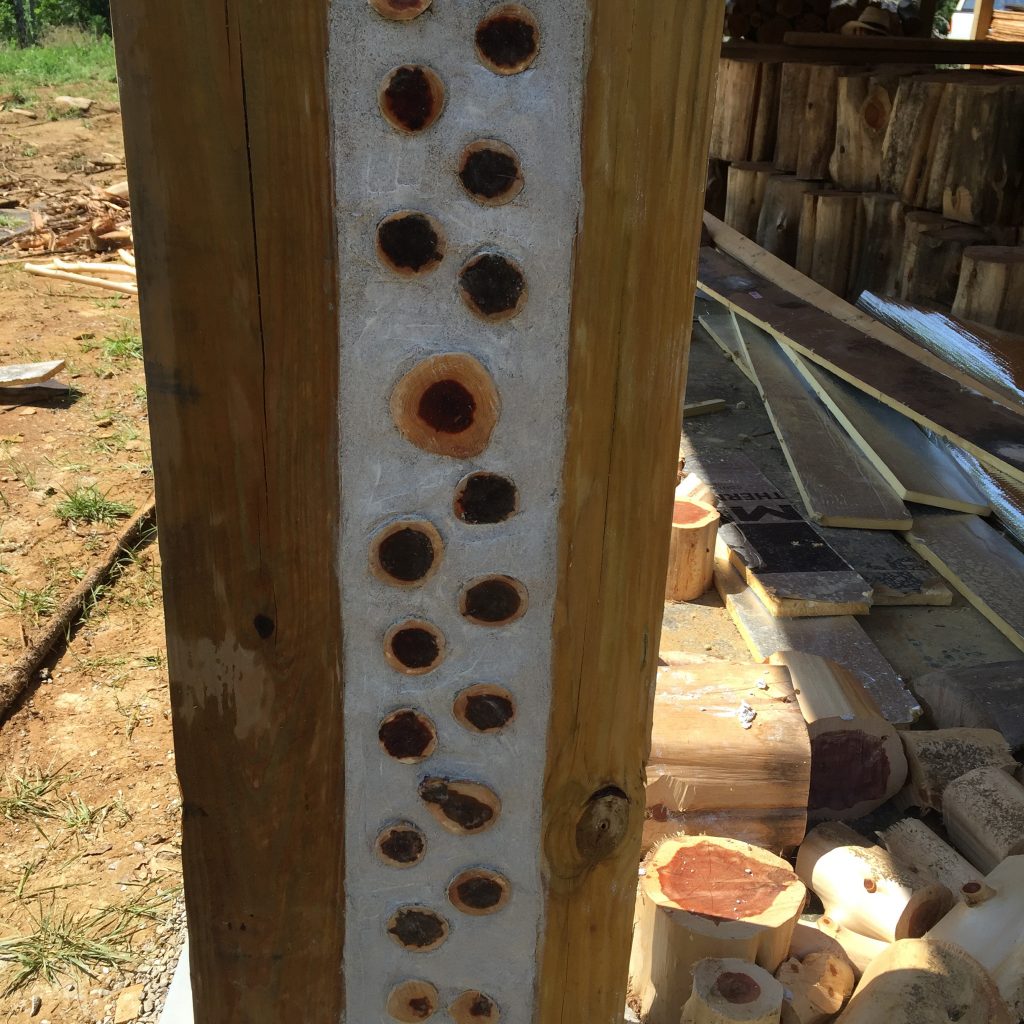
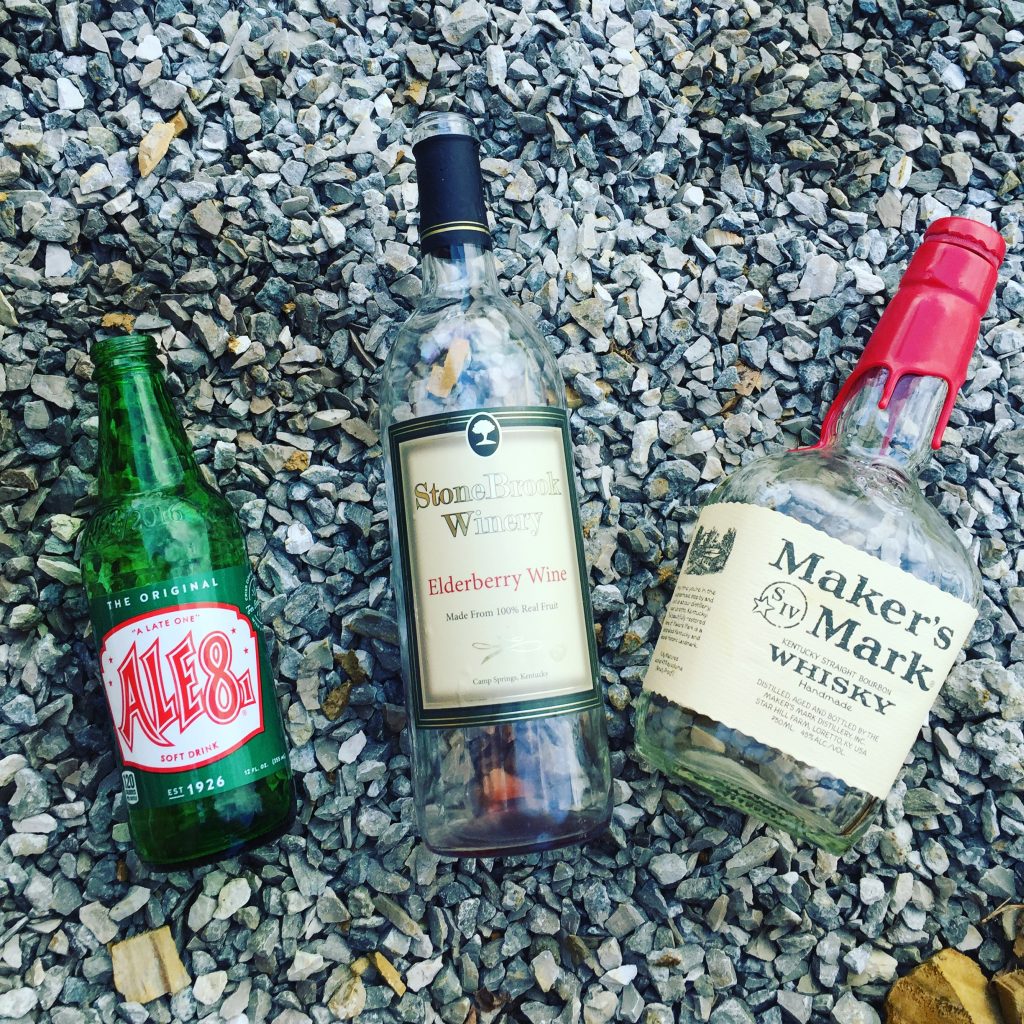
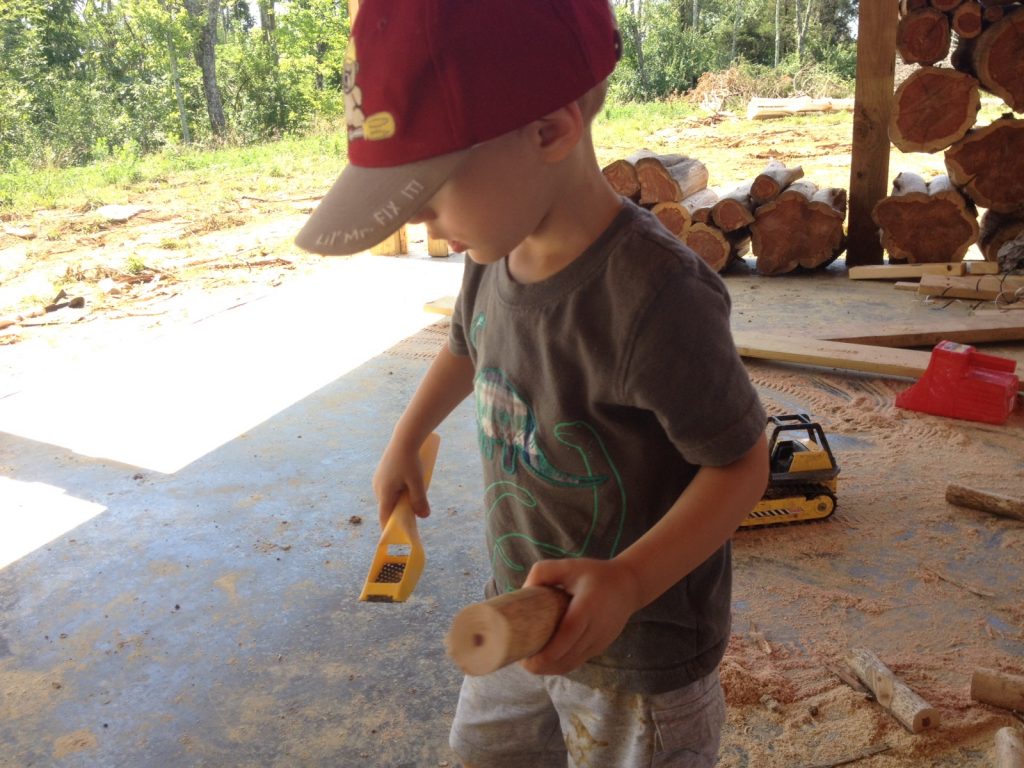
9. Spent a LOT of time scraping the ragged edges off of the logs, cleaning bottles, and building window frames. Even little man got to help out!
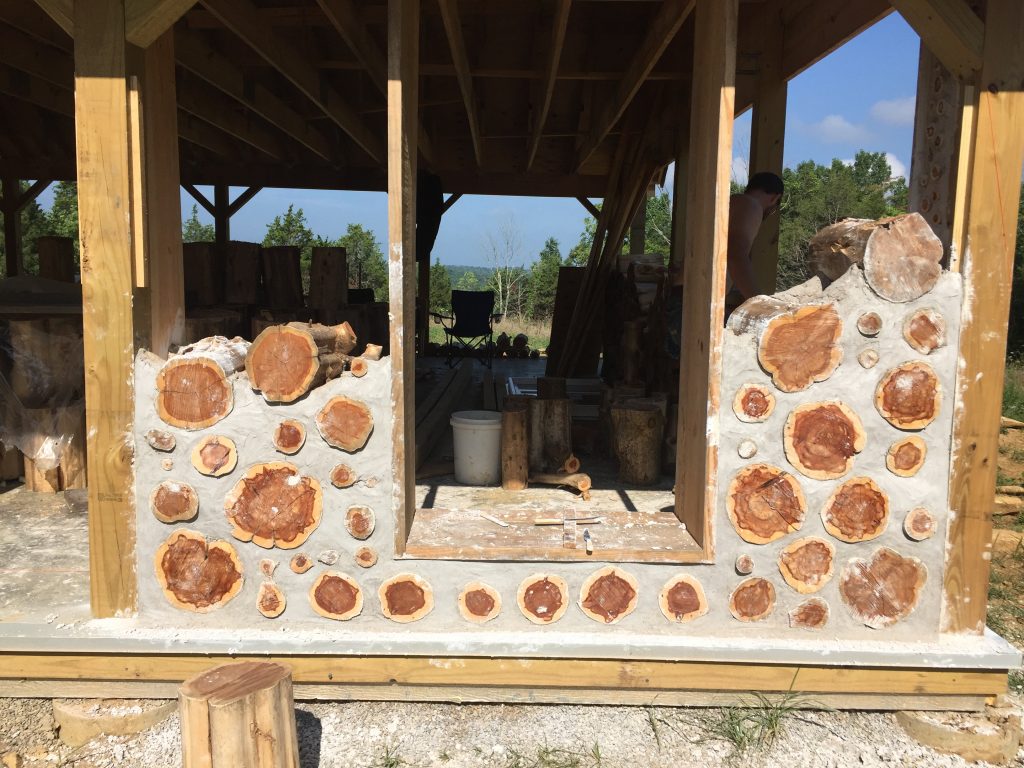
9. Slowly build cordwood walls one section at a time.
If you’re new to building with cordwood, check out our overview of it here!
On the last day of the month, we had completed only 2 out of the 14 sections we’ll actually do. For Mark especially, the amount of time the cordwood actually takes was something of a let down. At first, we were going SO SLOWLY for a few reasons:
- It took time for ME to learn the process.
- It took time for US to get a work rhythm going.
- We hadn’t done as much prep work as we should have (i.e. having all logs scraped and ready to go).
- It kept STORMING. Rain is one thing, but we kept getting storms that prevented us from working as long as we’d have liked.
- We were mixing mortar in smaller batches by HAND.
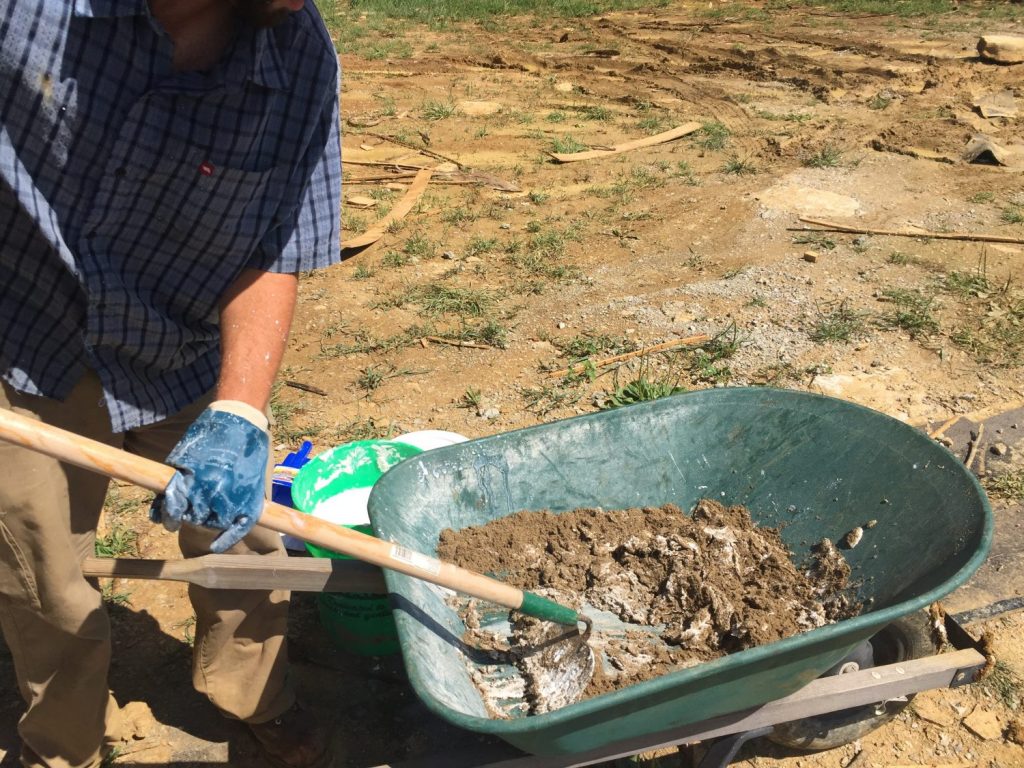
One batch (1X) of our our mortar recipe is 2.5 parts sand to 1 part lime putty. We could only really make a 3-4X batch at a time by hand, and each batch took us at least 10 minutes or more to mix with a hoe.
So we broke down and spent a little money on a concrete mixer.
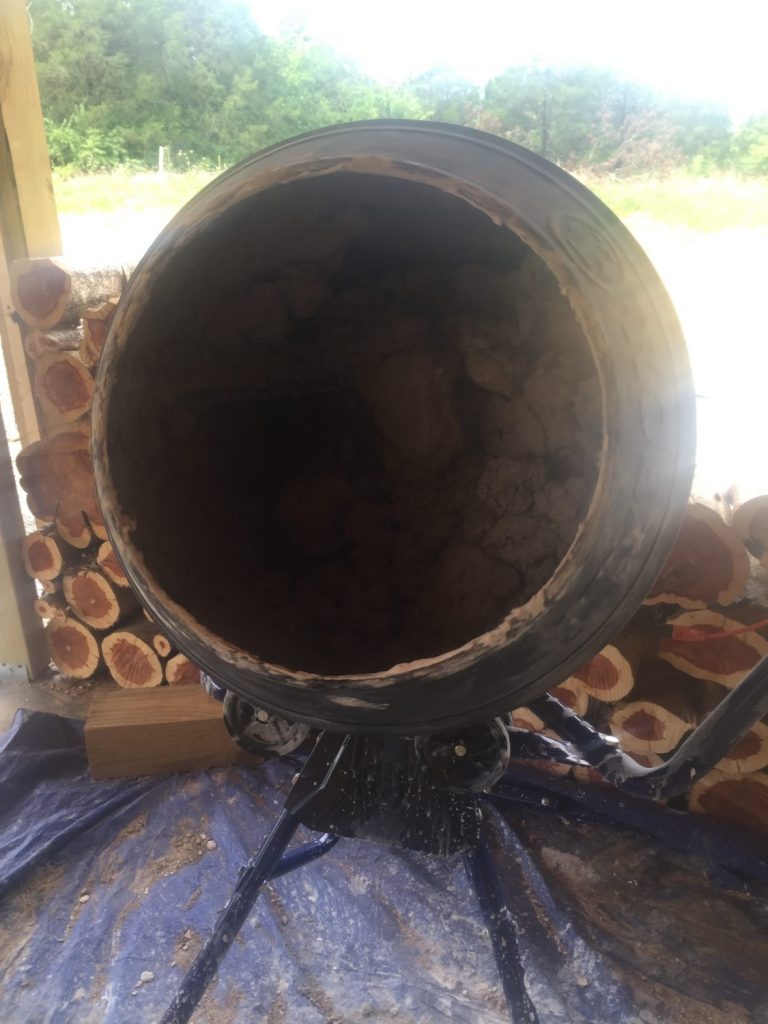
We can make a 6X batch and WORK while we wait. For context, all of our current walls have used anywhere from 12-24X batches, and those are only walls that have windows in them so far. The walls without windows on the northern side could have at least 32X or more. That being said, the mixer speeds us up tremendously! Purists will say we don’t need one, but meh…we do what we want. We’re both teachers and our summer time is precious.
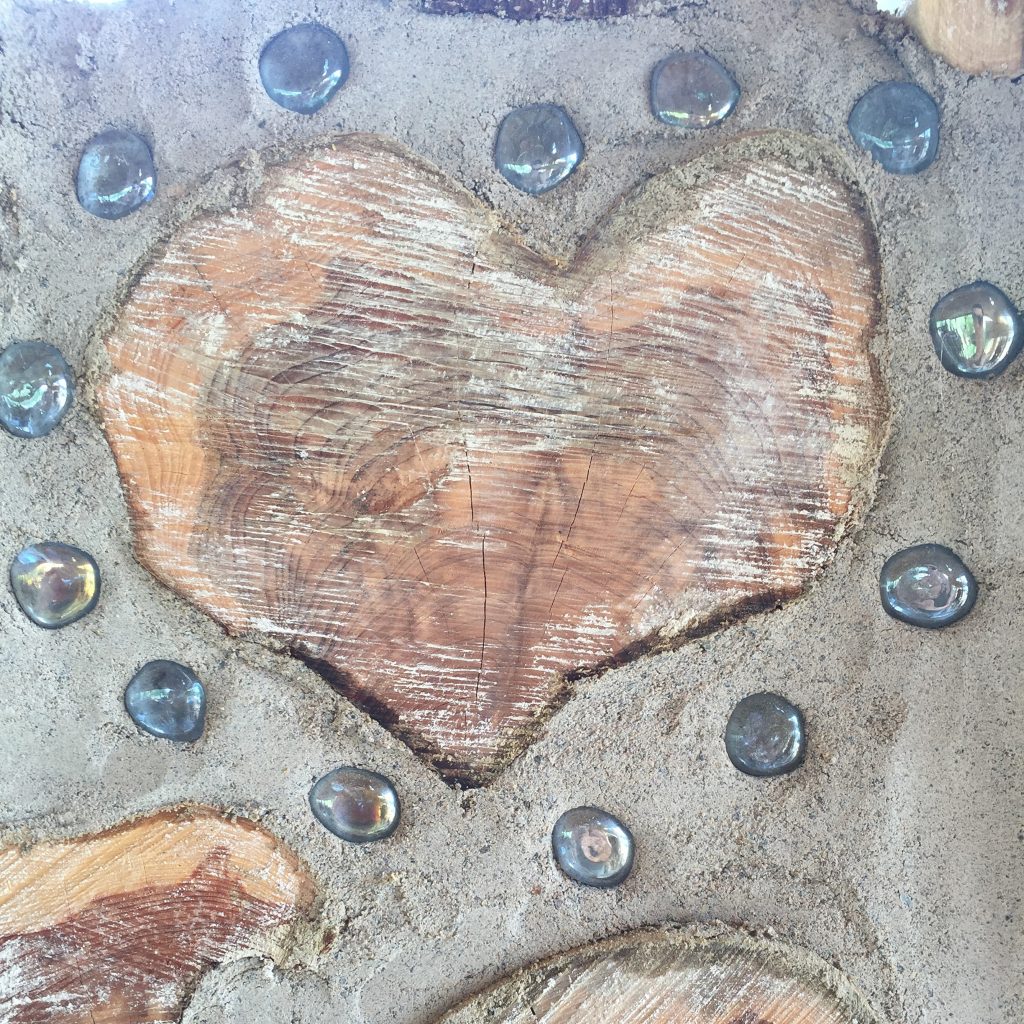
Once we got a good work flow going, it was easy to add a little more personality into our design. The logs are laid randomly, but every now and then you get a fun shape. Mark dressed up this heart-shaped log for me!
And now, at the end of the month, we have something that looks even more like a house!
What can you learn from our mistakes?
1. Prep as much as you can in advance to take advantage of long work days.
In the very beginning, we didn’t have many of our logs scraped and ready to go as we were building. This meant we had to take time to scrape the ragged edges off before setting it in the mortar. As we figured out what we were doing, we had a healthy stash of logs in a variety of sizes and shapes scraped and ready to use. Each wall segment uses anywhere from 80-180 logs depending on the total area NOT taken up by windows and doors, so having a stash ready to go is key.
Prepwork isn’t limited to cordwood building! If you are building any kind of house or even just remodeling your current house, prepping most or all of your materials ahead of time will save you frustration later.
2. Avoid taking time out of your day to run errands or go shopping, even if it’s for hardware and tools.
Daylight hours are precious. Don’t spend them in the truck going to town to get more hardware, lumber, or tools if you can avoid it. There were a lot of days I wish we could have back so we could have gotten the cordwood started sooner. Did we need to go get those things? Oh yes. Were there other times we could have done it? Yes and no. Sometimes you have to do what you have to do, but I think we could have been more strategic here.
3. Be realistic.
We had this idea from reading all of our cordwood source material and from Mark’s experience at the workshop that building the walls wouldn’t take as much time. I think we had this benchmark in our heads of eight hours per 8×8′ wall panel to do, but it’s ended up being more like 12+ scattered over a few days for us. Of course, that means we won’t meet our goal of having the house dried in by the start of school, considering it starts next week for me and a few weeks thereafter for Mark. It also means that we’ll have to find ways to ensure that the walls get done before cold temperatures become an issue. It’s hard to think about that now considering it’s still 90+ degrees, but the first frost is coming sooner than you think, and mortar doesn’t play nice with cold weather.
Miss the June update? Read about the amazing transformation of our homestead here.
If you’re just joining us, check out our cordwood homestead specs here! There are lots more posts about our journey with building our cordwood home here too.
And of course, be sure to join the party on Facebook, Twitter, Instagram, and Pinterest! We’d love to have you join us.
Thanks for reading!
Amazing! I admire you and Mark for taking on such a huge project. It is looking great. Thanks for posting.
It’s amazing progress, so kudos to you both. It does look like a house, on its way to becoming a truly awesome home. Cheers, Ardith
Thanks so much!