Disclosure: I sometimes earn products or commissions from affiliate links or partnerships on my blog. I only recommend products and services I trust to serve you. Learn more.
If you want to build your own house but worry that you aren’t knowledgable enough to do things like your own rough-in plumbing, don’t worry! WE ARE NOT EXPERTS. But we know and have consulted many. If you are considering becoming an owner-builder at some point, knowing and consulting experts is the best thing you can do. This has allowed us to gain the confidence we need with the skills we already had to do a great job. In this post, we’ll give you a breakdown of how WE as non-experts managed to construct our own plumbing system and prep for a concrete slab foundation.
We’re getting SOOOO close to having a house-shaped thing up at Big Muddy Rock! It’s amazing how far we’ve come in such a short time span.

We have the posts and beams on site and ready to put up! BUT FIRST, to recap:
Foundation Prep Work Up To This Point
We had our concrete piers finished at the end of April.
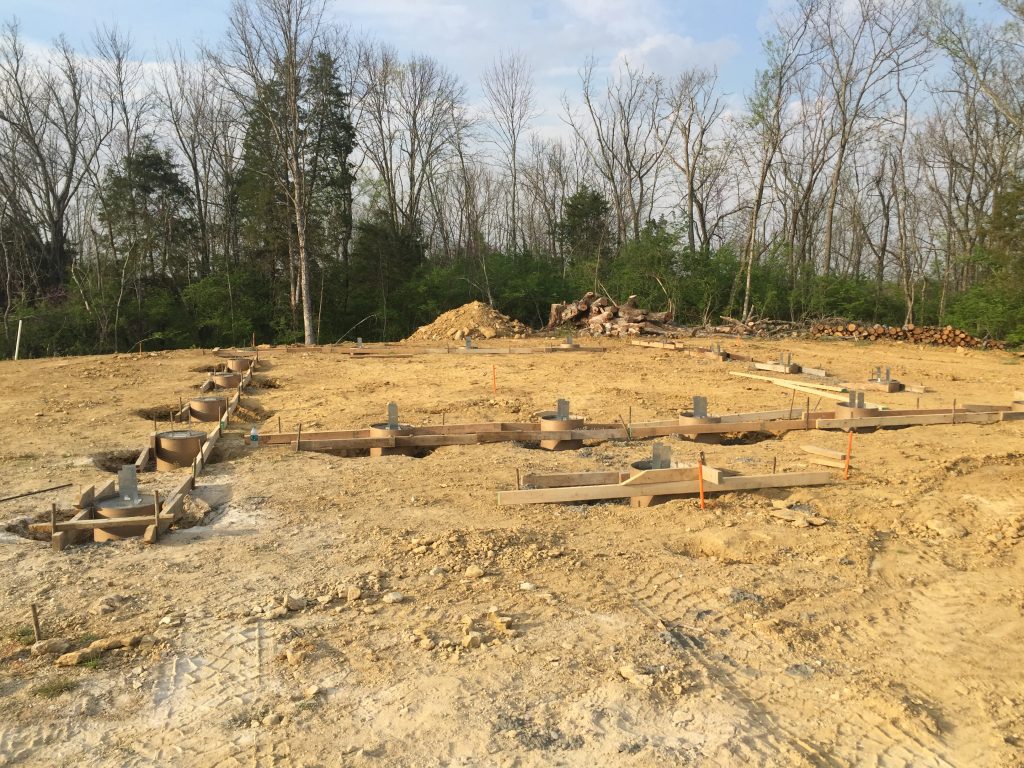
Then, we had a big ol’ pile of gravel dumped next to it. Mark started digging the plumbing trenches:
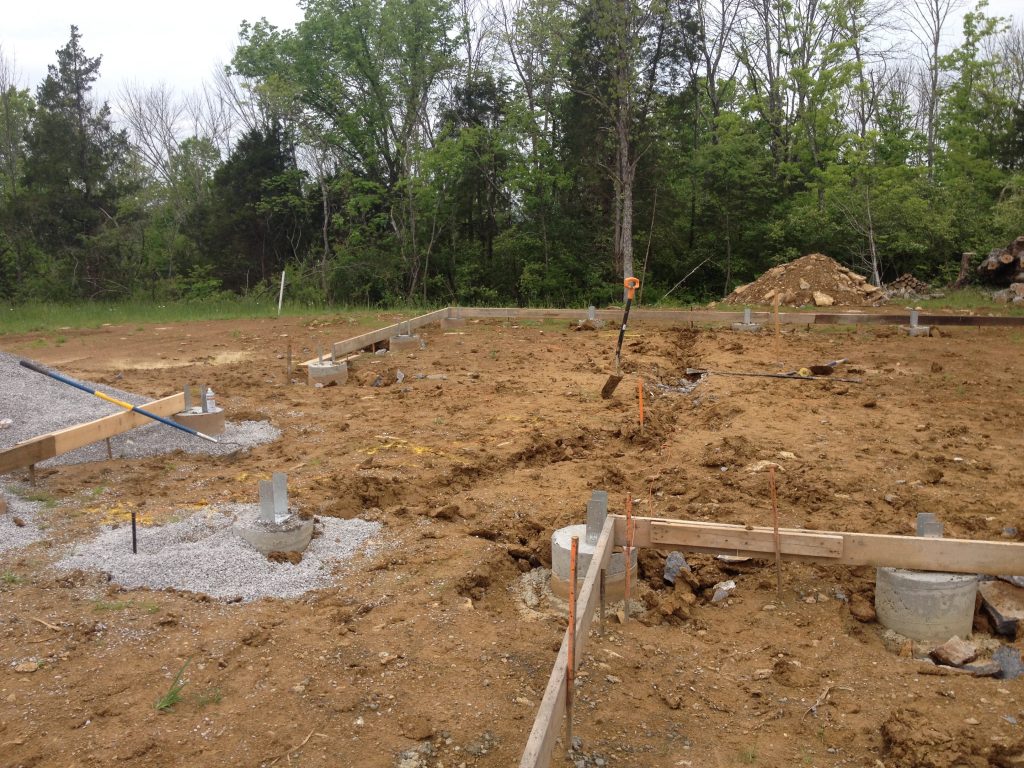
And bringing the gravel over little at a time.
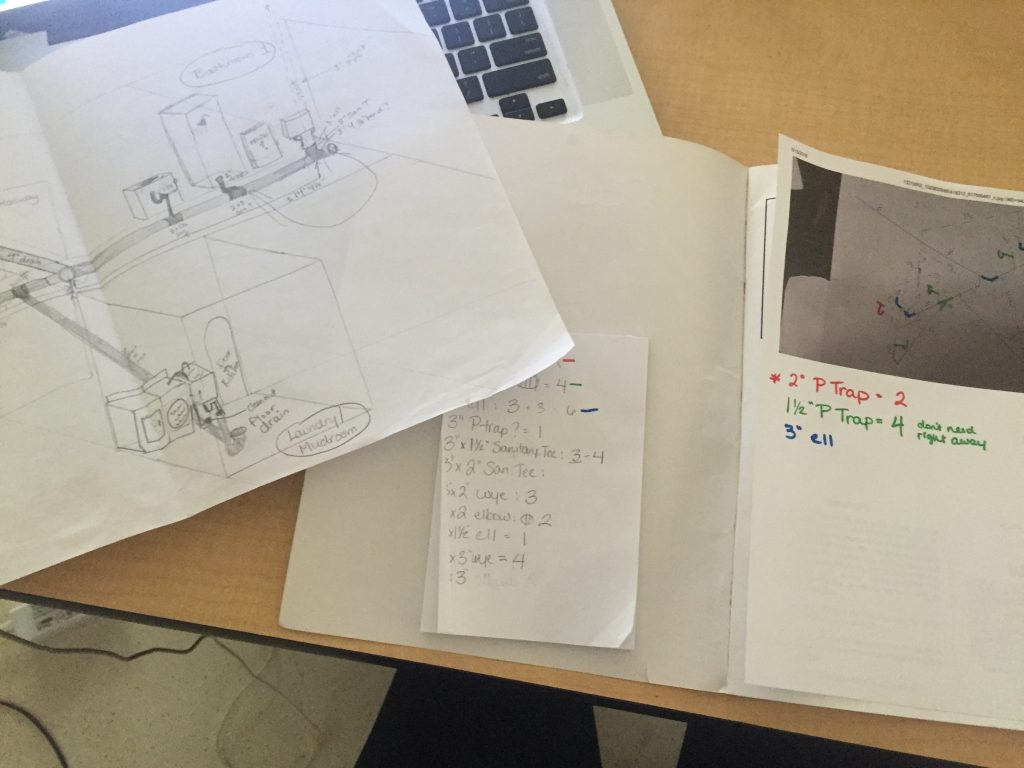
Meanwhile, I did an overly elaborate 3D mockup of our drain and vent stack layout and had a friend (who is a master plumber) make revisions so we could get the best design possible.
If you need some guidance, we used this book extensively during the design and the build itself.
Now, you are asking yourself, “Why can’t you just have your plumber friend do it for you?”
The answer is this: In Kentucky, if you are an owner-builder who is NOT using a contractor, you must sign an affidavit stating that YOU will be the only one doing your plumbing and that you will not contract that job out.
Crazy, right? I can contract out the electrical, but not the plumbing. Your rules and regulations may vary from state to state, but in Kentucky where we are building, using a plumber when you are an owner-builder is not permitted, even if they’re doing it pro-bono (to our understanding, at least).
And now you know! Moving on…
Starting the Plumbing Rough-In
Mark went and purchased all of the necessary pipes and fittings to put it together based on my list. As you can see from this initial shot, my materials list got pretty close! But there were some key items I forgot:
- The vent stacks (even though I drew them…I forgot to put them on the itemized purchase list! Duh.)
- I misused a few “sanitary tees” (T) where I should have used “wyes” (Y) instead (yes, in plumbing it is all spelled out phonetically and will be marked as such on the shelf tags in the stores, just fyi)
Other than that, it was pretty good! Not too shabby considering I was semi copying the illustrations from our plumbing book.
Here’s a rough layout with the connectors laying everywhere:
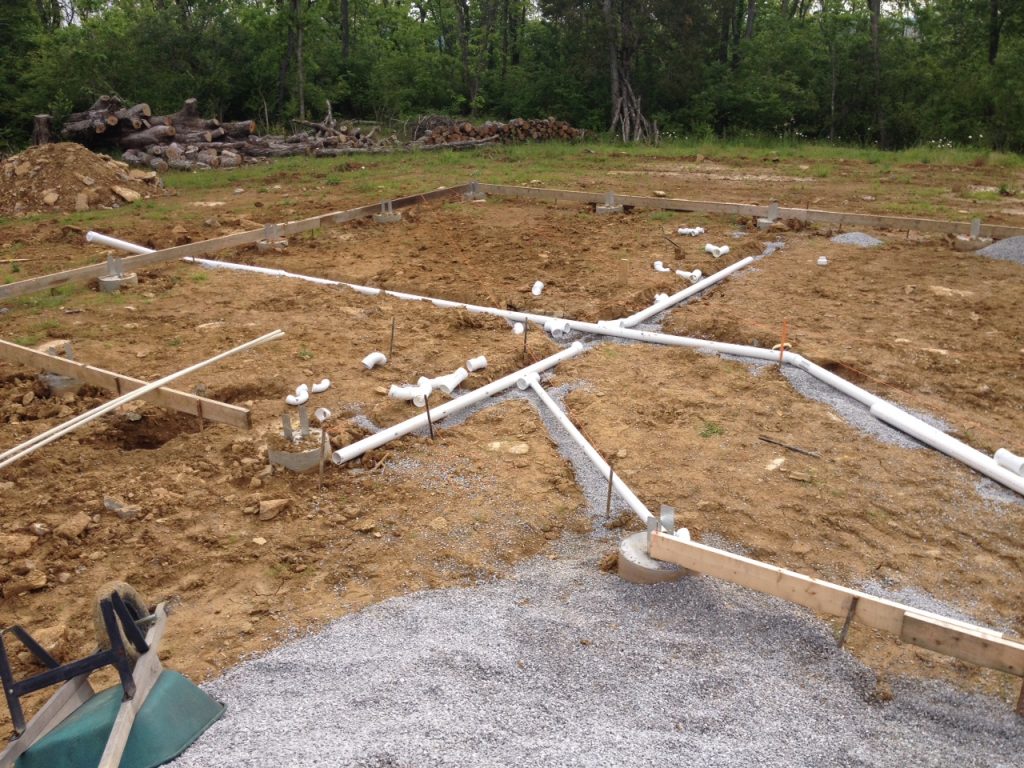
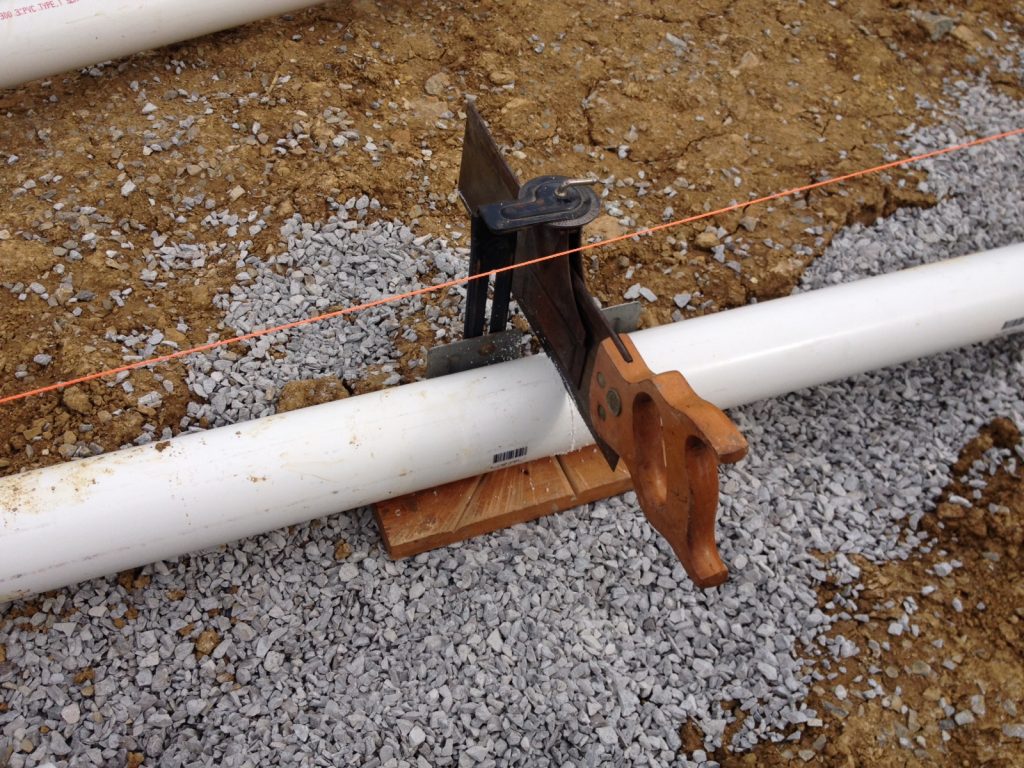
By the middle of May, Mark had purchased all of the PVC pipes, fittings, and other required items to put the drain lines together. He put in a lot of long hours cutting and fitting it all just right. My papaw’s tools even got to make an appearance to get the job done! Here we see Mark working with his miter box to saw evenly through the pipe.
Once everything was dry fit together but NOT GLUED, we checked the slope of the drain lines. To meet code (in Kentucky, and likely elsewhere) you must have between 1/8″ and 1/4″ of fall for every foot of drain. To meet this, we did the following:
- Set taut lines along the drains using simple orange nylon string, stakes, and a line level.
- Determined the highest the lines could be set to ensure they stay in the gravel and not get into the concrete. This worked out to be about 7 inches from the string.
- We marked every four feet with spray paint and marked the number of inches that should be between the top of the pipe and the string at that particular point.
- We went from the exit point of the house (low point), up to the front (high point) and back again, and from the end of each bathroom branch and the kitchen sink to the center where they all meet to the main. If something was too low, we shoveled in some gravel. If it was too high, we dug some out.
- We measured…AGAIN. And then probably a third time.
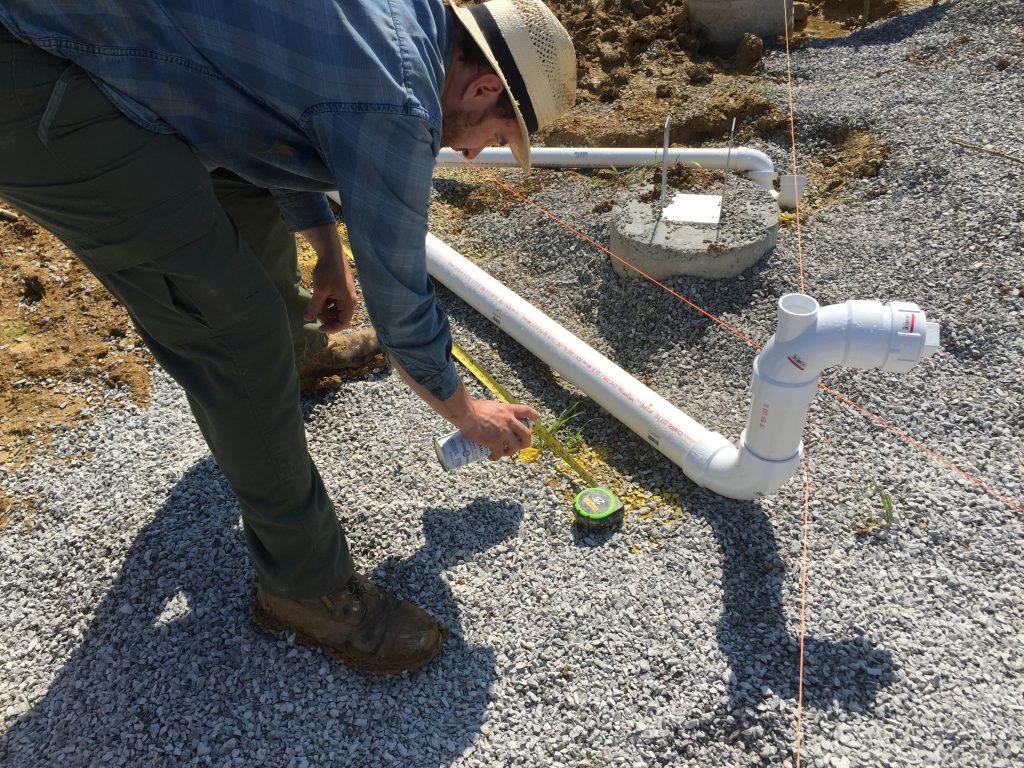
Once we were sure we’d measured everything as carefully as possible, Mark glued the pipes together.
For this, you have to:
1. Clean the ends of the pipes where they fit together with a special cleaner. (not time sensitive)
2. Put special primer on the pipe ends. (not time sensitive)
3. Glue the pipes together. (TIME SENSITIVE! This stuff sets up fast, so you’d better be accurate!)
(This is an extraordinarily brief overview of how it works. I might try to work up a separate post at some point if it would benefit my fellow owner-builders.)
We let it sit for a few days while life got in the way. Then we went to get some water from our nearby filling station so we could test the system out:

Getting ready to fill ‘er up!
Then he filled the entire system with water. We covered the ends of the pipes with flexible rubber caps to keep the water in. To meet code, the water level must not drop more than ONE INCH after ONE HOUR. If you have a tight seal at all connections, the water level will remain the same. If you have leaks, the water level will drop. Simple, right? Well…
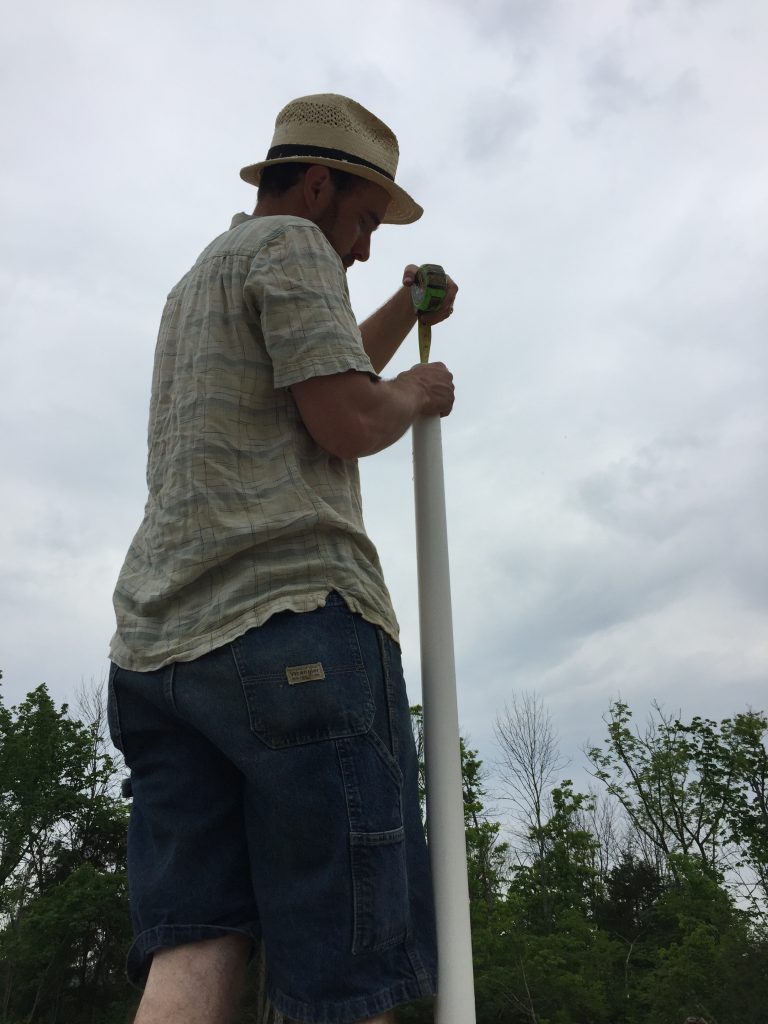
Checking to see if the water level in the pipe has changed or remained the same.
WE HAD NO LEAKS! On the first try too! Felt pretty good about that. It held water like a champ, but we will re-check this once more before pouring the concrete.
When we were satisfied with the pipes, we re-checked the slope one last time to make sure everything still measured accurately and to code. I think we had a few minor alterations to make, but it was otherwise the same as we’d left it.
HOW MUCH DID ALL OF THE PLUMBING MATERIALS COST? ONLY $471.83. Seriously. That includes all pipes, connectors, cleaner, primer, and cement. That also includes excess amounts of pipe and a few items yet to return.
That does not include tools since we basically already had them. If you NEED tools, check with willing friends and family first to simply borrow and return them. If you don’t want to buy just yet, you can rent tools from most of the big-box and local mom-and-pop stores. And of course since it would be silly to build a house without a decent stash of tools, go ahead and buy the tools you need and build your stash as you go.
Any way you slice it, if you want to be an owner builder but worry about the costs of plumbing, doing an informed DIY job is a HUGE cost savings.
Prepping the Slab Surface
FROM THERE, WE STARTED SHOVELING IN THAT BIG PILE OF GRAVEL. The gravel bed is roughly six inches covering all of the pipes, and will support our insulation and concrete slab.
In a matter of three days, we went from this:

To this:
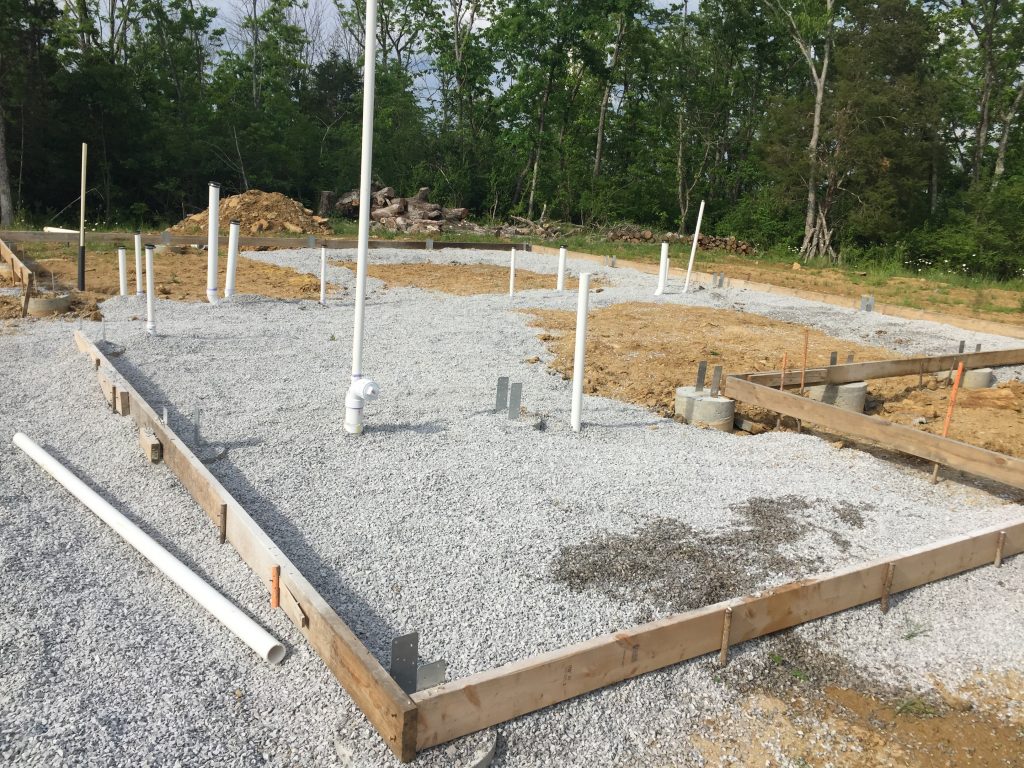
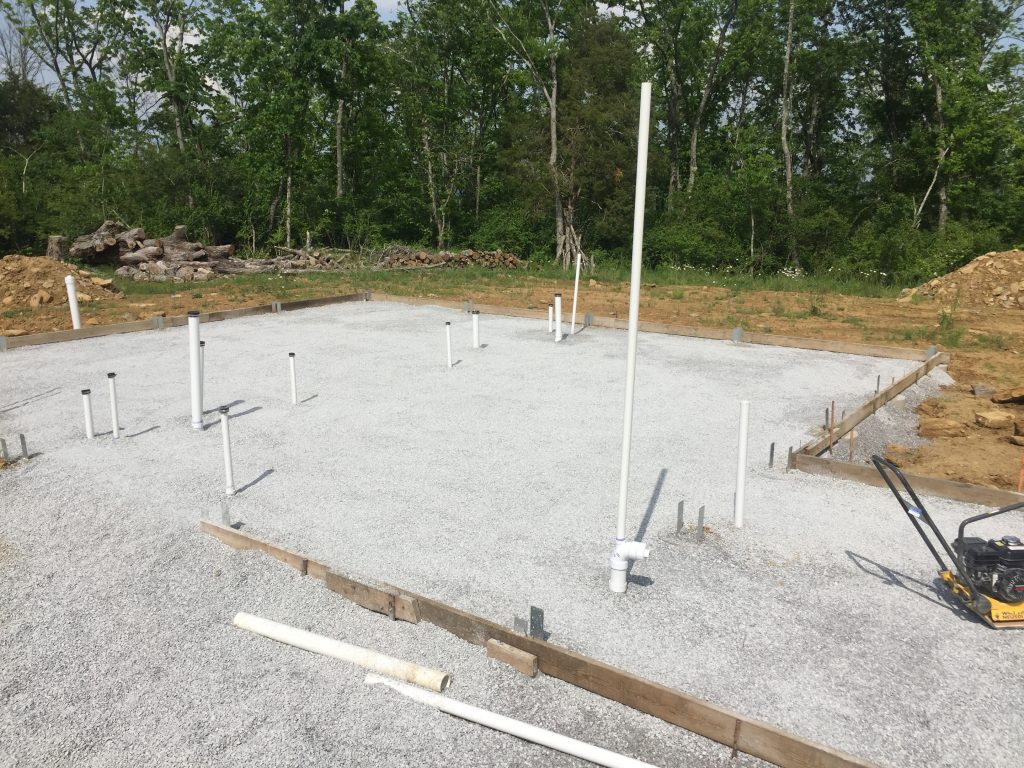
With just the two of us, a couple of shovels, some rakes, and a single wheelbarrow. Because we’re insane.
You see the plate compactor in the bottom right of the last photo. Mark rented this from a local hardware store for about $70 to tamp down and level the gravel.
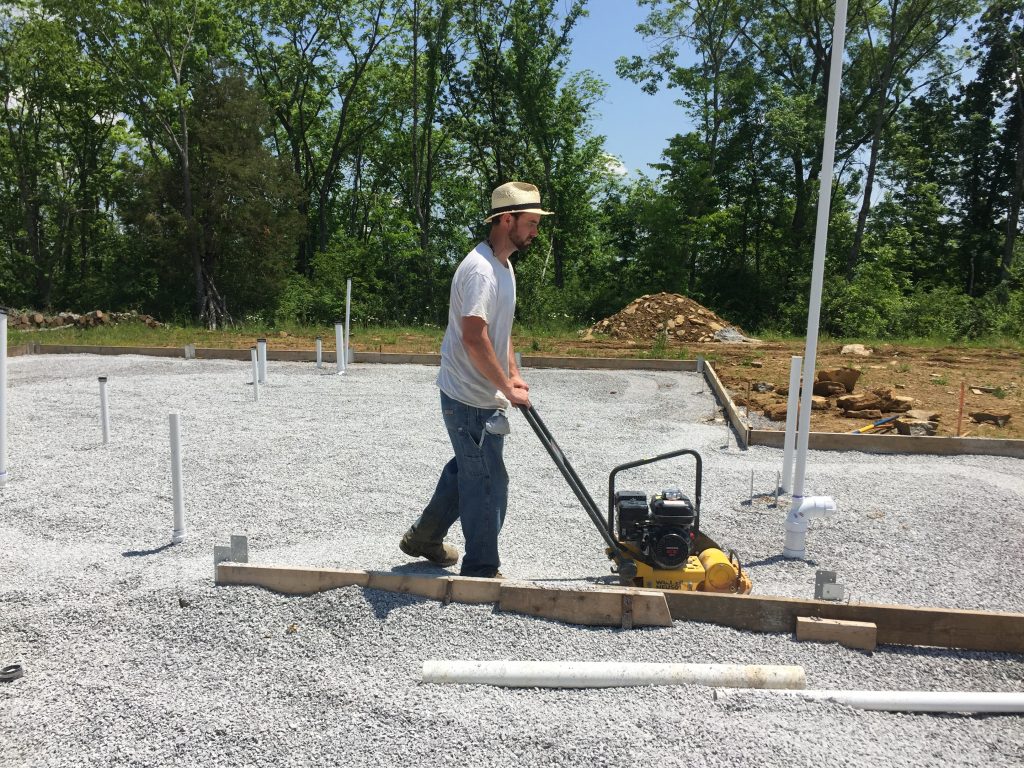
So what’s next?
Well, I said earlier that the framing members are here!
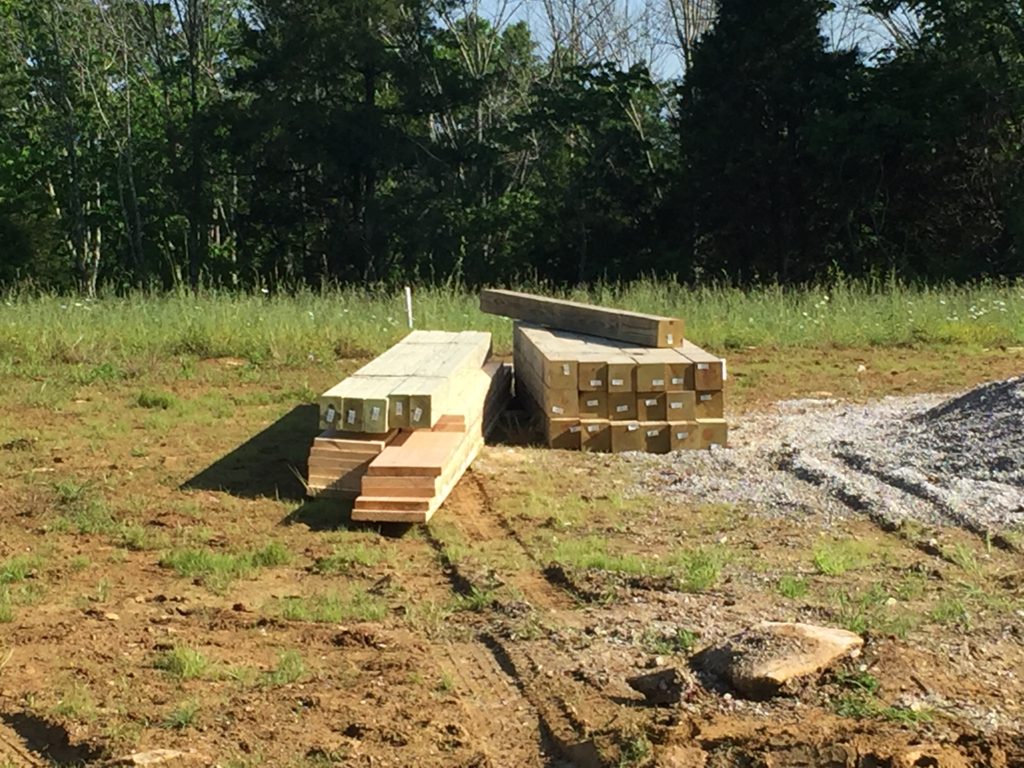
These will become the post-and-beam framework for our house. The plan is to get them set by the end of this week.
The trusses will be delivered the week after next. Maybe we’ll be able to celebrate our 10-year wedding anniversary standing in the rough frame of our dream home!
I can sure dream. Thanks for dreaming along with us!
If you’re just joining us on our home-building journey, be sure to check out the Overview of our house project here, and check out other homestead building progress updates here. And of course, the quickest way to hear about it all is to subscribe and follow along on Facebook.
Thanks for joining us!

What plumbing book did you use?
We used the “Step By Step Guide to Home Plumbing” found here: http://amzn.to/2FRurFr
Nice work. I am considering tackling our rough-in plumbing. Thanks for the inspiration.
Thanks! Best of luck to you as you tackle your own plumbing!!
Thanks Emily, for sharing. My wife and I are working on building our own house, and this helped me out a lot. 🙂
You’re welcome. We’re happy to help!!