Disclosure: I sometimes earn products or commissions from affiliate links or partnerships on my blog. I only recommend products and services I trust to serve you. Learn more.
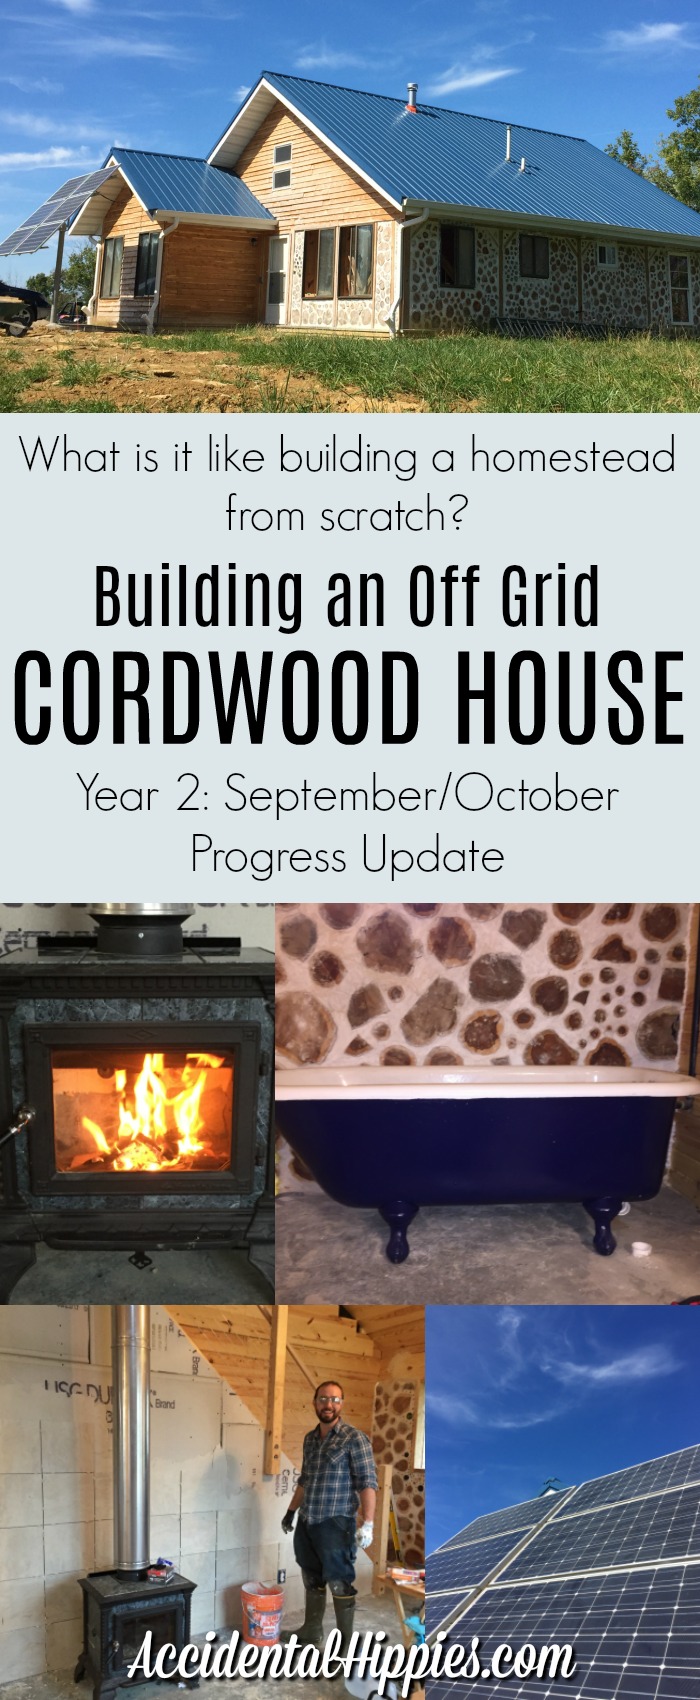
Building a cordwood home by hand has been a very humbling and enriching experience. Find out what we accomplished in the past two months as we prepare to move to our cordwood home for the first time!
There might be affiliate links in this and other posts. By making a purchase through one of our links you help support this blog at no extra cost to you! We appreciate your help. You can read more about it here.
Building our cordwood home has taken roughly a year and a half from the time we poured the footers to now. In the last update we were just starting our tongue and groove pine walls, and in September and October of last year we were still working on building the cordwood walls themselves! This year? Well, take a look to see everything we accomplished building our house with our own hands.
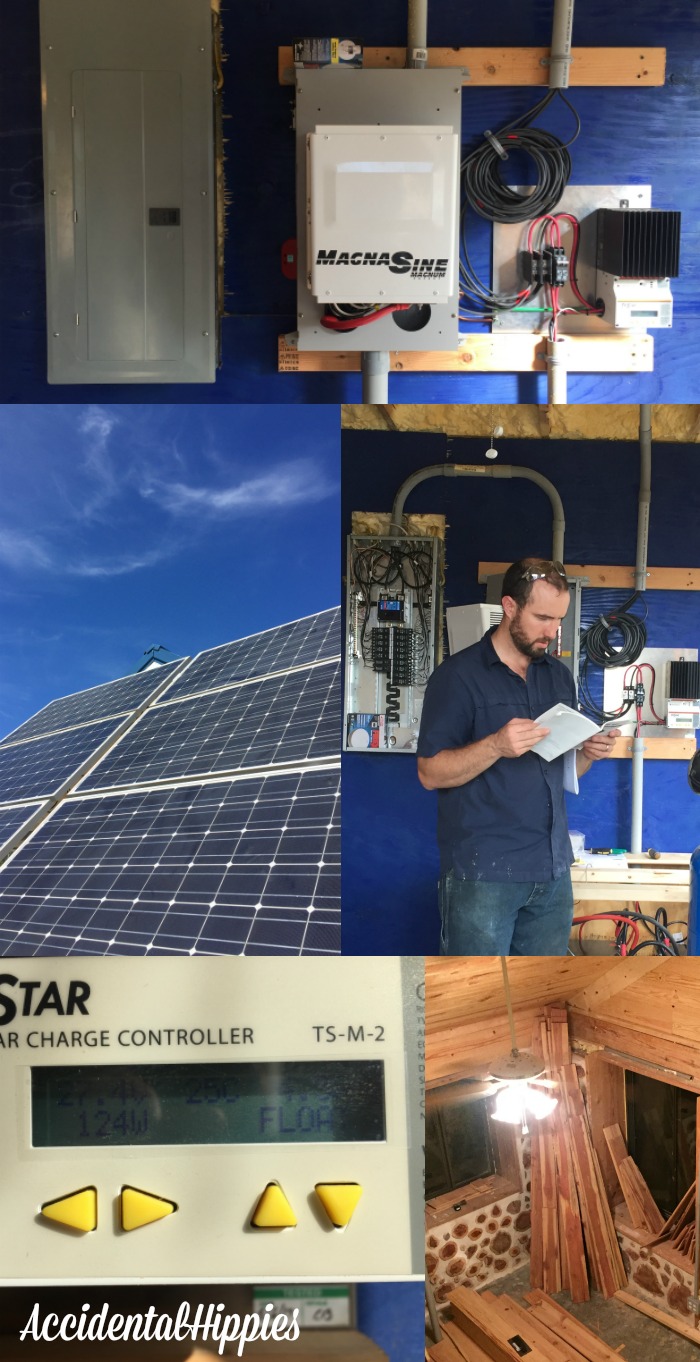
1. Installed our solar system!
With all of our components FINALLY in, it was time to actually mount everything, connect it all, and turn the power on! There has been a bit of a learning curve in terms of figuring out what our system does all day and what it can handle, but so far we’re pretty pleased with it.
We have a handy beginner’s guide to solar here for all you curious folks out there, and we’ll continue to share our insights into living with solar power as we transition to actually living in the house and not just working on it.
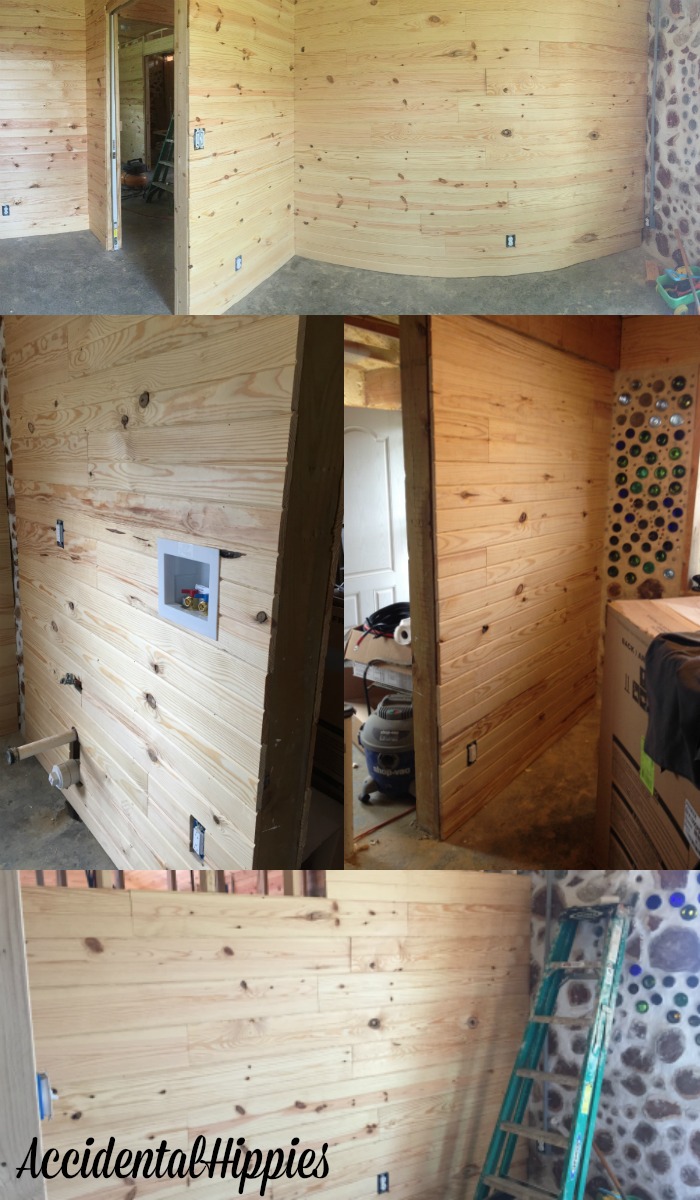
2. Finally finished all the tongue and groove pine for our interior walls
While our exterior walls are cordwood, the interior walls that divide the rooms are stud framed. We wanted something more natural and durable than drywall (plus Mark HATES drywall), so we chose sturdy tongue and groove pine planks.
Summer break ended, so Mark had to get back to teaching at the beginning of September. That meant it was up to me to spend every day with the circular saw getting those walls finished. I’m glad I took the time back in August to build some competency with it and get over any fears I had!
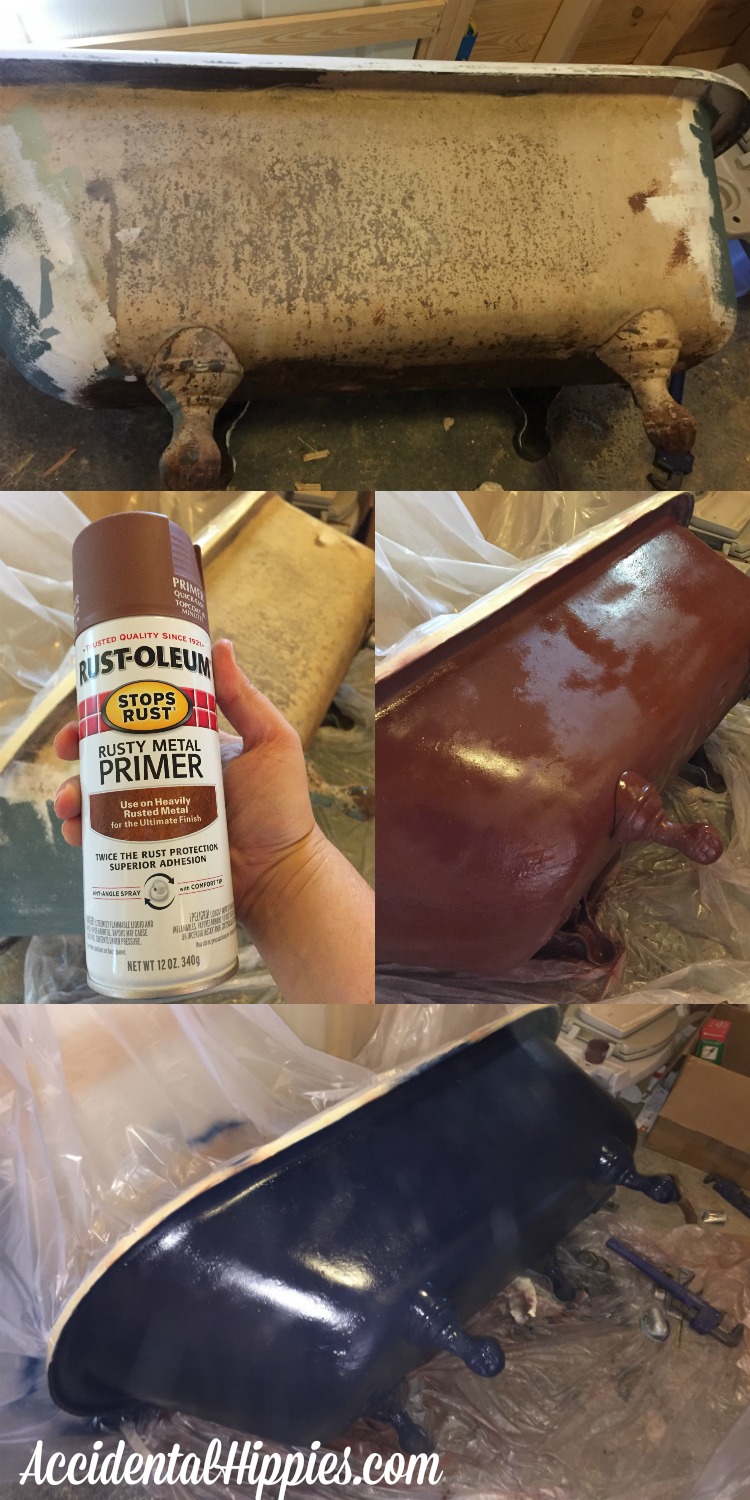
3. Refinished a clawfoot tub
This was a pretty cool project for me to tackle. We found a clawfoot tub on Craigslist for $100 and knew it would be perfect for our master bath. It looked pretty rough but actually had some great bones to it, so for a little elbow grease and a few dollars in spray paint and sandpaper we got a beautiful tub. Add to that an inexpensive tub and shower kit from Amazon and we’re set for WAY less money than buying all of that from a big box store or specialty plumbing shop. You can read a complete tutorial for this project HERE.
4. Refinished a free vanity
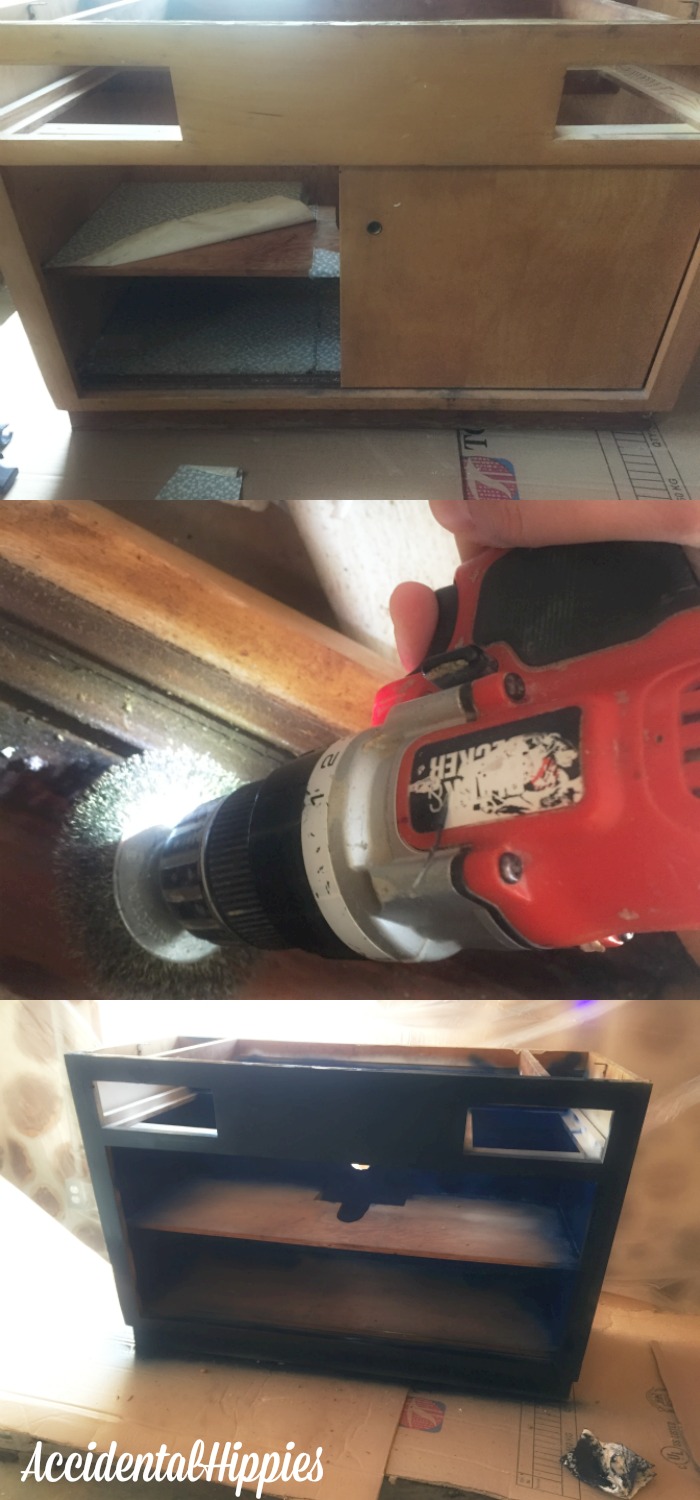
The only thing I love more than Craigslist is Facebook Marketplace. I scored this cool retro vanity for FREE from a nice young couple remodeling their first house. I draped off a work area, gave it a good cleaning/sanding/priming/painting, and added some vinyl tiles to the shelves (not pictured here). The paint matches our clawfoot tub and can’t wait to see it all together!
5. Put up the REQUIRED drywall and our concrete backer board
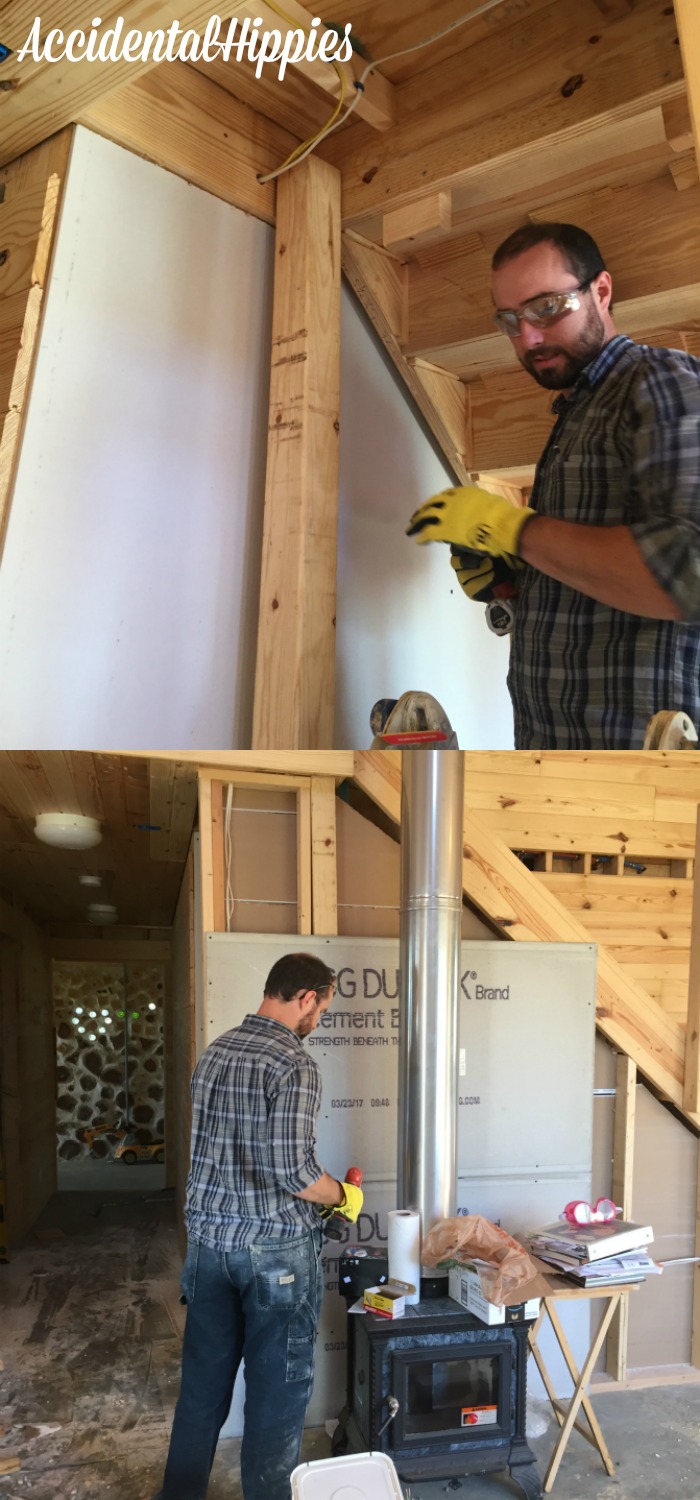
So yes, while we avoided using drywall all over the house, there was one place where current building code REQUIRES drywall, and that is the area under our steps. A few sheets of drywall and several hours of muffled cursing later and the underside of the stairs were covered.
After that Mark put up the concrete backer board on the wall along the steps behind our wood stove. We wanted to tile this area to complement the heat from the woodstove.
6. Put up a railing for the stairs
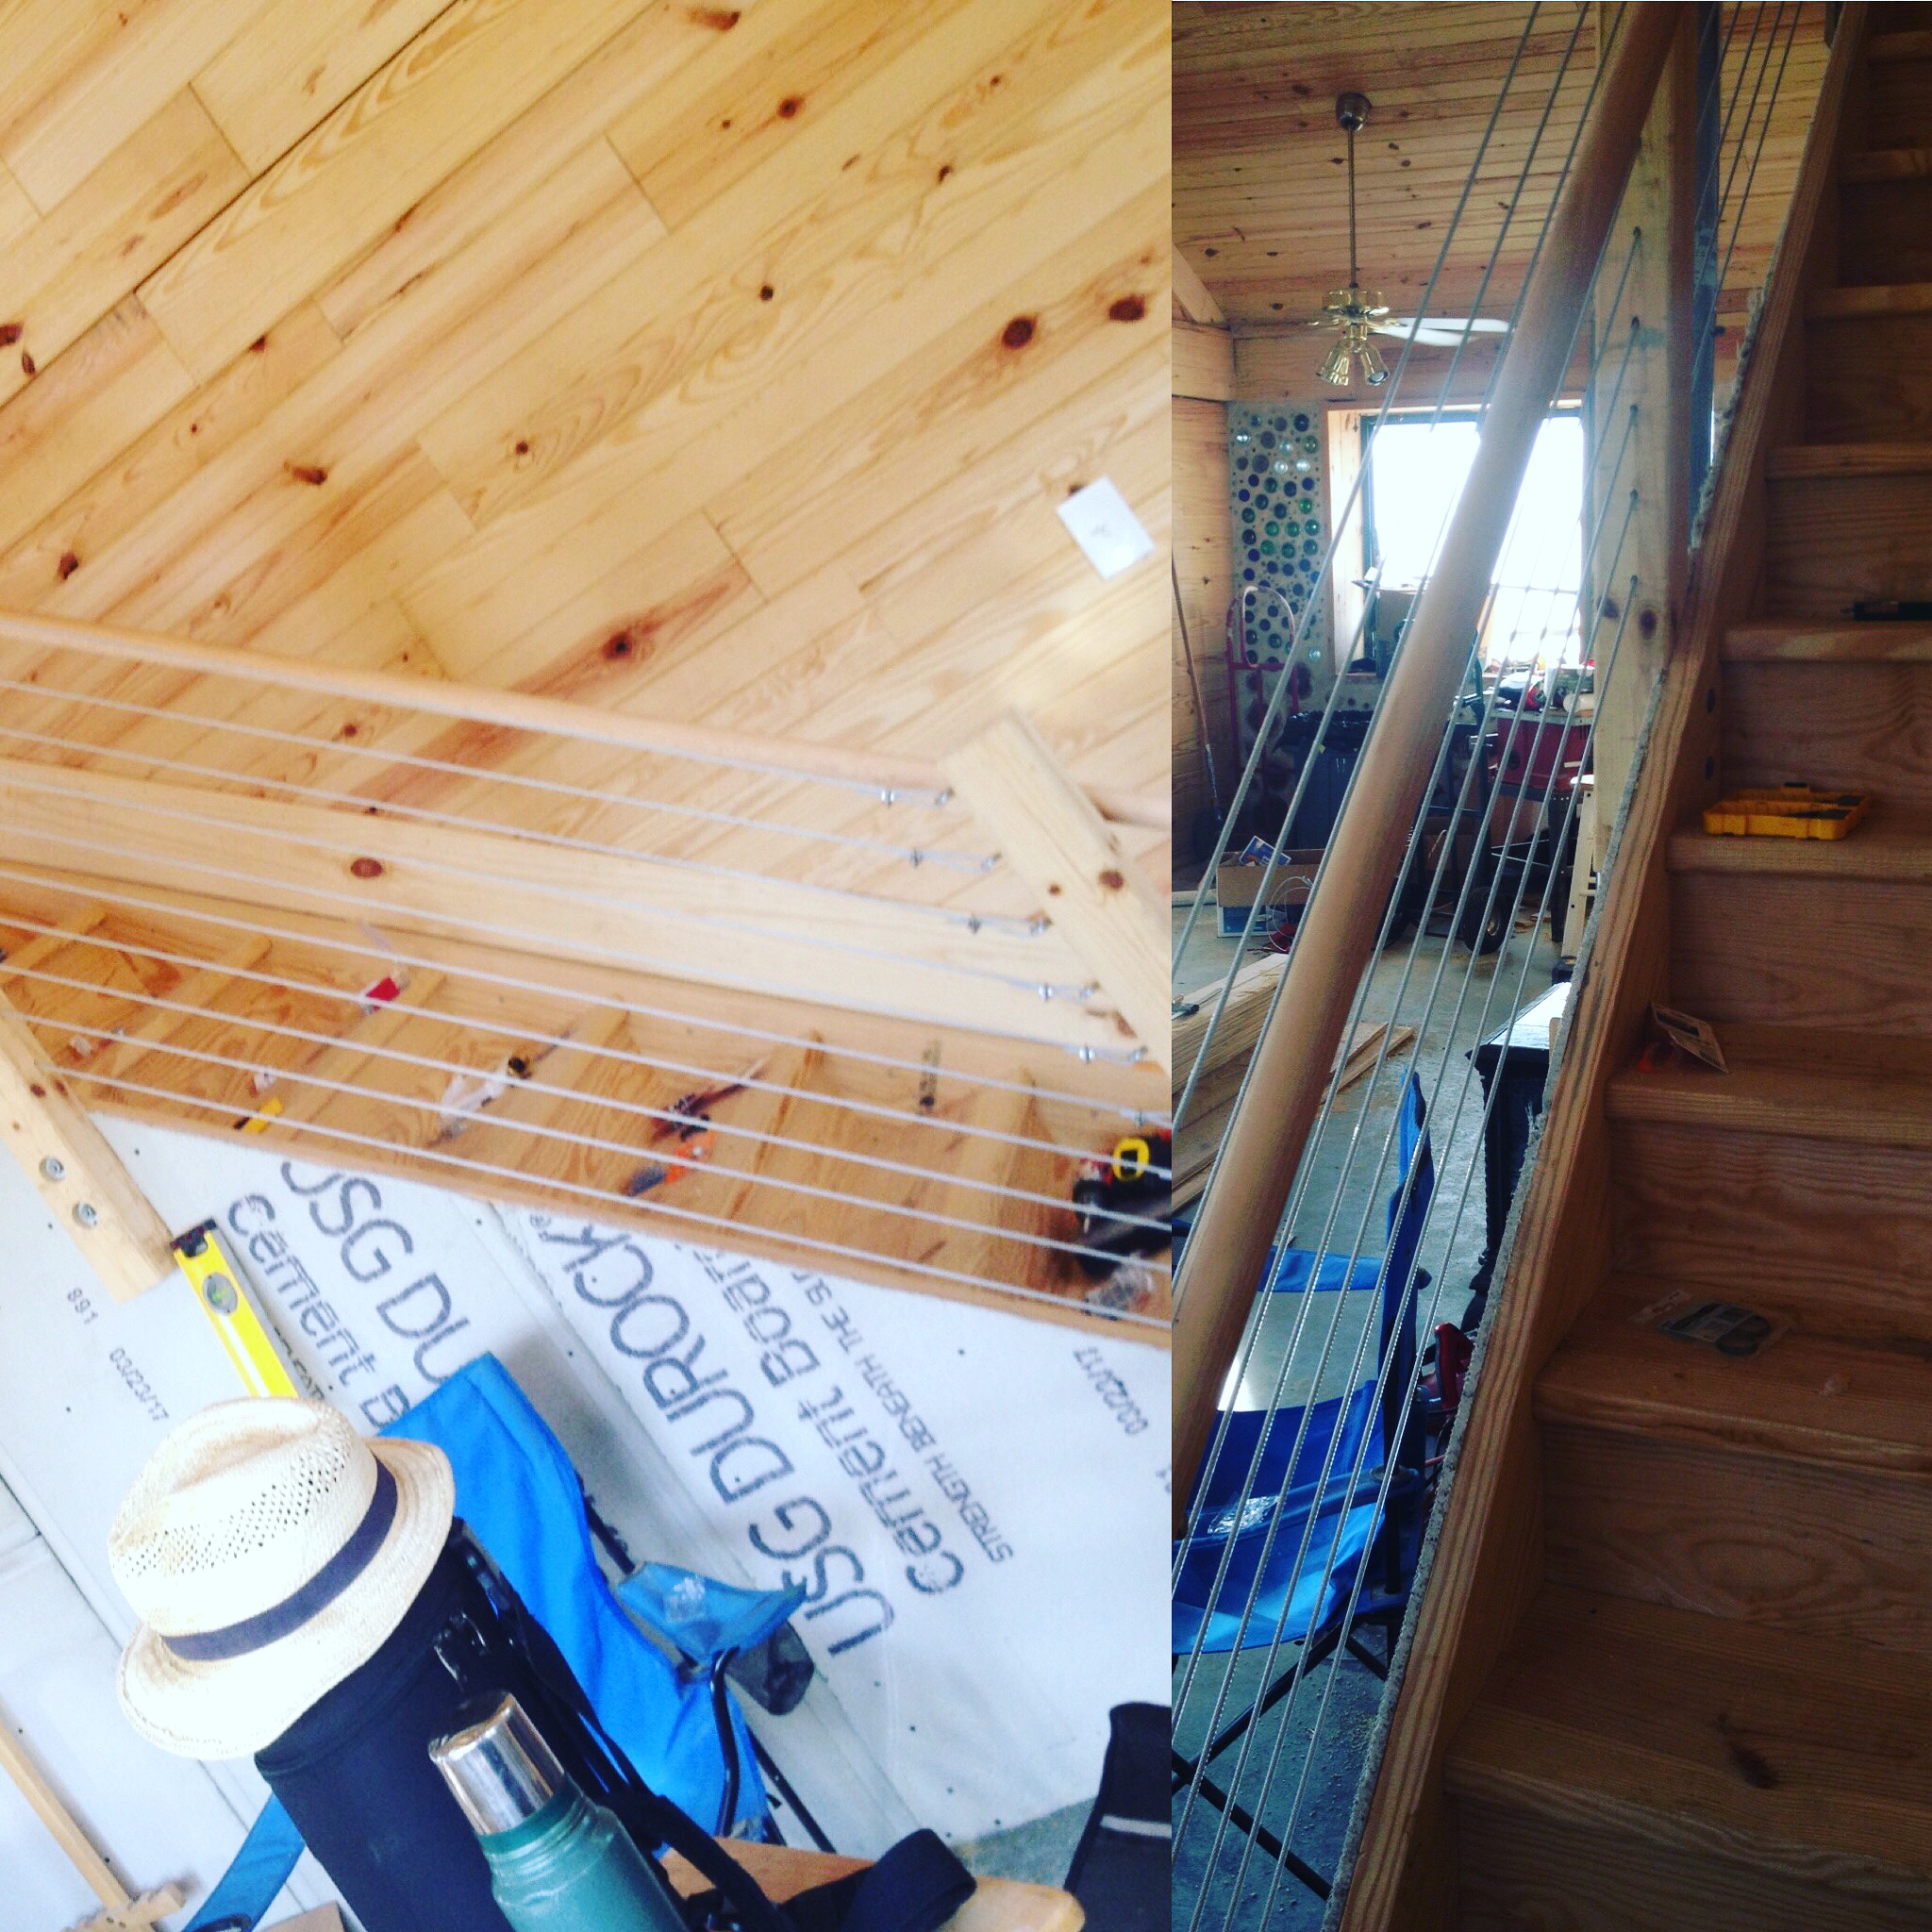
Rather than spending a ton of money on prefab stair railings or components, we fabricated our own out of leftover 4×4 posts, coated steel wire, and a handrail.
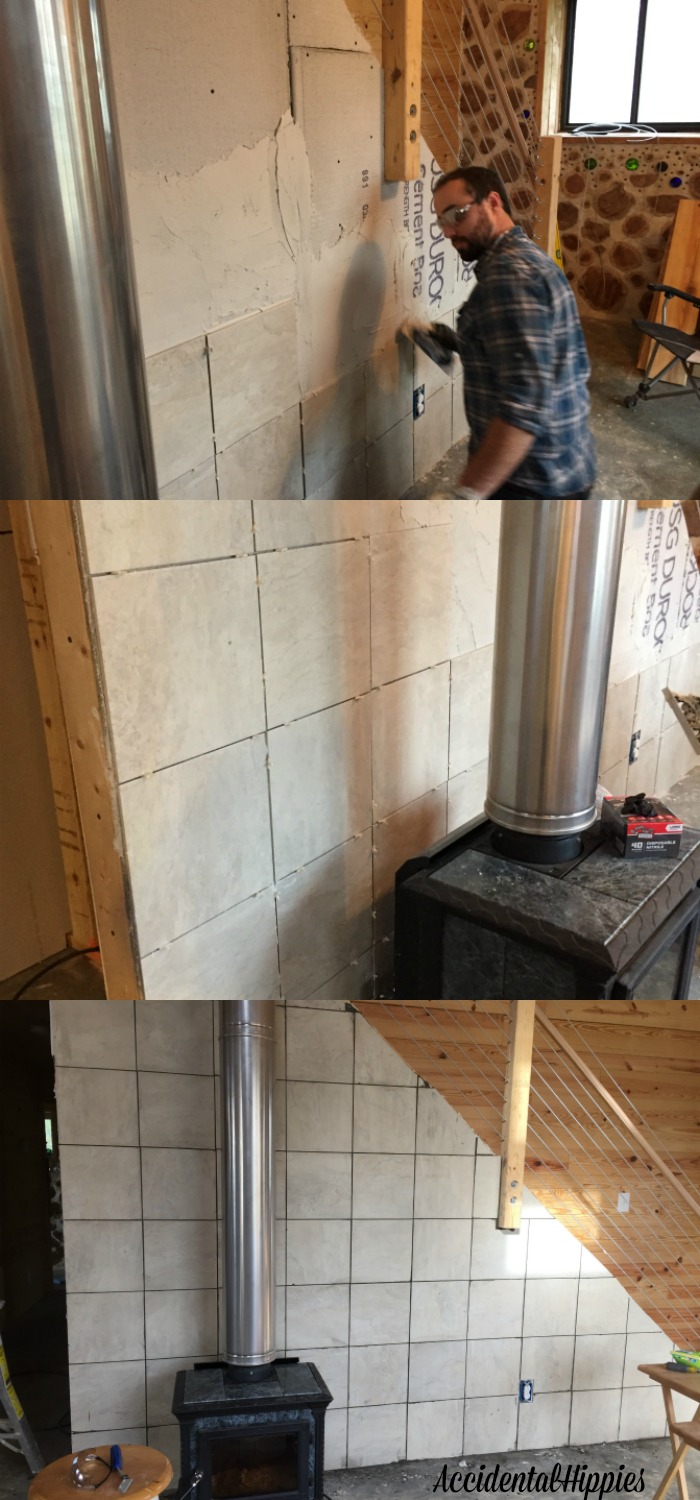
7. Tiled the wall behind the stove
We purchased tile at a local building reuse center. We love getting materials at reuse stores because we save money and keep these items out of landfills. Mark took the afternoon and evening to butter the wall with thin-set and put up all the tiles. Luckily, we still had this tile saw from when we cut our bottles for the cordwood walls so this project went quickly.
8. Burned in the wood stove and fired up the radiant heat
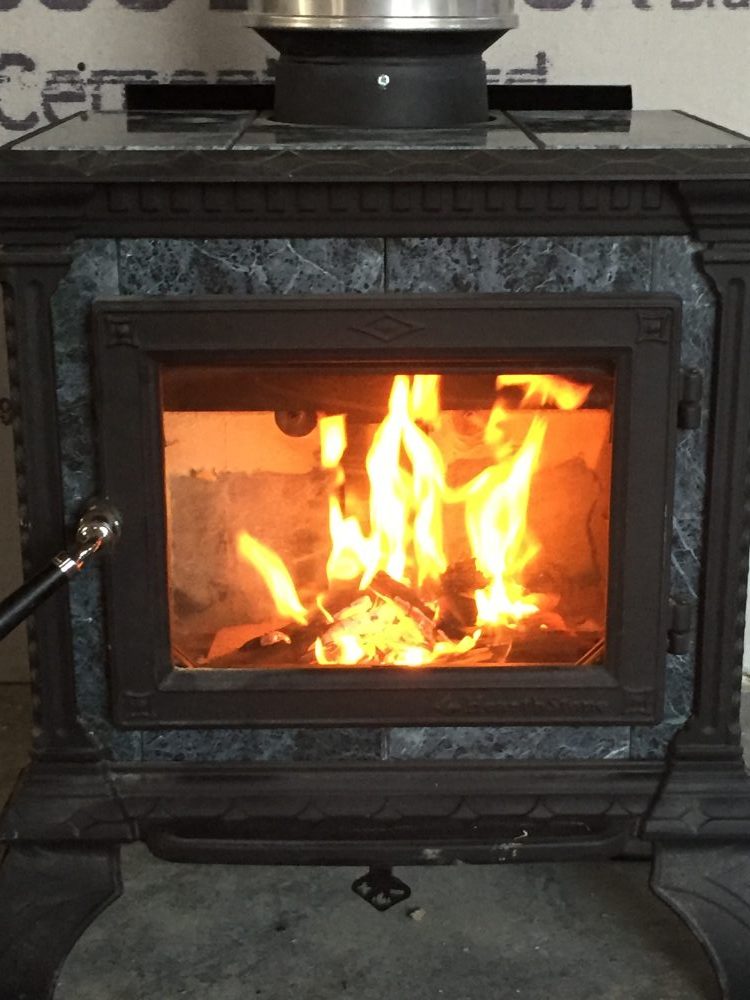
Our home has two methods of heating: a soapstone wood stove and radiant heat.
New wood stoves need to be burned in to acclimate the stove and get rid of the protective coating on the flue. We were told that the flue could smoke the first time because of the coating, but we didn’t really experience too much of this.
Our radiant heat system is comprised of PEX tubing in our concrete slab. Our propane water heater warms the water, which then runs through the PEX in the floor.
We designed our system to heat two separate zones: one for the living/dining area at the front of the house, and one for the bedrooms and bathrooms in the back of the house. I was surprised how quickly I felt the room warm up when we turned the system on for the first time! You can read a complete tutorial about this system here.
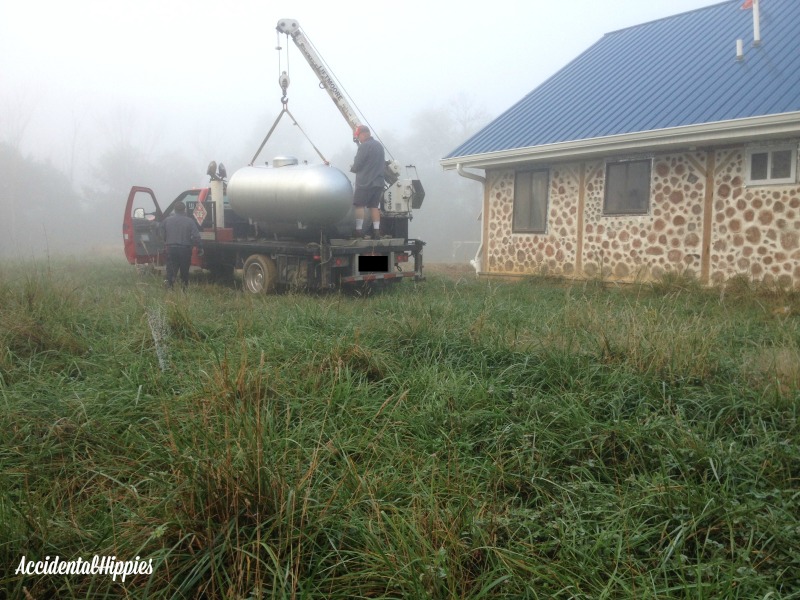
9. Got the propane tank!
One of our friendly local propane companies supplied us with a 500 gallon tank. This runs our tankless water heater (which powers the hot water for our fixtures AND our radiant heat system) and our stove in the kitchen. At some point we may opt for a propane refrigerator as well.
So what’s next?
In order to get our temporary permit, we need to pass our final electrical inspection. We are currently working with our local electrical inspector to make sure we get every part of our PV system 100% compliant and safe.
We also need to finish building a step for at least one entry door. We’ll use some free patio pavers we scored from a friend to build it since our inspector said we could!
We’ll also build the kitchen counter and sink area so I have a proper place to cook once we move in.
