Disclosure: I sometimes earn products or commissions from affiliate links or partnerships on my blog. I only recommend products and services I trust to serve you. Learn more.
You’re planning to build your own house from scratch, but what should you be doing to prep? Winter is the perfect time to prep for a spring build. If you’re an owner builder, these are the things you need to be thinking about before you start construction.
When we purchased our property back in 2015, it took us all spring and summer to obtain our permits and fees. By the time it was actually legal for us to start the foundation it was mid-October. We weren’t really ready to start any big work, and no excavators or concrete companies would accommodate us until April, so we took the winter to think and plan.
Using your wintertime to plan wisely will ensure that you can use the bulk of the warm weather for building.
This is what we learned in the process of building our own home from scratch with our own hands (and dare I say, but #8 might be the biggest one).
Build Your Own House: 8 Things To Prep (This Winter) Before You Build
1. Have permits and house plans ready to go.
If you live in an area where you are required to have building permits, you will likely need your house plans first for approval. If you haven’t designed yours yet, you can start with this post here.
From there you can get whatever permits you may need. This varies across all areas, so call your local officials to make sure.
REALISTICALLY, you need to have the permit set well before winter so that you can plan the build more accurately. Why?
Because the process of permitting, especially if you’re building unconventionally like we did with cordwood masonry, will take longer as an owner builder. It took us roughly 6 months to get everything finalized.
Before you get started with anything else, have your legal “ducks in a row”. Read this post to learn more about homebuilding and the code. It’s tailored for natural builders, but the principles I outline can easily apply to any type of construction.
2. Plan your excavation and foundation.
By the time winter rolled around our site had been leveled and our septic field had been built, but no foundation had been prepped. We knew that we would need 19 holes of certain dimensions to be dug precisely for our concrete pier foundation.
This meant that we were contacting people we knew in the business to see who could handle our job and at what cost.
Related: How We Built the Foundation for Our Cordwood Home
If you intend to hire an excavator, you need to call prospectives to find out:
- What kind of jobs they can do
- What your specific job may cost (plan on the upper end of whatever range they give you)
- If they have any requirements from you (permits, fees, insurances, deposits, etc.)
- Their availability and weather requirements (i.e. if your ground needs to be reasonably dry before they can get a dozer up your driveway, like we did)
Once you have the excavator you like, GET ON THEIR SCHEDULE. Do not wait until later to do this.
If you intend to rent equipment to DIY your excavation:
First, we chose not to do this because we knew that hiring it out would be faster and safer, not to mention probably cheaper overall than having to go back and fix our mistakes.
Heavy equipment is dangerous, and as fun as it sounds to rent a Bobcat and an auger for a day, you really need to make sure that you are comfortable and practiced with the equipment before building something as important as your foundation with it.
BUT, if you have a relatively simple foundation and feel confident in your abilities, you should:
- Check the availability of rental stores in your area
- Figure out transport: will they deliver it or do you need to haul it?
- Double check any contract terms (i.e. what happens if you break it?)
- Ask about scheduling your rental (you might do this closer to when you intend to break ground)
- Educate yourself (and practice if possible) on the proper handling of any equipment you intend to rent
3. Verify your building materials.
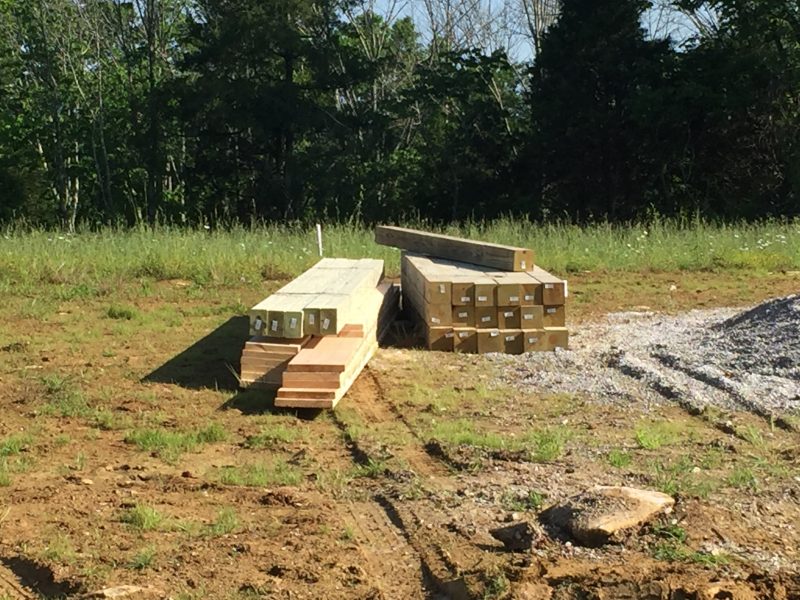
If you are purchasing lumber/framing materials, roofing, house wrap, insulation, concrete, etc. etc. then you need to make sure you have quotes and delivery information from various lumber yards and supply houses in your area before starting work.
You should also try to ask people in your area what their experiences with different suppliers have been. For example, we knew from asking friends and contractors that [Lumber Yard A] was fine for smaller projects, but that their quality wasn’t as good for framing lumber as [Lumber Yard B]. We were encouraged to use [Lumber Yard B] for our framing members even if the cost was a little higher because the quality couldn’t be beat for something as important as our pole frame.
Additionally, source unconventional materials if you’re a natural builder. For example, if you’re building with cordwood masonry and you need lime for your mortar and/or insulation, know where to get it. We got ours in 50 lb. bags from Menards, but you might have to go to a bulk supplier in your area or have it delivered.
List what you need, locate it, and price it now so there are no surprises come building time.
Related: 7 Reader Suggestions for Saving Money on Building Supplies
4. Get your tools ready.
Use the winter to figure out what tools you’ll need for any DIY jobs you’re doing. Then figure out where you can buy, rent, or borrow them.
You should go ahead and buy staple items like hammers, drills, mallets, saws, wrenches, etc. if you don’t already have them. You can rent larger items from most big box stores and rental supply houses. We rented this big guy for a day from our local mom and pop hardware store.
And in some areas your local library may even have a tool lending library associated with it! The county next to ours has one and you only need a library card to be able to borrow anything from impact drivers to reciprocating saws and more.
Check with family and friends to see if anyone has tools you can responsibly borrow or buy off of them.
For example, we wasted a good 3 hours on a work day when we realized that using a concrete mixer would make our cordwood walls go faster than mixing by hand. This is kind of obvious, but we didn’t realize it until we were in the thick of it.
So we ran to one of our big box stores and picked up the last mixer they had in stock. On a whim. And you know what? It turns out my uncle had one from his construction days just sitting around!
If we had gone through and listed our potential needs ahead of time, we would have known and been able to save hundreds of dollars and hours of our time by borrowing or buying it from him.
5. Determine your material storage on site.
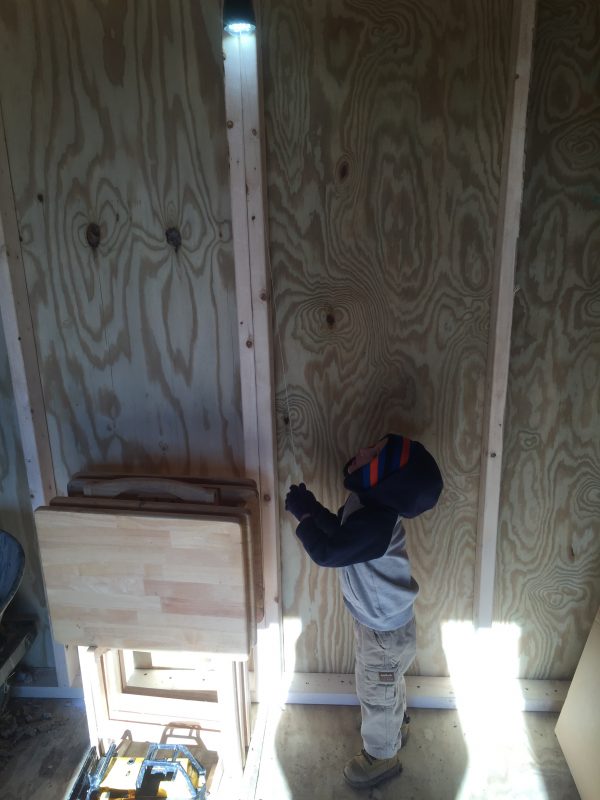
If you buy completely raw land like we did you won’t have any structures available for storing tools and materials. Figure out how you’ll be storing all of those tools and materials you’re acquiring NOW before you’re in the middle of the build and you realize you have nowhere to store your great new Craigslist find.
This could be anything from a quick pole barn, a prefab shed (like ours above, with our solar lights!), or even a shipping container. Aim to have something you can lock and secure to avoid having anything stolen or damaged.
Related: 9 Ways to Get Building Materials for Cheap or Free
6. Plan group work days.
We have been fortunate enough to have friends and family who have taken the time to help us during the build. We haven’t asked for help much because we know that everyone has limits on their time. When we have asked for help, it was always for the big and/or time consuming things.
For example, we had group work days for things like raising our trusses, lifting our staircase, building our cordwood walls, and even notching our posts (not a big job, but definitely tedious). Think of who is willing and able to help and ask when and how they might be capable of doing so.
Remember to be considerate and to pay it back somehow. Free food and childcare can go a long way!
7. Coordinate with your local code officials (if needed).
If you’re lucky enough to be building in a county without building permits then this isn’t quite as necessary. But if you’re like us and you have to go through the hoops of getting permit after permit, you need to be in constant contact with your local official(s).
This is especially true if your home is an unusual construction type and/or if you’re off grid. For example, we have experienced delays of weeks and months because of miscommunications and misunderstandings with various inspectors.
These experiences could have been avoided if we had asked more or better questions and gone into specifics and little details like whether there is a breaker outside the house for our solar panels, or the distance of a proposed bathroom fan from the edge of the shower area.
Related: Permits and Building Codes for Owner-Builders
8. SAVE MONEY!
The best part of winter was that we weren’t actively building during that time, so we weren’t spending loads of money on materials and systems. This is the PERFECT time to be stockpiling cash for your build.
Once you start the build, your money will be drained pretty quickly, and you’ll likely spend more than you think you will. It’s easy to go over budget so make sure you read this to learn why you might overspend and how to avoid it.
Besides that, what kind of nest egg are you starting with? How are you going to finance your build? Read this to learn about the ways you can pay for your homestead.
For owner-builders, it’s super important to be organized and ready.
I created a resource just for folks like you who are ready to boot-strap your build and save massive amounts of money by doing things yourself. If that sounds like you, take a look at The Owner-Builder Home Planner. Folks who have used it have already saved tens of thousands of dollars and feel that much more confident because they know exactly what they need to do and when for their specific build.
You can also get access to our free resource library to help you get started planning today!
Check out our homestead progress and find out more about our cordwood homestead project here. You should also join us on Facebook, Twitter, and Instagram. I’m always pinning lots of great ideas on Pinterest too! Thanks for reading!

Thank you for the post on the 8 things to prep this inter before you build your own house. I definitely like the idea to have all permits and plans ready to go. Als making sure you either have the building materials or already have a plan to get them is a great idea to make sure you get a good start on building.