Disclosure: I sometimes earn products or commissions from affiliate links or partnerships on my blog. I only recommend products and services I trust to serve you. Learn more.
Building an off grid cordwood home is easily the craziest DIY task we’ve ever taken on, and after the months of April and May, we were ready to jump right into June! While I have left my job as a teacher, Mark is still working in his, which means the months of June and July are our best shot to make a huge push towards getting the house done before he goes back to school in August.
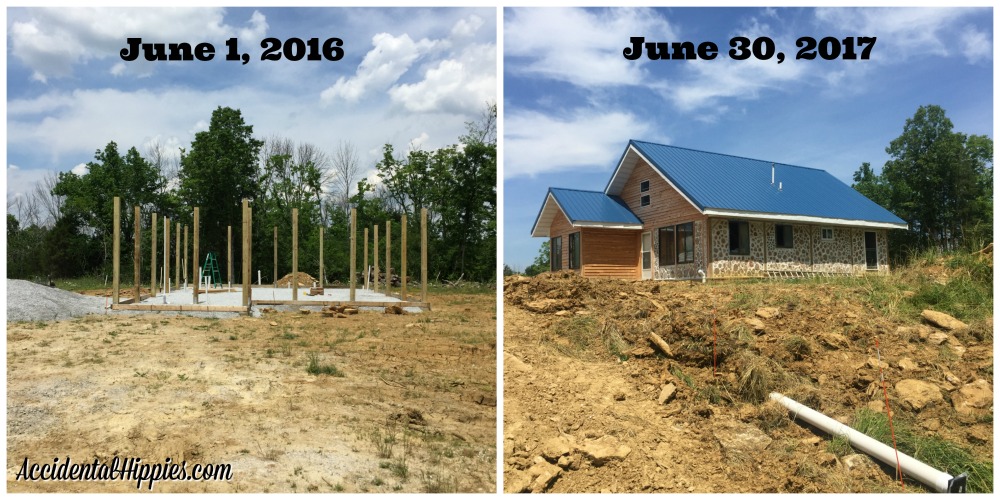
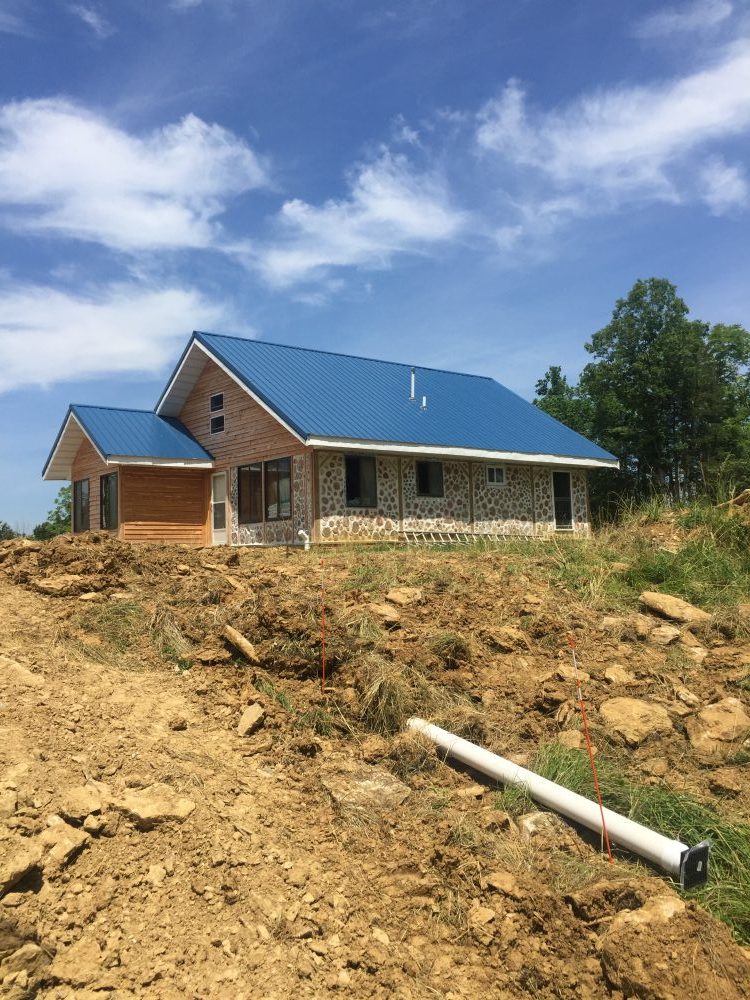
This is also the one year mark of our first big building push and monthly building update! Last year on June 1st we had the footers, the rough in plumbing done, and the posts up. This year? Well, take a look!
First off, here’s the difference in one year of regular monthly progress updates:
Wow! If you had asked me three years ago when we started looking for property if I thought we’d have the skills to build this, I’d have told you NO. Looking back at it now, it’s clear that if you have a willingness to learn and a strong work ethic you can do anything you set your mind to.
So what did we accomplish in the month of June THIS year?
1. Finished the rough-in plumbing and connecting the vent stacks
We ran all of the drain lines through the slab by ourselves last year and left everything stubbed out. Mark connected the vent stacks together and ran them up through the roof vents (which were installed last year when we did the roof). We tested for leaks by filling it with water. The few leaks we found were easily sealed.
2. Patched a broken bottle
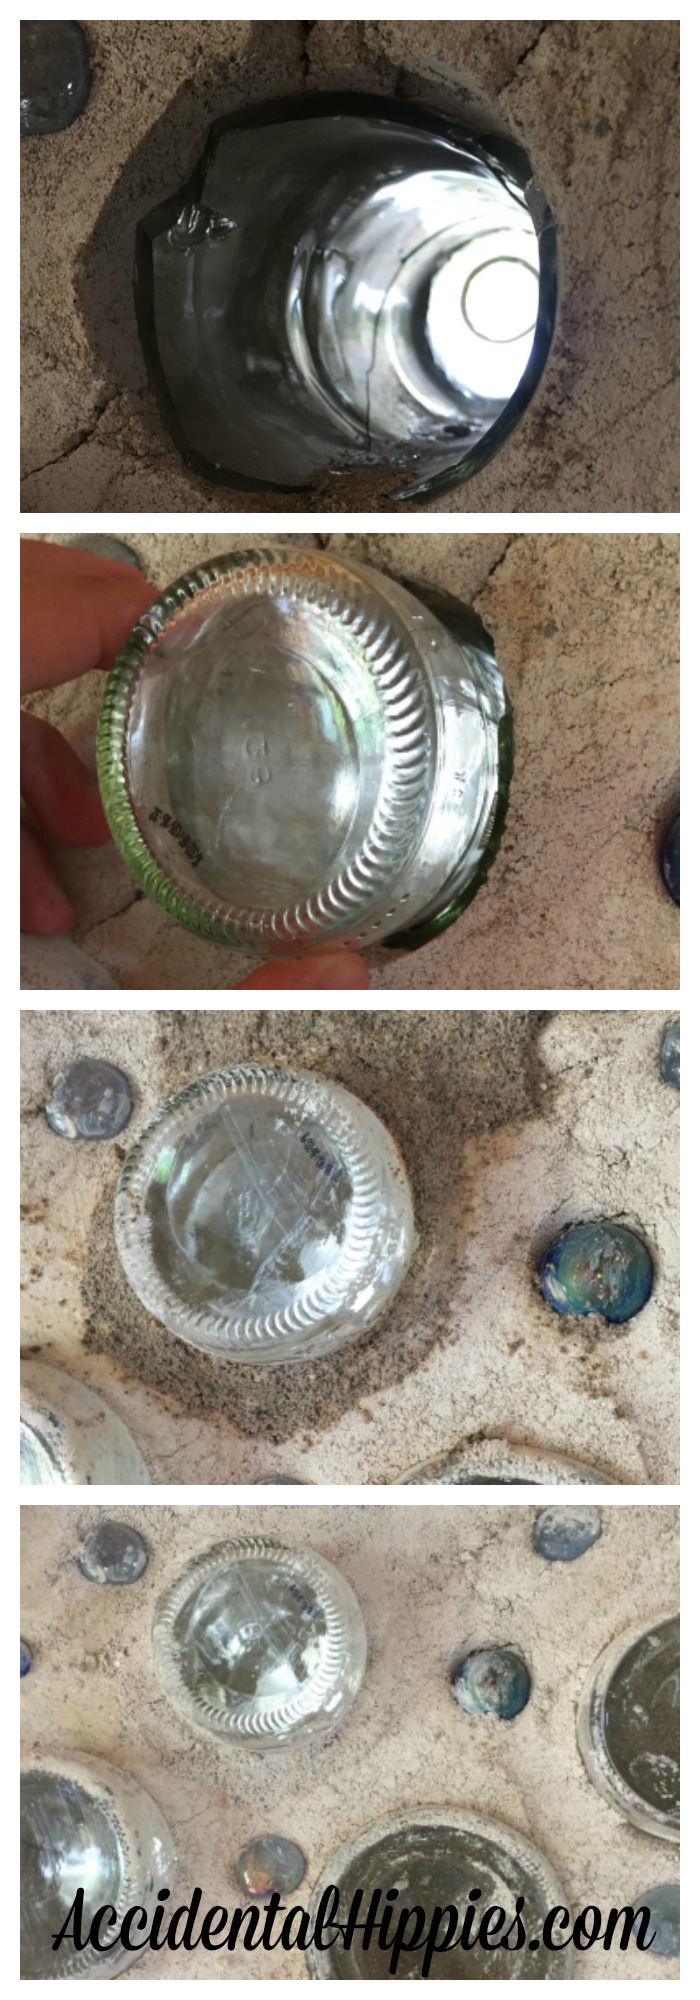
One question I got way back when I posted this great tutorial on making and using bottle bricks was, “What happens if one breaks?” Well, for better or for worse we got to find out! I’ll do up a detailed write-up on this separately, but the short story is that a new bottle, some mortar, and Liquid Nails are your best friends for patching this up.
3. Put up cedar trim around the windows and posts
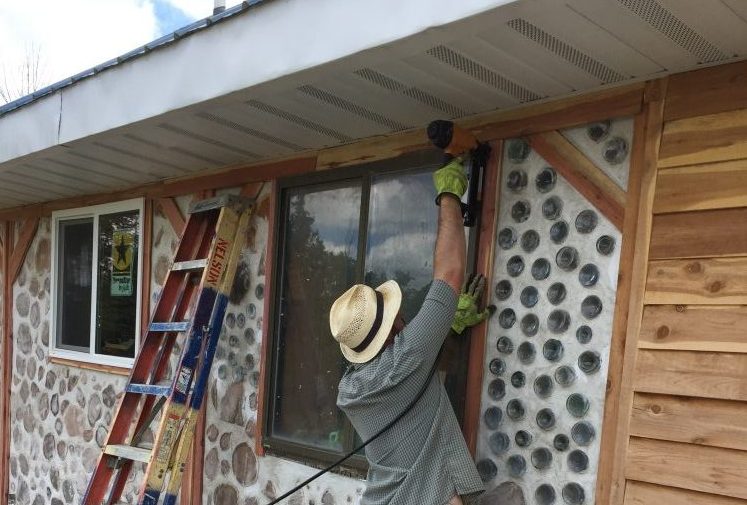
The windows needed trim, so we used the leftover cedar boards from when we did our cedar siding. Mark also wanted to cover up the treated posts to make them look nice and limit exposure to the treated lumber, so he did that too. I mortared the gaps to limit infiltration from pests, water, etc.
This is one of those jobs we did while waiting to do OTHER jobs, so the entire house trim isn’t quite finished yet. It isn’t a high priority since it isn’t necessary for the next inspection, but it IS nice to be able to get some of the extra cedar out of the way in the meantime.
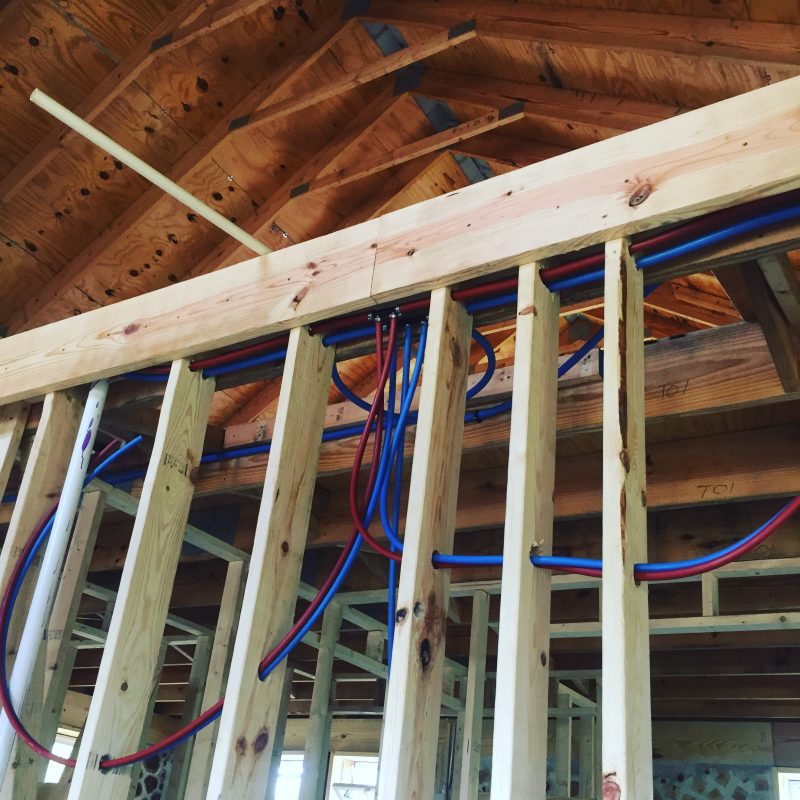
4. Ran all of the water supply lines
Mark ran these through the walls using PEX tubing, which is super easy to work with. We used SharkBite type connectors whenever possible:
5. Built a landing and installed the steps to the loft
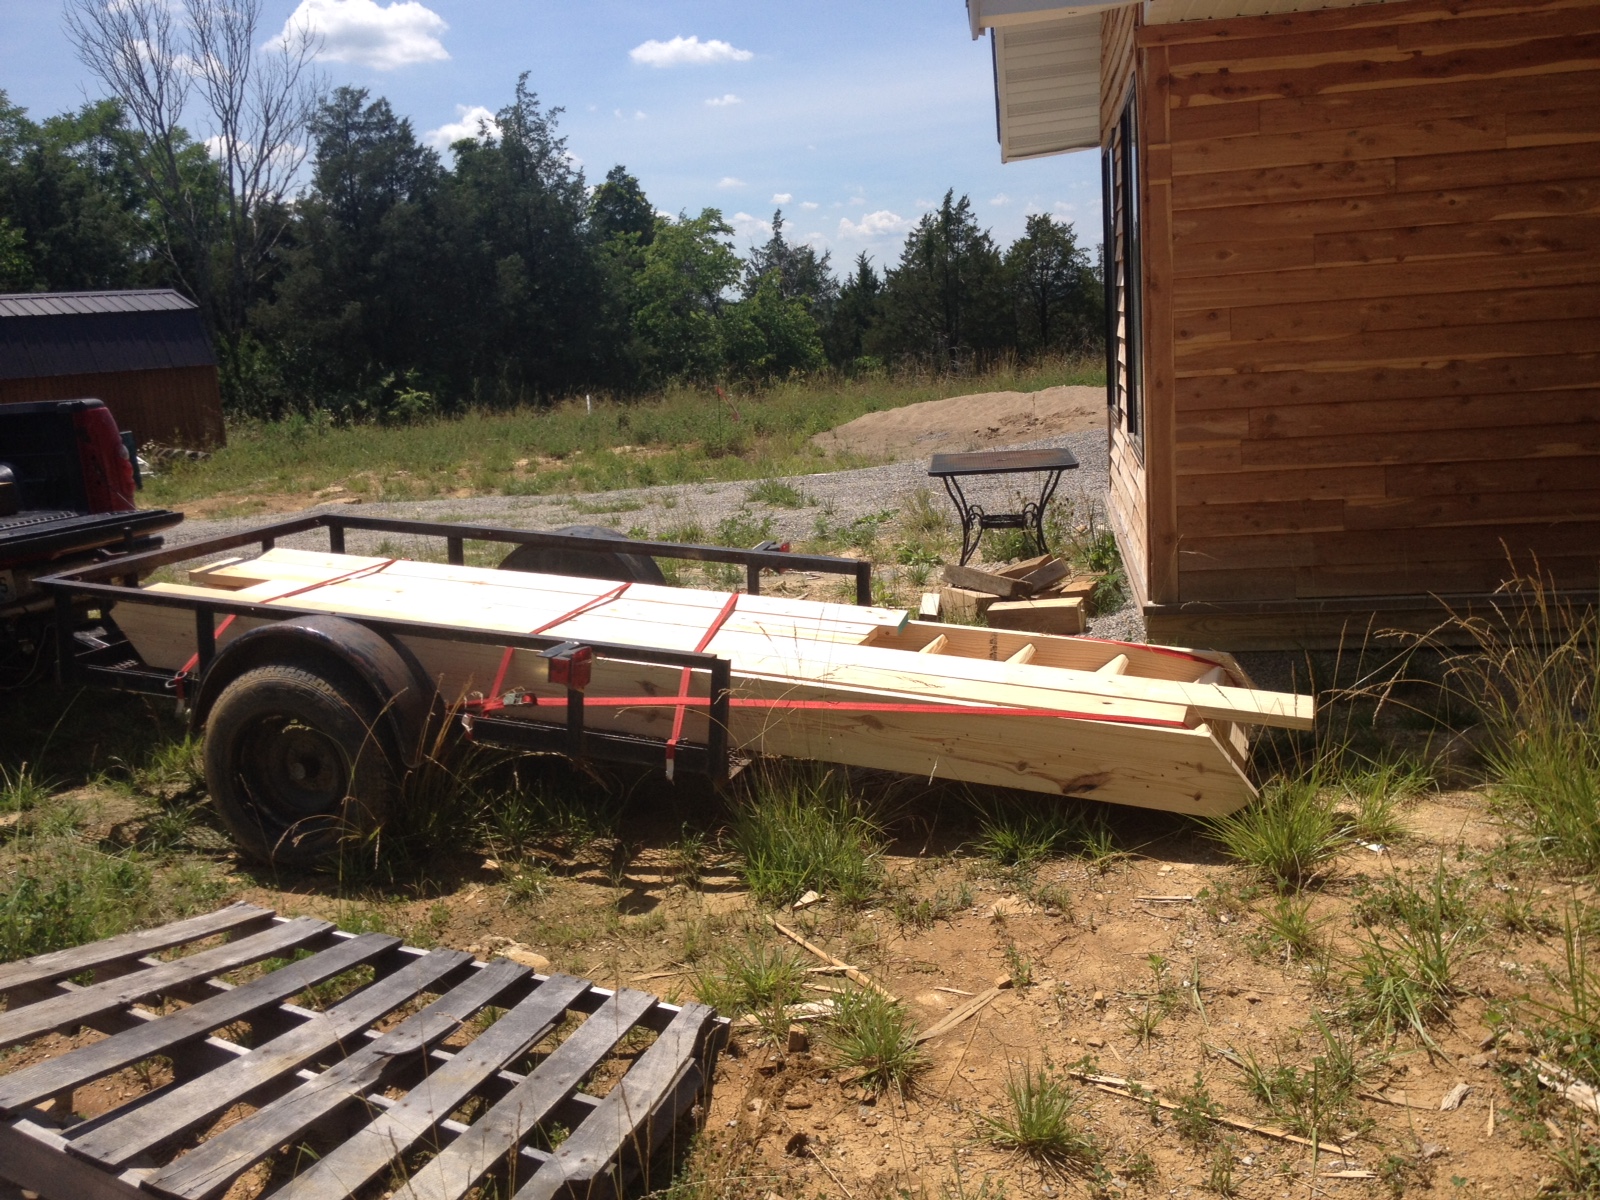
Finally! We can get to the loft without awkwardly ascending the ladder! We ordered a staircase from the same local lumber company that supplied our framing materials and hauled it to the house on our trailer.
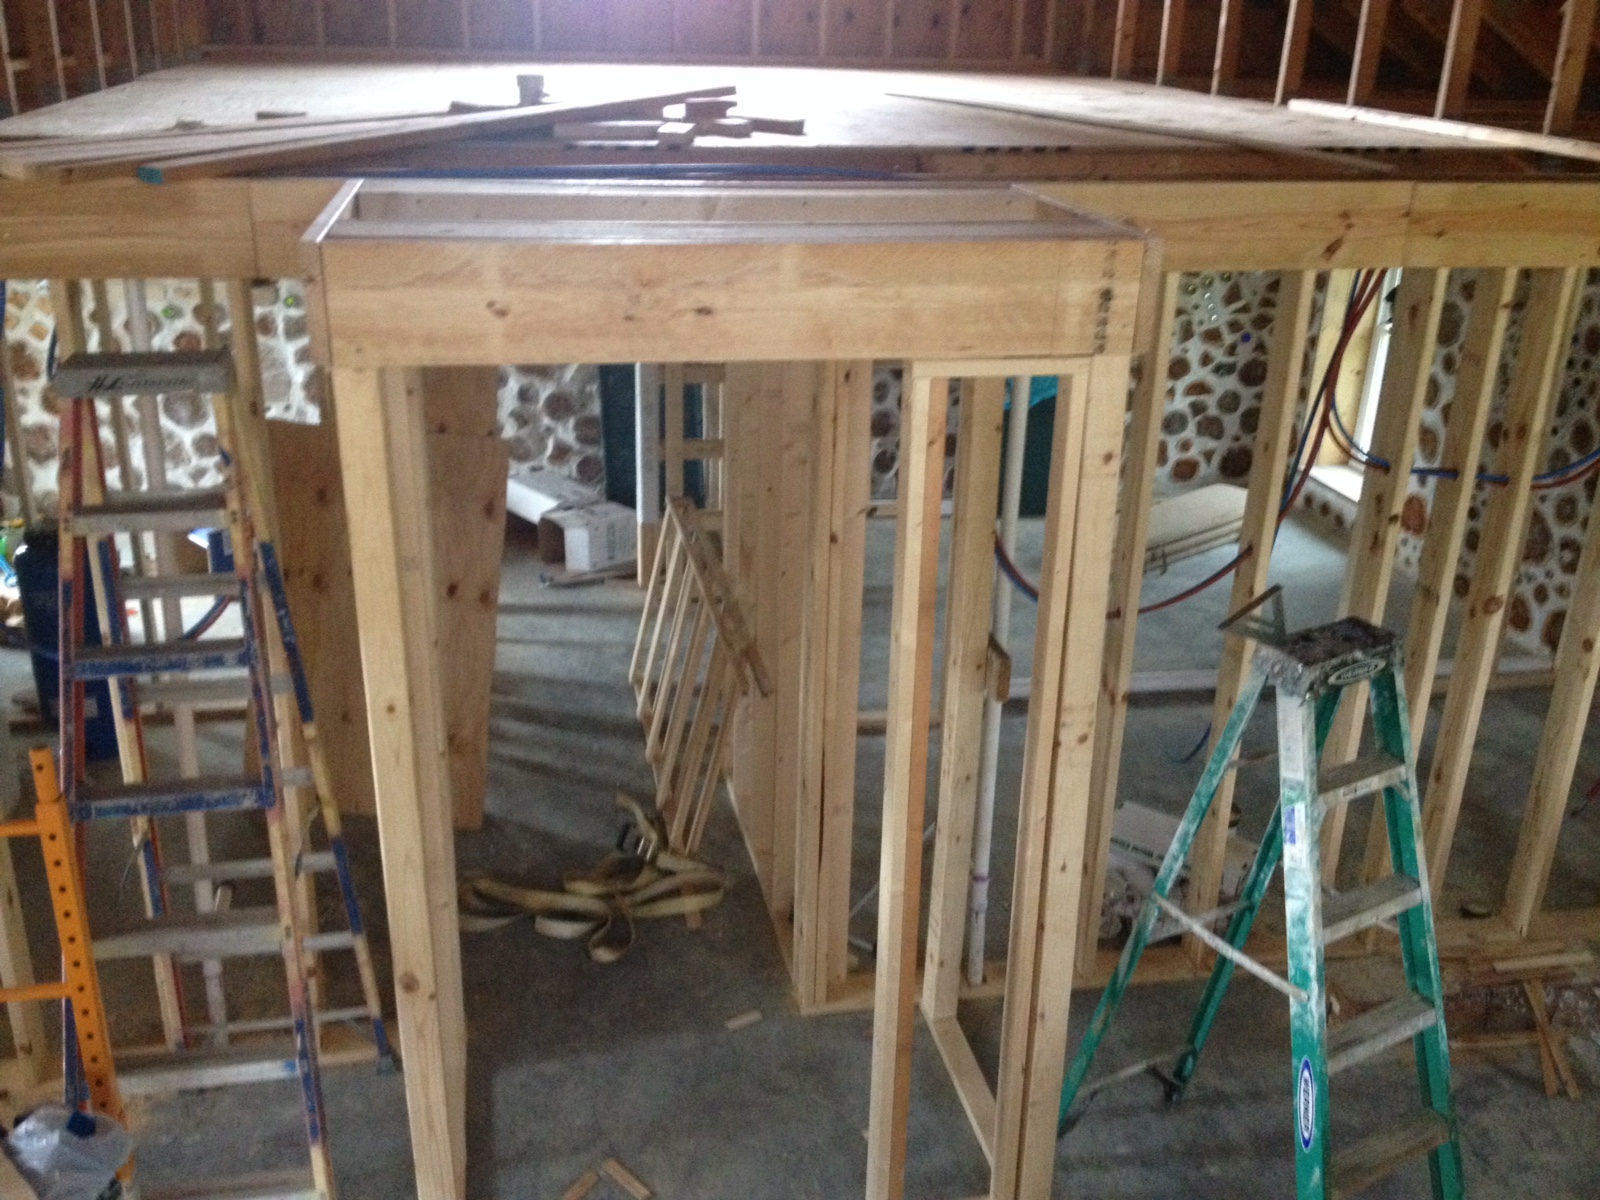
Mark had already framed up the landing for stairs. Here you see it in progress before sheathing:
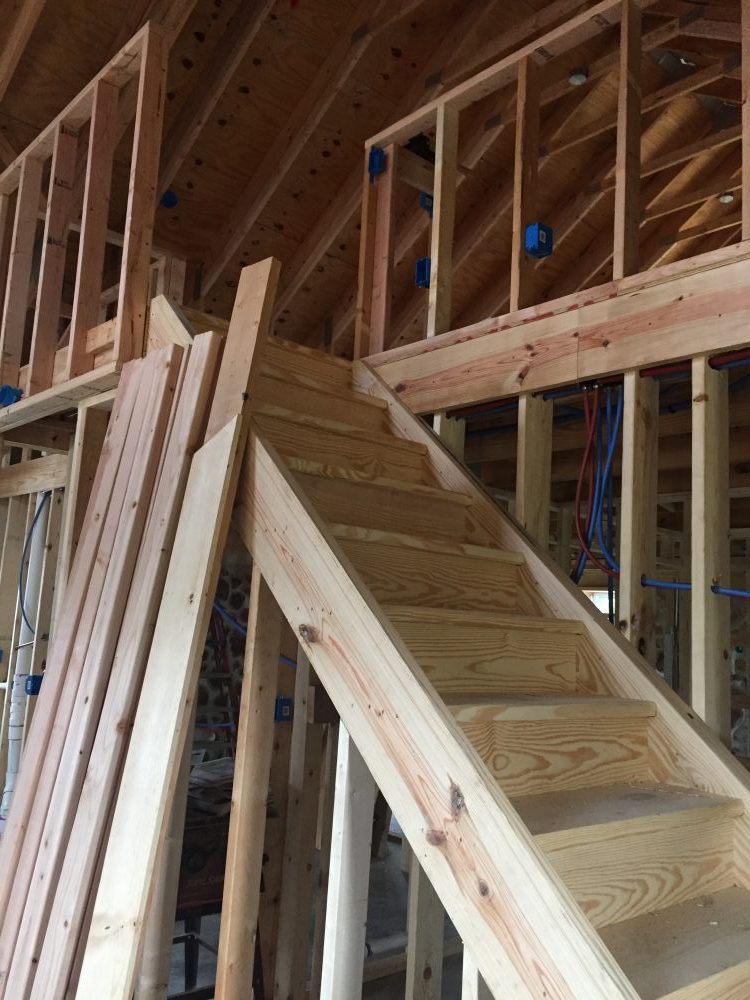
These stairs are quite heavy, so a few strong friends helped hoist them into place.
6. Framed up the half-walls that line the edge of the loft and stairs
Rather than doing a railing we’re opting to build actual walls. This means we can run electrical outlets through them and have a little bit more privacy from those on the main floor without closing everything in. You can see these in the photo above.
7. Installed the septic tank and leach lines
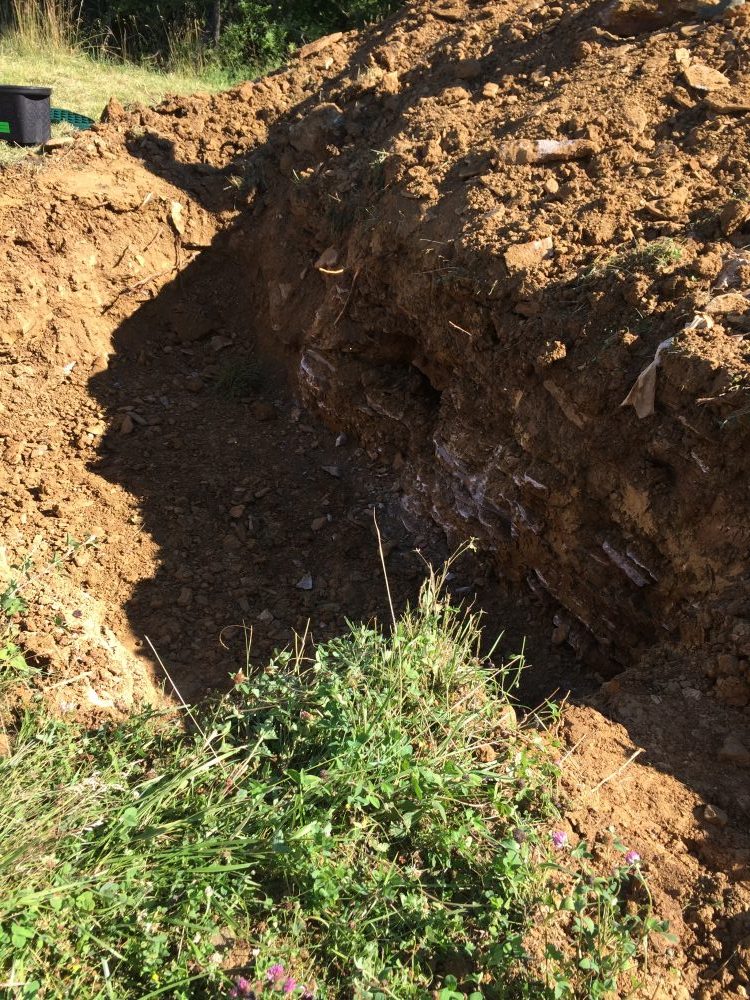
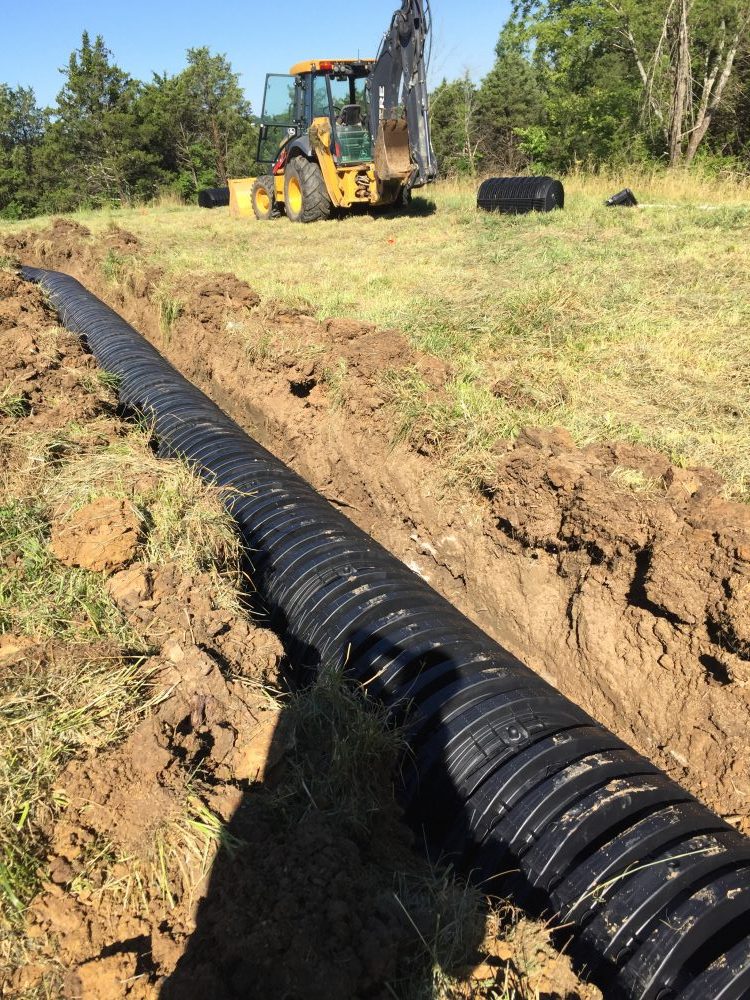
Two years ago when we bought the property we learned that in order for us to build on the property we first needed a septic permit. We had the leach field built first since we had to do what is known as a “fill and wait”, which means that topsoil is filled in and then you wait one year for it to settle before you can use it as a leach field. Having waited nearly TWO years at this point, it was finally time to have the septic tank and leach lines installed.
Here’s the open hole for the septic tank:
For a sense of scale, here’s Mark and little man standing on top of the dirt mound that came out of the hole:
Perforated pipe being installed in the leach lines:
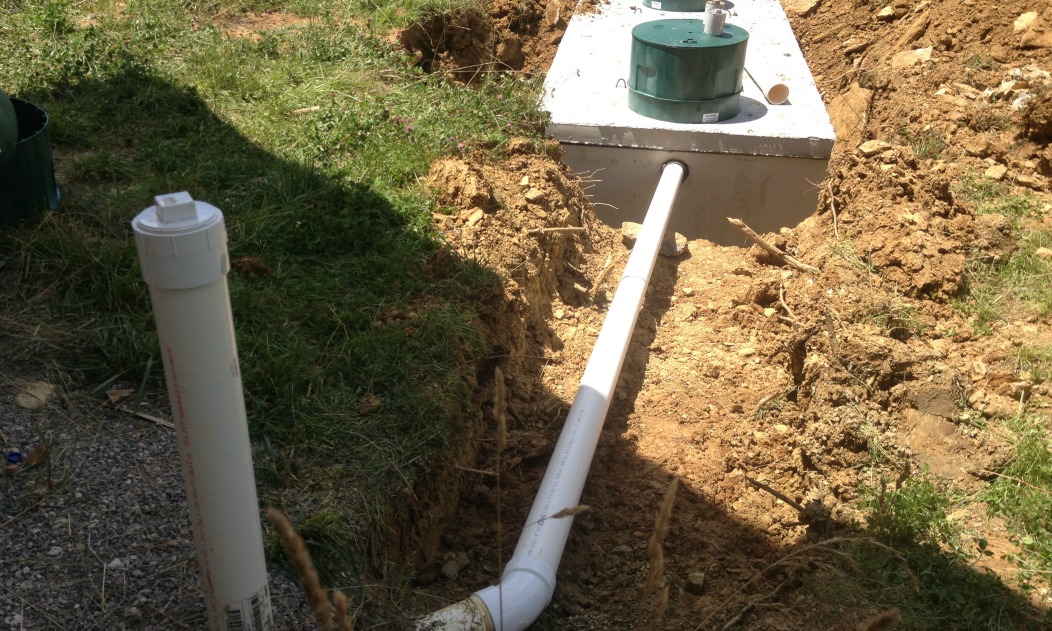
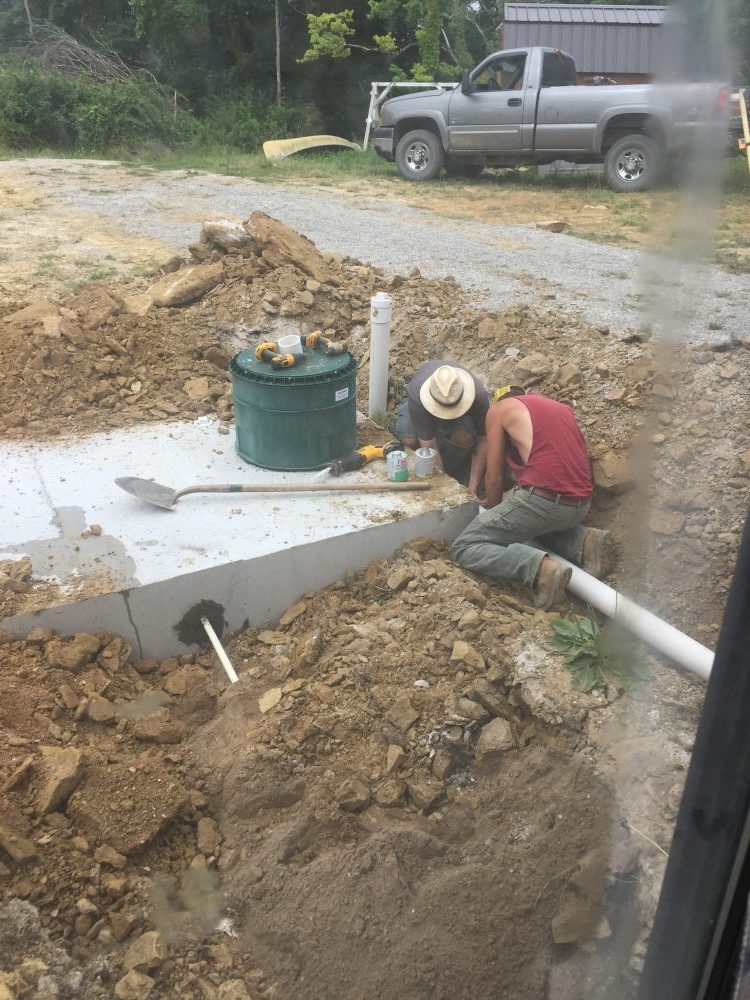
Tank finished and connected to the house before being backfilled:
8. Installed the cistern and supply/overflow pipes
Our friendly excavator really came to the rescue on this one. In the process of doing the septic, we learned that our proposed cistern location was too close to the septic tank to meet code, so we moved the cistern location to the front of the house.
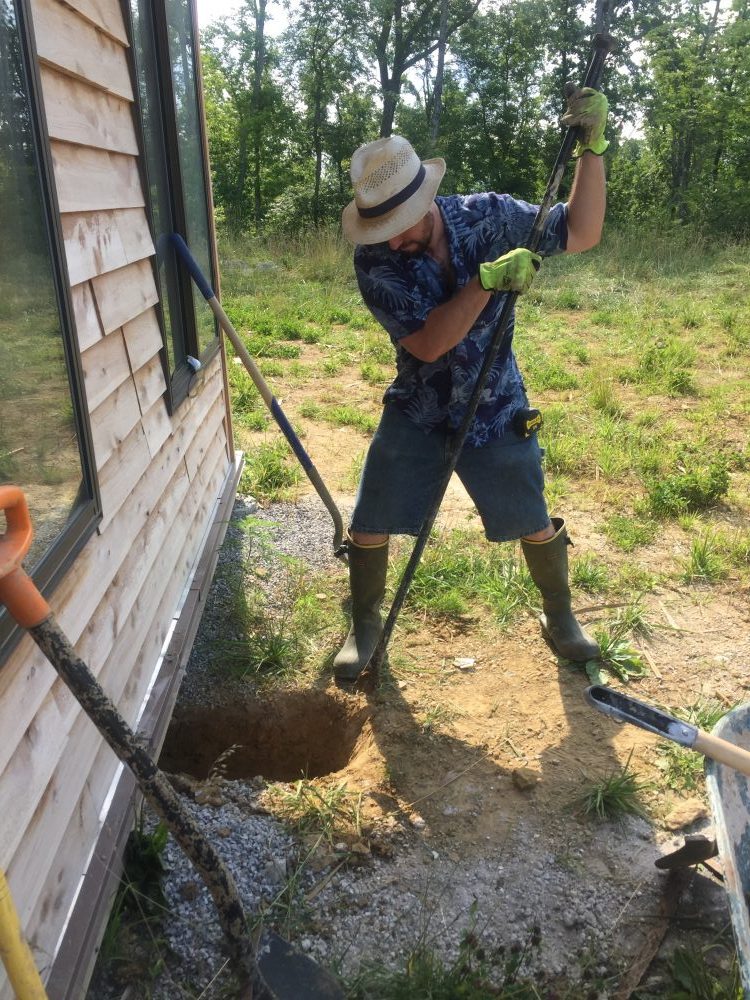
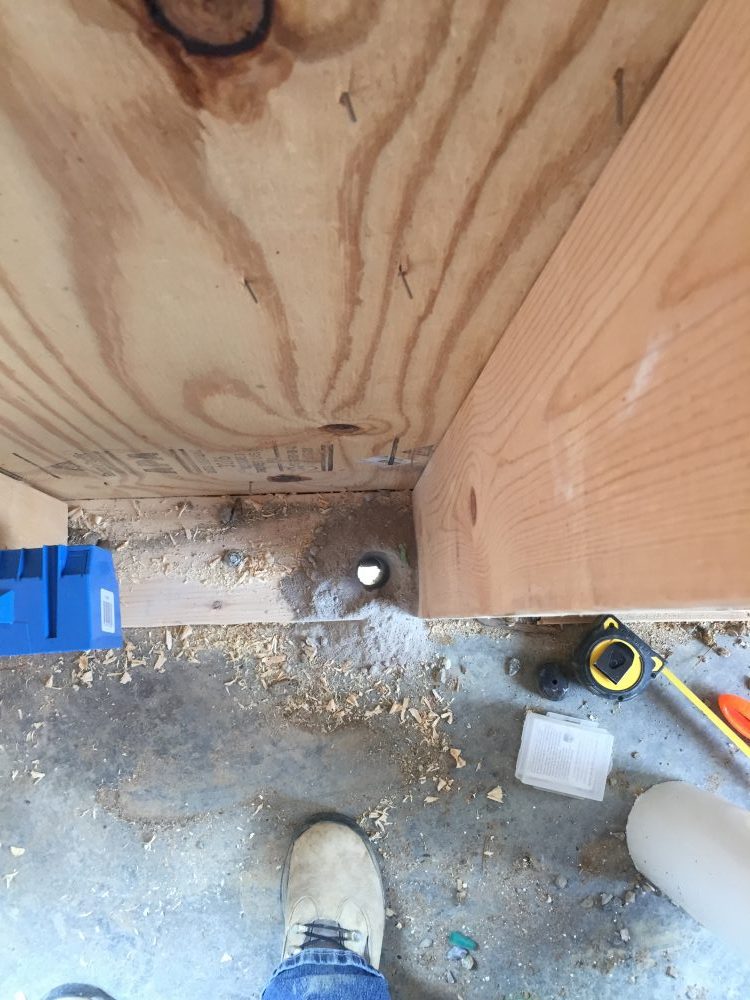
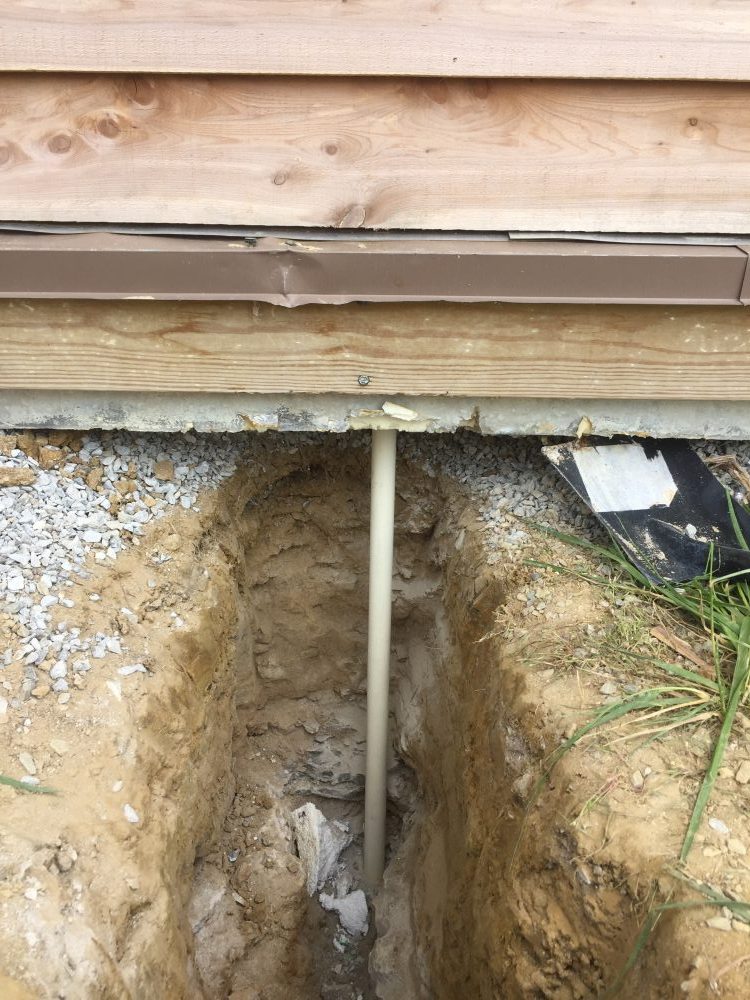
This meant we needed to run a new supply line through the foundation. To avoid freezing in our area, this pipe must be buried at least 30 inches, so we set to digging out a hole under the foundation in the mudroom using shovels, chisels, sledgehammers, and of course the spud bar (don’t worry we took turns):
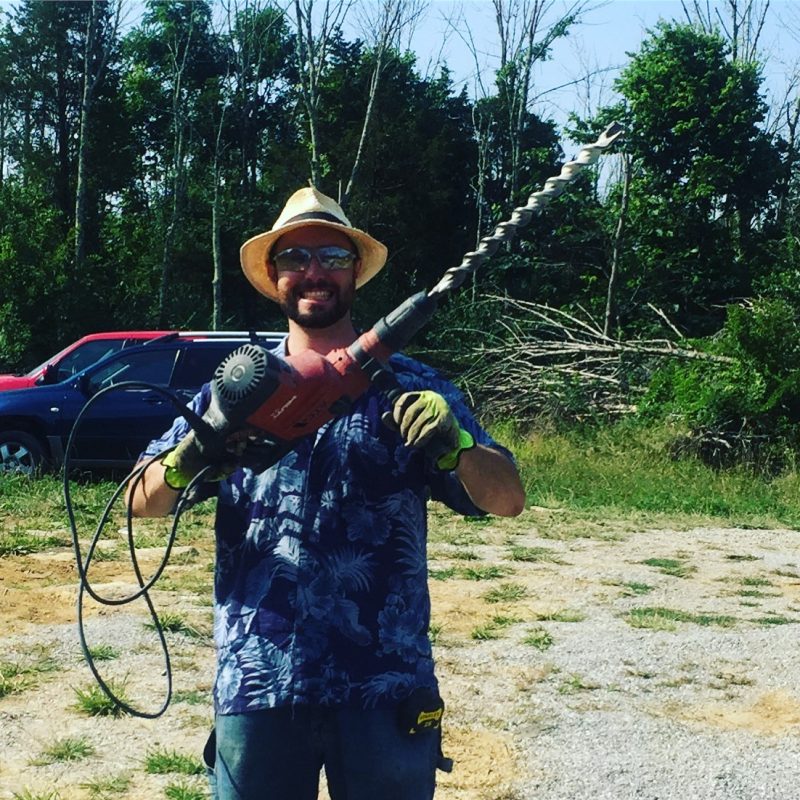
Next, Mark drilled a hole through the foundation to meet the hole we had just dug out. We rented this drill from one of our local hardware stores for the day to get the job done. I’d say he enjoyed it a little bit!
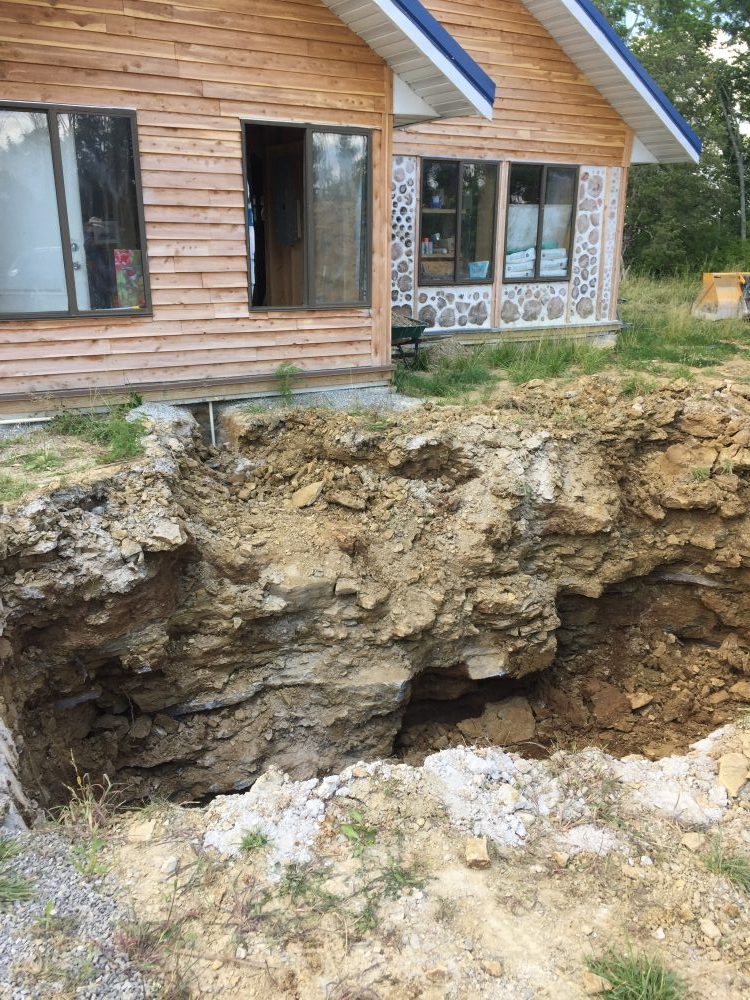
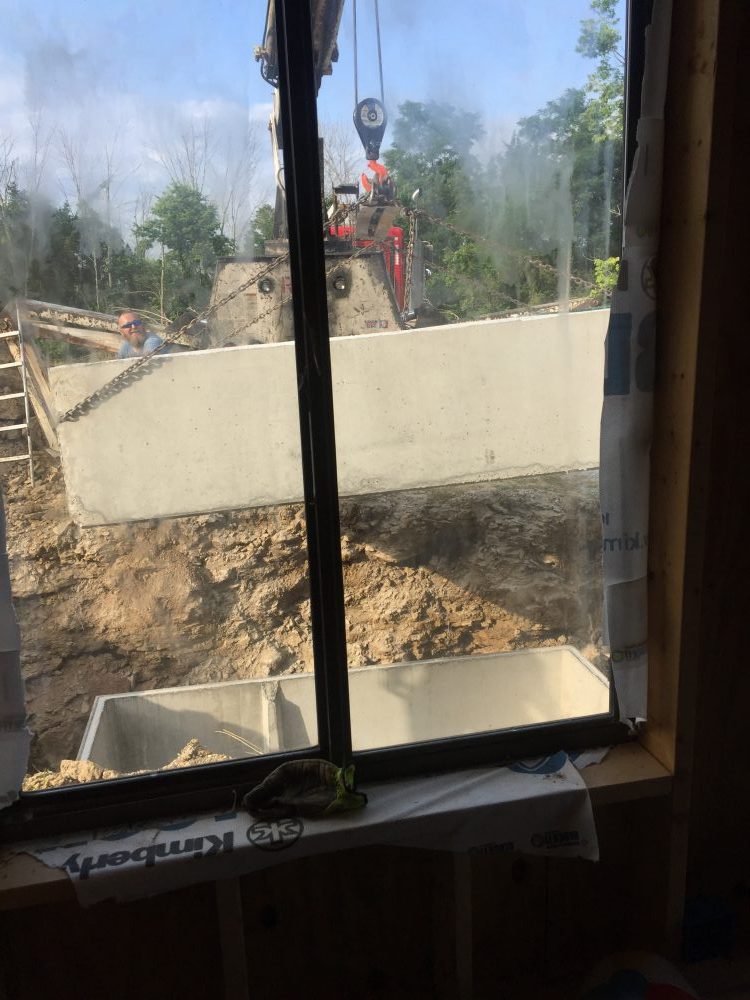
Our friendly excavator dug the cistern hole and helped us install everything. This hole looks like it’s going to eat the house!
Also, I’m not sure there’s any better explanation for why our property is called “Big Muddy ROCK” than the above photo.
Lowering the top half of the tank into place:
Connecting all of the downspouts to the cistern itself:
Here’s where the cistern overflow exits roughly 52 feet away from the house. The dirt and rocks will settle over time.
I can’t imagine taking on this job without someone as knowledgable as him to help us through. Everything worked out fine in the end, but this job had us a little worried. A detailed write-up on this will follow soon.
Lessons Learned
Compared to last year we had a LOT more family time and better work-life balance, so to speak. Last year during June so much of our work was too dangerous for our son to be around. This meant that he spent most of the time with grandparents or at daycare. While it kept him safe, it made all of us a little bit short-fused with each other, so we vowed to be much more intentional with our time this year. After all, being able to spend more time with our son is the biggest reason why I left my job.
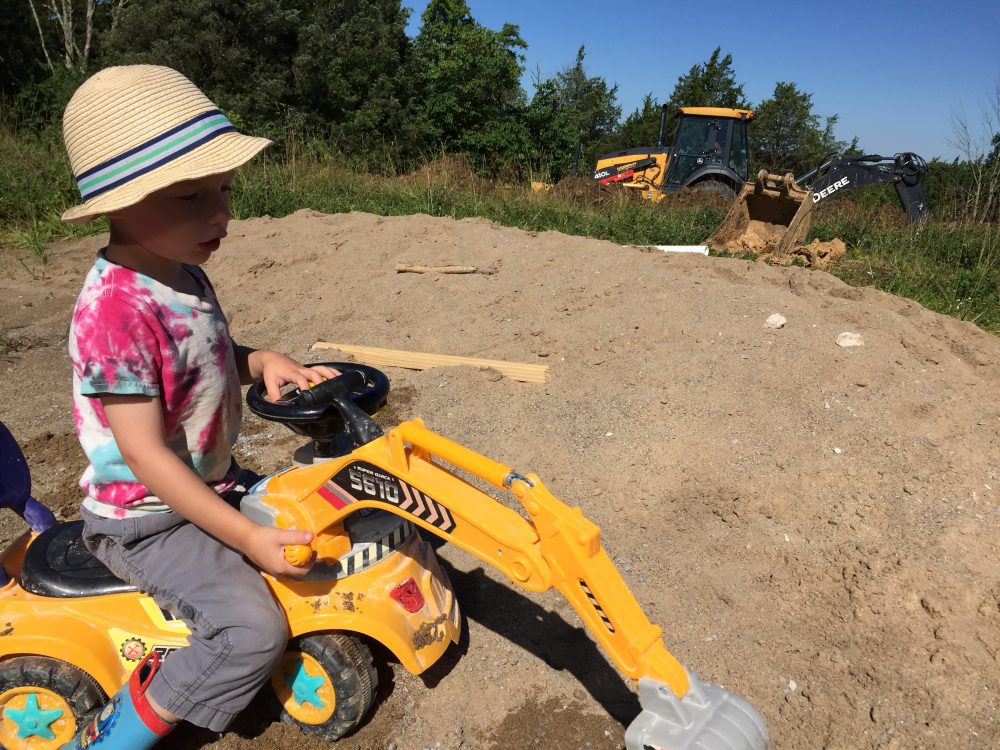
This year our work has been considerably less dangerous, so we’ve been fortunate enough to be able to have our son running around on the property with us. I’ve been particularly blessed to have had several former students come out and help watch him or perform some odd jobs for us.
What’s next?
We are currently running the wires for all of the circuits in the house. Did you know that our home will be wired up with outlets, switches, and fixtures just like a “normal” home? Just because a home is off the electrical grid doesn’t mean it works that much differently from any other home. We’re going to show you exactly what that looks like as we get all of our systems in order!
Components for our solar system and hot water/radiant system are slowly being delivered. Now it’s just a matter of passing the next inspection and getting everything hooked together.
Related: How do you build an off-grid home and deal with inspections?
Once we jump those hurdles, we’ll also be able to start the finish work! Insulation and wall coverings are in the not-so-distant future for us now!
Wondering more? Check out our homestead progress and find out more about our cordwood homestead project here. You should also join us on Facebook, Twitter, and Instagram. I’m always pinning lots of great ideas on Pinterest too! Thanks for reading!
