Disclosure: I sometimes earn products or commissions from affiliate links or partnerships on my blog. I only recommend products and services I trust to serve you. Learn more.
The months of April and May were so jam-packed it’s hard to know where to start.
When we finished out March, we had just finished the cedar siding and had purchased a new-to-us truck in the wake of having our other one totaled. Boo.
I figured that April would be a quiet month and May would go quickly since historically that’s what always happens, but this year really threw us for a loop. Why, you ask?
Let me catch my breath and tell you all about it.

House Progress
Just because “life” keeps happening to us doesn’t mean we aren’t hustling on the house. Lots of work went into building our home over the past two months! A lot of times, there are many smaller jobs that most people don’t think of when they think of building a house. For example, the first thing we did:
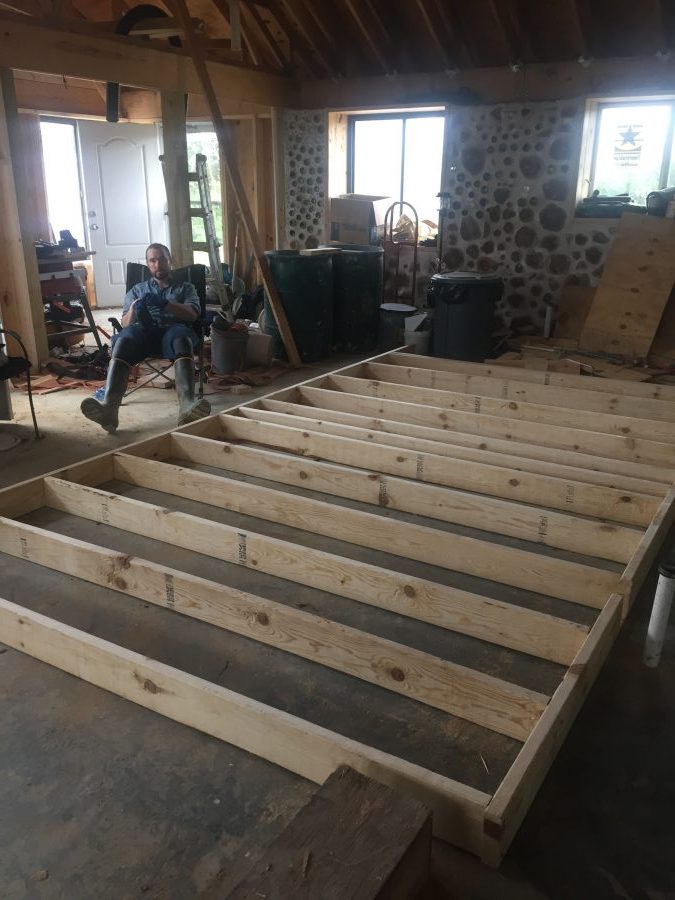
1. Install the cross bracing for the floor joists

In order to ensure a rigid floor, minimize squeaks, and prevent the joists from warping over time it is necessary to install cross bracing between the floor joists. Our floor joists are part of our engineered trusses and are made from 2×10’s. Rather than buy pre-fab cross pieces, Mark used extra 2×4 lumber we had sitting around to make his own bracing. Every joist gets two X’s; each X is placed equally between the edge of the house and the middle of the joist. These were cut and installed over a few weekends.
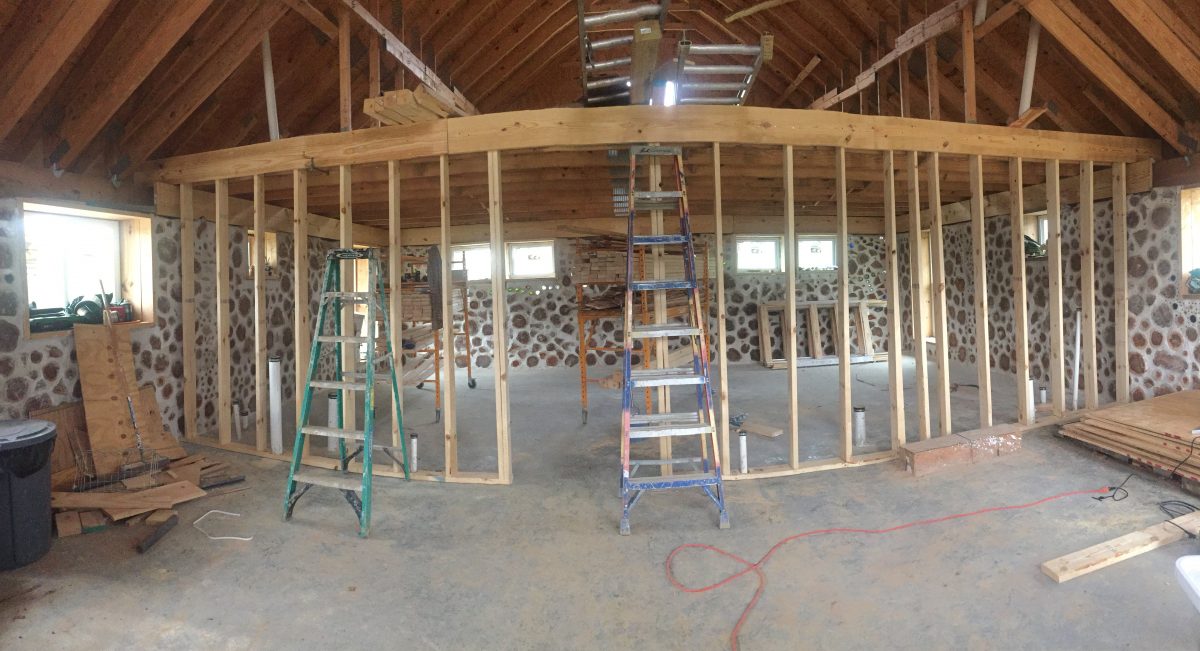
2. Began stud framing the interior walls
Having survived weeks of musical theater gigs, spring break, Easter, and family birthdays, we FINALLY got to start the interior walls of our house. These are the walls that separate the rooms and are NOT made of cordwood like the exterior walls are.
These walls are standard stud framing made from 2×4 and 2×6 lumber. The subfloor for the upstairs is standard 3/4″ plywood.
To get the materials we priced out options from several local stores and lumber yards. Though we typically try to get our lumber from local lumber yards, we ended up getting all of our lumber for the stud walls at Menards. The price relative to the quality of the wood was simply too good for us to pass up, so Mark took his truck and the trailer to load it up.

Included in this haul are roughly 100 2×4’s, 36 2×6’s, 4 pocket door frames, and 12 4×8 panels of 3/4″ plywood subfloor. Loading and unloading was…a treat.
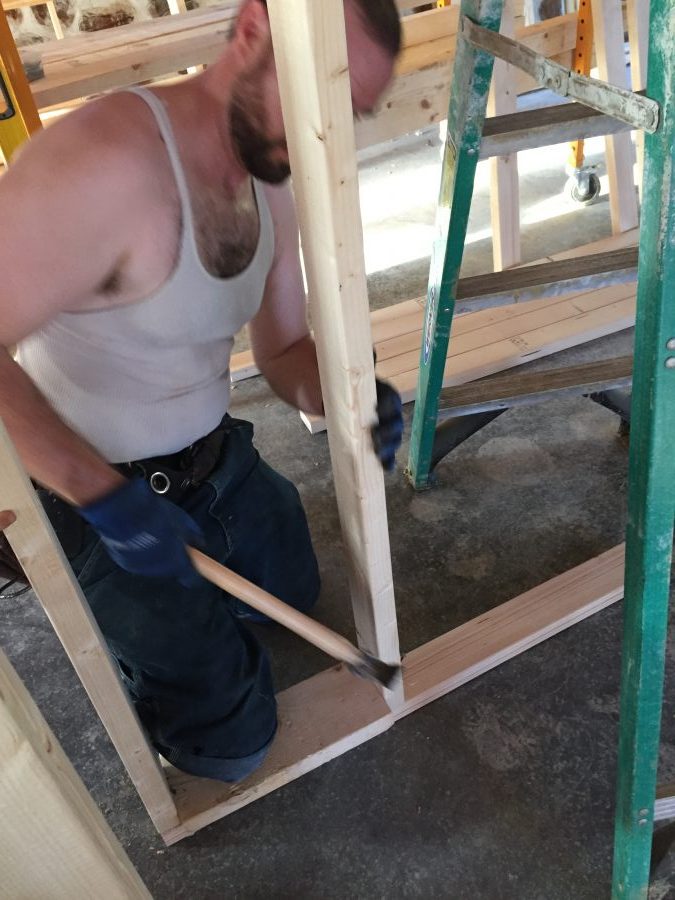
We began with the main 2×6 wall that bisects the house and contains the plumbing.
First, we drilled holes for the pipes and roughly placed the floor members.

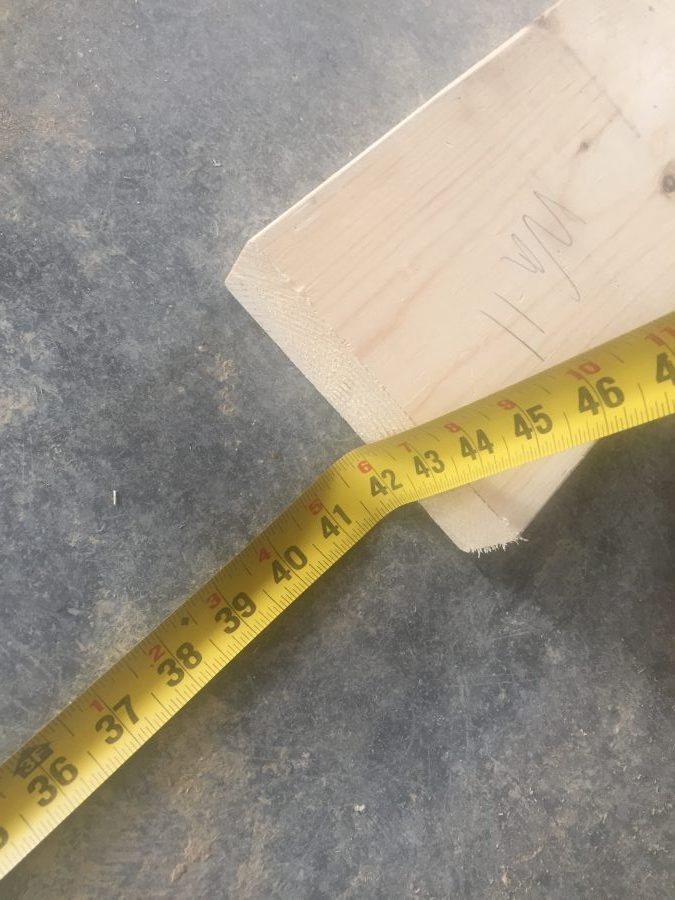
Our hallway is 42 inches wide. Mostly for ease of accessibility, but also because it is the answer to the ultimate question of life, the universe, and everything (shoutout to anyone who gets that reference).
We preassembled this wall on the floor before raising it into place. Here you see Mark taking a short drink break before we raised this bad boy.
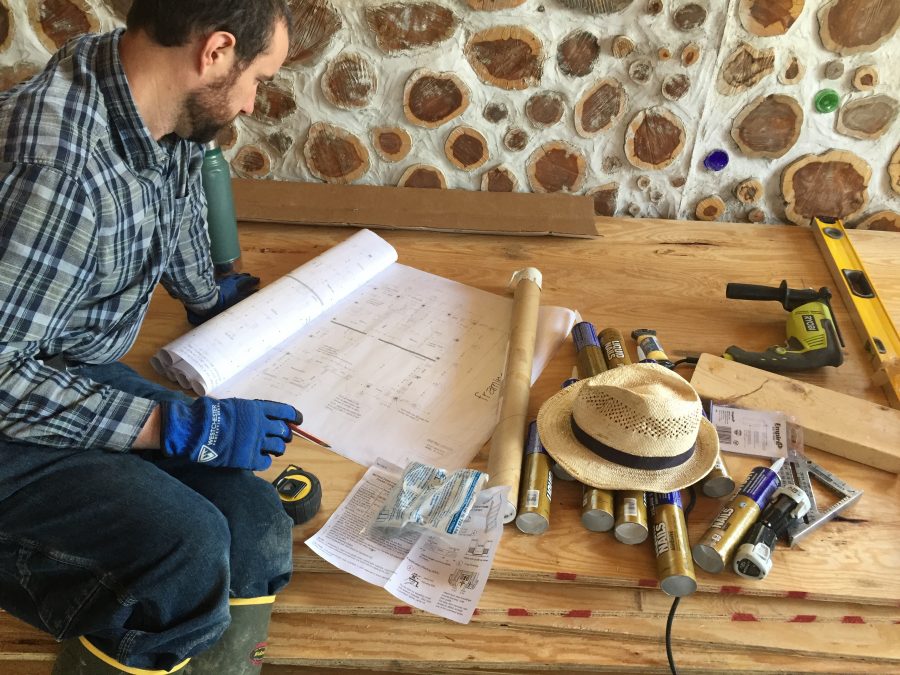
We opted to fasten the bottom plate of the walls to the floor using Heavy Duty Liquid Nails instead of tapcons because of our radiant heat system under the slab. In theory, the pipes shouldn’t be close enough to hit, but there’s no guarantee that they didn’t move after the concrete was poured so we played it safe. This is a fairly common option if you have to stud frame a wall on top of concrete. Our interior walls are not load bearing, are fastened securely at the top plate with screws and framing nails, and haven’t experienced any shifting or slippage.
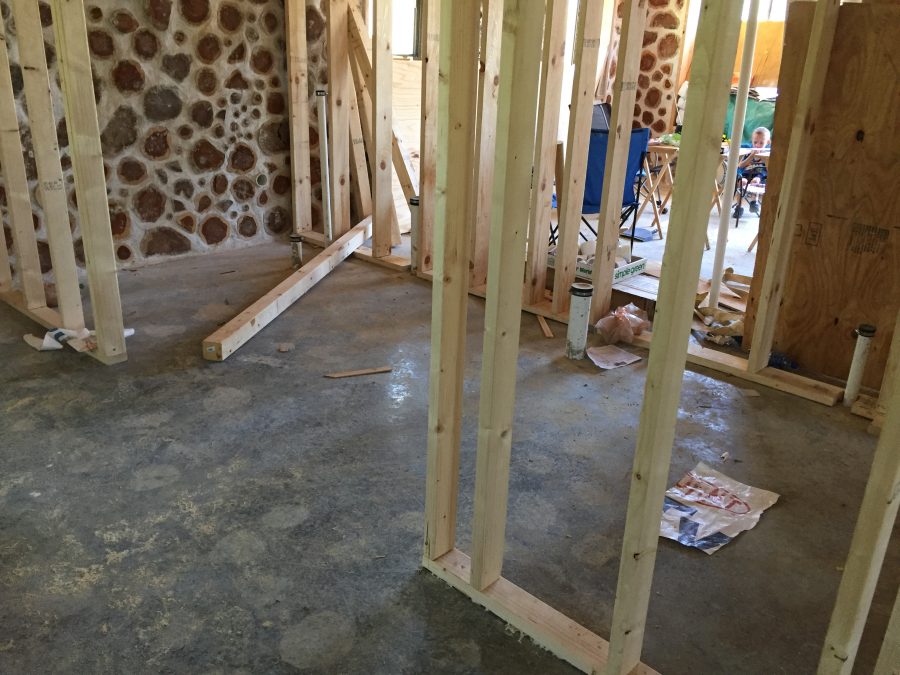
We continued framing the back bedrooms and bathrooms in place.
First, we examined our framing plans and made sure to measure everything as precisely as possible.
Rather than build the walls on the floor and raise them up, it was easier to build these particular walls in place one stud at a time. Here you can see Mark using a pre-measured block of wood as a spacer to make placing each stud quick and easy. The block of wood was 14.5″, which puts each stud at 16″ on center.
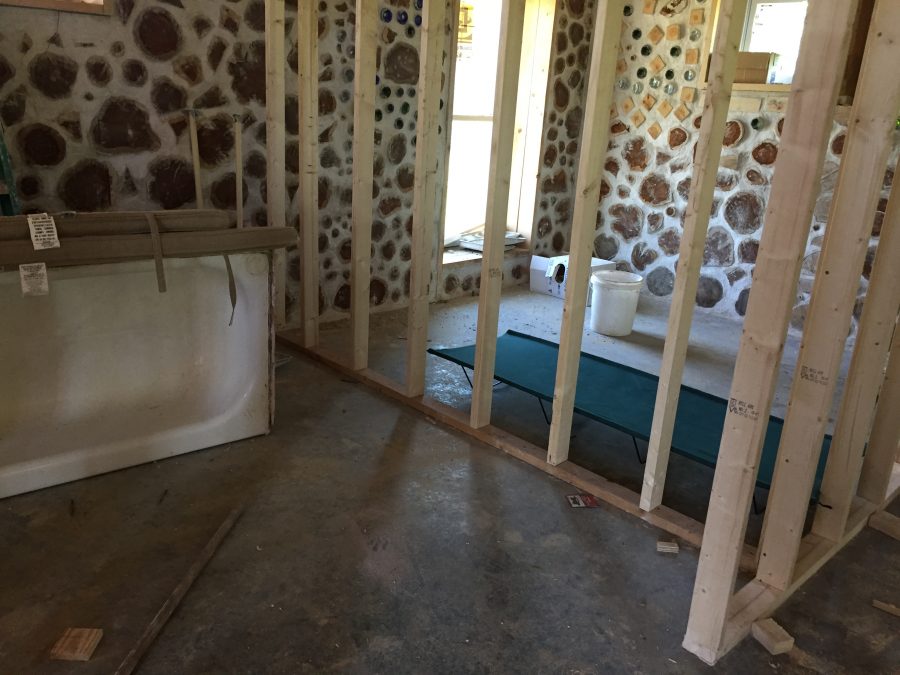
This shot looks into what will eventually be the master bathroom.
Future master bedroom with pocket door frames and camping cot. You know, for those days you just need a nap!

Main bathroom and second bedroom, also with a camping cot for when our almost four year old son wants to take a nap in “his room”.
3. Additional framing on the gable ends.
In order to provide enough space for our insulation, we needed additional framing on the gable end trusses for it all to fit properly. Mark doubled up the scaffold to reach the front end where we have the cathedral ceiling. You can probably tell that I am not a big fan of heights! I also laughed at this picture for far too long because the combo of the selfie camera quality and the lighting makes it look like I just photoshopped him up there.

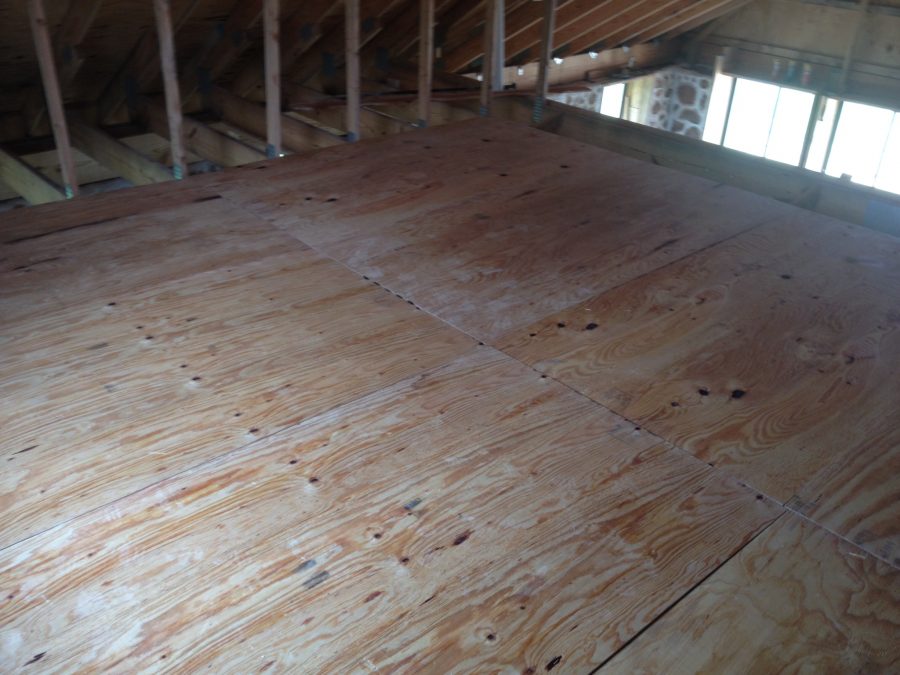
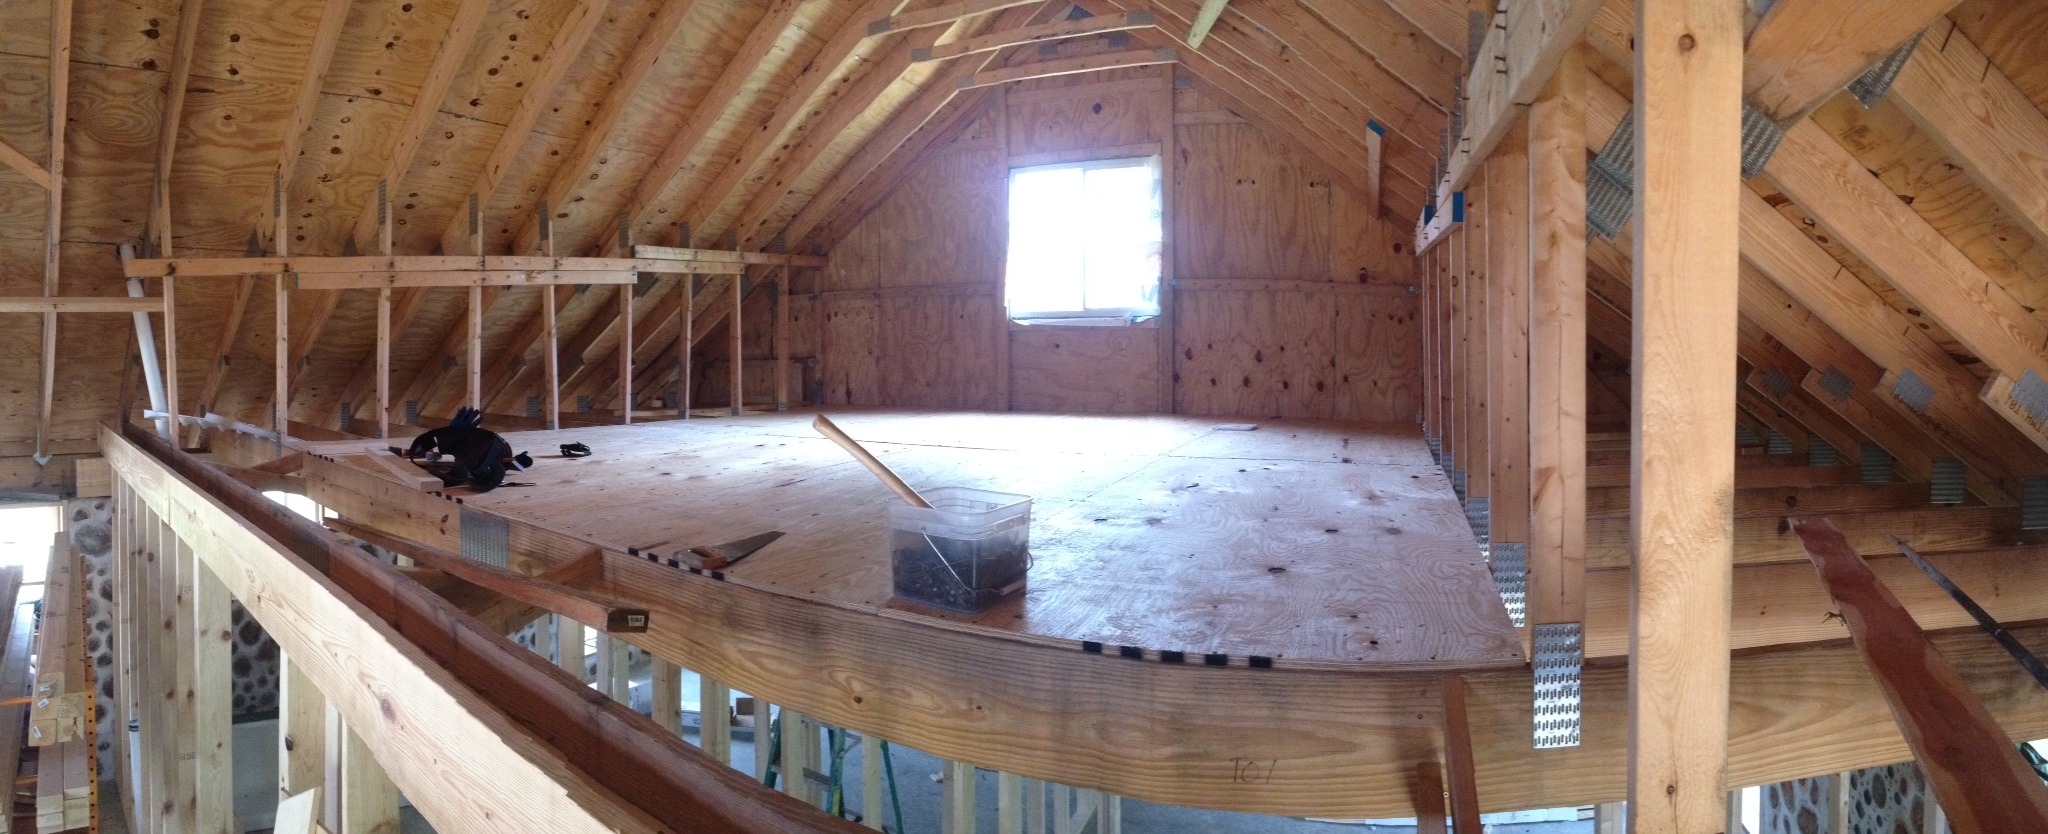
4. Subfloor for the loft
Finally, we can walk around upstairs without worrying about falling through! Mark hulked the plywood up there and fastened them in place. He left the front part open to act as a chase for the wiring and plumbing. We will close it when it’s all finished.
But wait, we’ve built more than this at a time. What about April and May was really so crazy.
Life Goes On
I said that the months of April and May really threw us for a loop. Part of this was the amount of side gigs we took on during that time. A bigger part of it was that we took a family road trip to Florida for my cousin’s wedding. We camped on the way down and made a great trip out of it. Our son is STILL talking about the things we did!
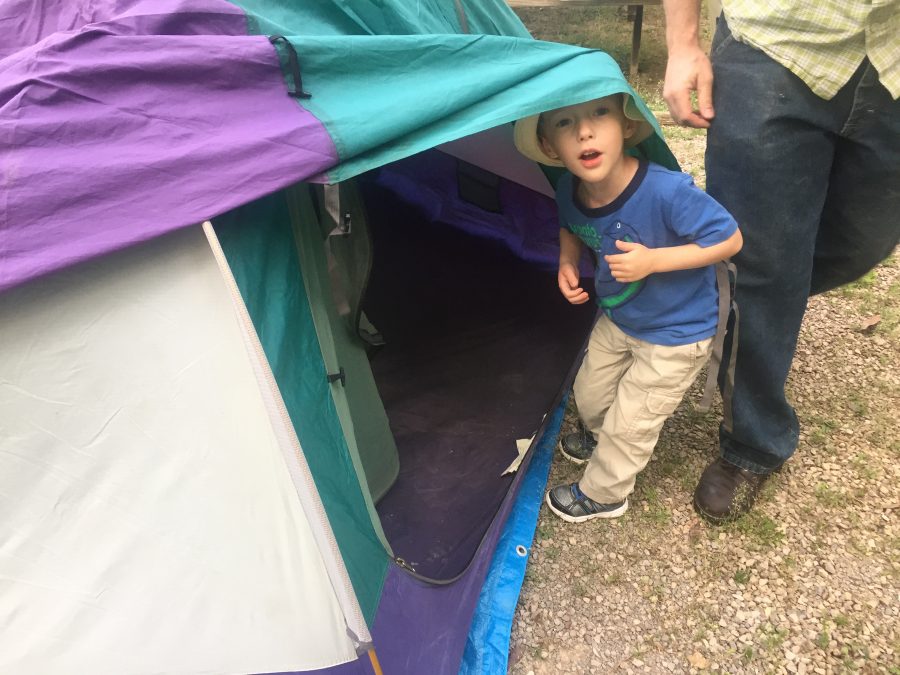

First time at the Gulf for all of us and first time in the ocean for our little guy! To say he loved it would be a gross understatement.

That whole trip was a wonderful diversion from the real task I had ahead of me: the task of revealing what felt like a dreadful secret, one that I had harbored since March. The Monday I got back was the day I told my students, parents, and colleagues that I would not be returning to teach in the fall. The outpouring of love I have received since then is nothing short of extraordinary and is a testament to the community the school has. I’m still in awe of it. I’ve even had several of my former students come out to work on the property with us since school ended, which is just crazy to me. The fact that I’ve managed to convince teenagers to come move bricks and scrap lumber for me is mind-blowing, to say the least.
Why quit my job when we’re trying to build a house?
Lots of reasons. I go into a bit more detail about it here, but I’m hoping to really expand on it for those of you who are dreaming of quitting your job to stay home with your kids and/or build a homestead or home-based business. This blog is a big driver of that transition, so stick with me to find out more! If you have any questions or anything you want to learn more about, leave a comment on this post!
Edit: I did later expand on it. You can get some insight here.
So what’s next?
For the house, we’ll be getting a lot of the big systems in over the summer. This includes our solar/wind power system, our cistern, and our septic field and tank. We’ll be finishing the plumbing and electrical rough-in over the next few weeks and getting the stairs in, which will allow us to jump over the framing inspection hurdle. Once we clear that, we’ll be able to move on to insulation and finish work.
For us personally, a lot more of this blog I hope! I’ve gotten so many encouraging emails and direct messages from people about how they’ve been following our story and living vicariously through us. Thanks to each of you for your kind words! I remember when we were in the dreaming phase of this project years ago, how I wished there were more blogs out there of people building a house like this so I could see what it was really like. My hope is that we can equip you to build a home of your own and chart your own course towards self-sufficiency.
Ready to learn more?
Subscribe below to get access to all of the free homestead builder’s guides in our Members-Only Resource Library:
Check out our homestead progress and find out more about our cordwood homestead project here. You should also join us on Facebook, Twitter, and Instagram. I’m always pinning lots of great ideas on Pinterest too! Thanks for reading!